ARMS
PROCEDURE 5 | ARMS |
USING/INSTALLING/ADJUSTING NON-LOCKING CANTILEVER ARMS
WARNING
DO NOT use lap trays with
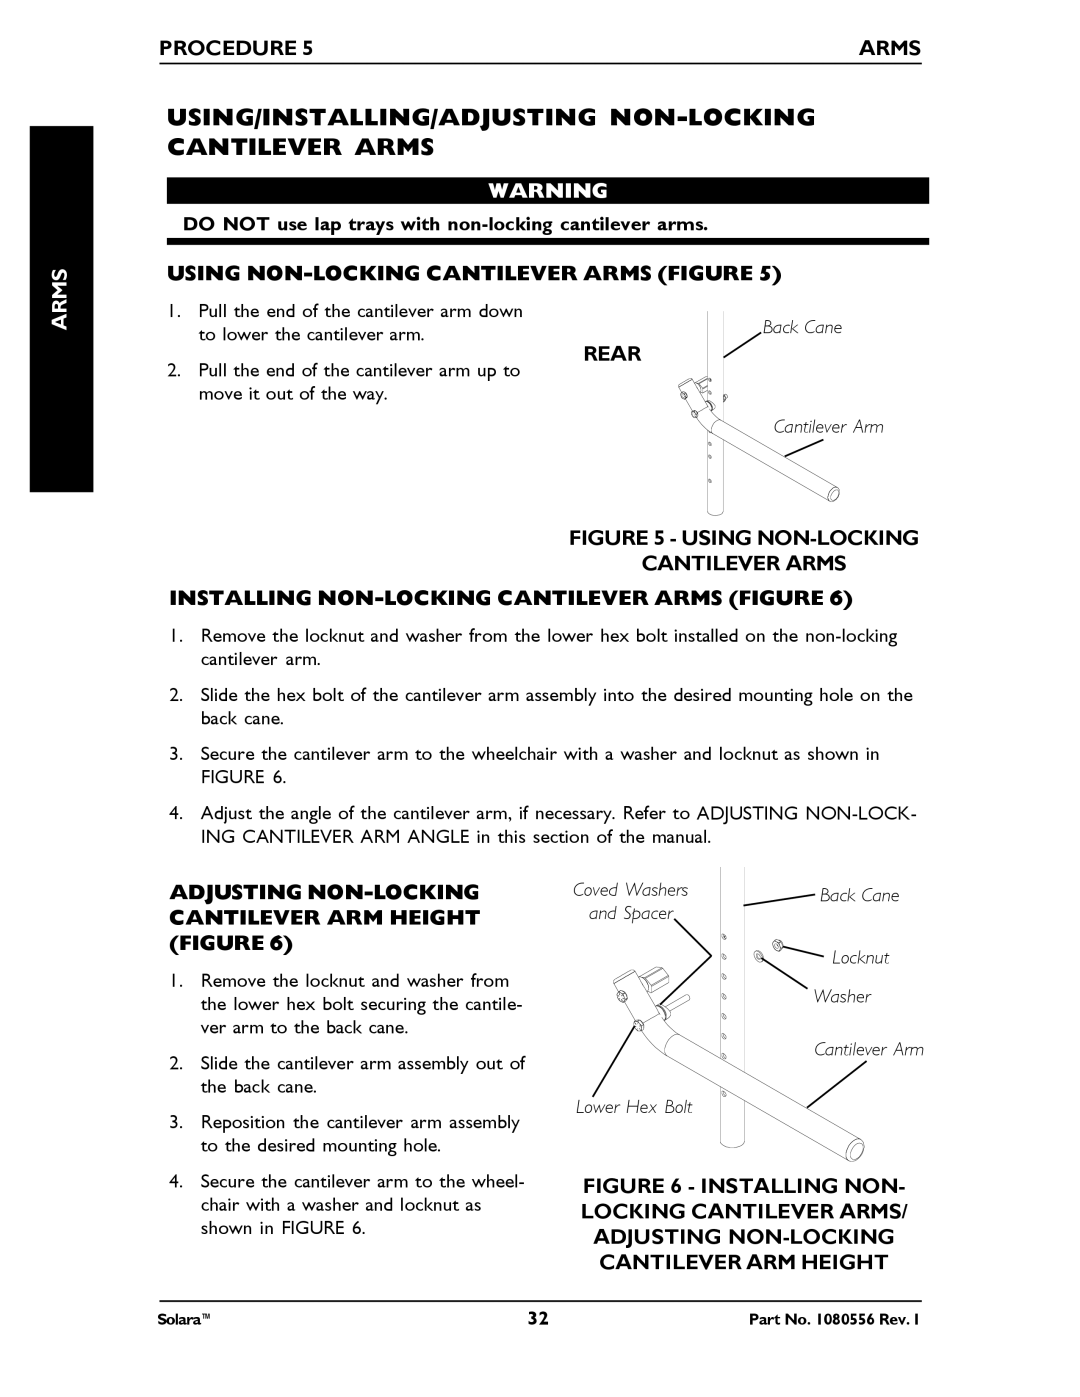
USING NON-LOCKING CANTILEVER ARMS (FIGURE 5)
1. Pull the end of the cantilever arm down | Back Cane | |
to lower the cantilever arm. | ||
|
ARMS
2. Pull the end of the cantilever arm up to move it out of the way.
REAR
Cantilever Arm
FIGURE 5 - USING NON-LOCKING
CANTILEVER ARMS
INSTALLING NON-LOCKING CANTILEVER ARMS (FIGURE 6)
1.Remove the locknut and washer from the lower hex bolt installed on the
2.Slide the hex bolt of the cantilever arm assembly into the desired mounting hole on the back cane.
3.Secure the cantilever arm to the wheelchair with a washer and locknut as shown in FIGURE 6.
4.Adjust the angle of the cantilever arm, if necessary. Refer to ADJUSTING
ADJUSTING NON-LOCKING CANTILEVER ARM HEIGHT (FIGURE 6)
1. | Remove the locknut and washer from |
| the lower hex bolt securing the cantile- |
| ver arm to the back cane. |
2. | Slide the cantilever arm assembly out of |
| the back cane. |
3. | Reposition the cantilever arm assembly |
| to the desired mounting hole. |
Coved Washers
and Spacer
Lower Hex Bolt
![]() Back Cane
Back Cane
Locknut
Washer
Cantilever Arm
4. Secure the cantilever arm to the wheel- |
chair with a washer and locknut as |
shown in FIGURE 6. |
FIGURE 6 - INSTALLING NON- LOCKING CANTILEVER ARMS/ ADJUSTING NON-LOCKING CANTILEVER ARM HEIGHT
Solara™ | 32 | Part No. 1080556 Rev. I |