60 EN SUBSIDIARY SETTINGS |
|
|
|
| |
|
|
|
|
|
|
OTHERS |
|
| Scan Mode Set | ||
|
| ||||
8 AUTO TIMER ^ OFF / ON |
|
| |||
|
|
|
| ||
|
|
|
| ||
This is the setting for engaging timer recording standby mode. |
| If you connect the unit and TV with Component Video Connection | ||
OFF: |
| (A pg. 12), you can select the scan mode from two modes: | ||
| Interlaced scan mode which is used in the conventional TV | |||
Press j to engage timer recording standby mode. |
| |||
| system, and Progressive scan mode which enables reproduction | |||
ON: |
| |||
| of | |||
Timer recording standby mode is automatically engaged when |
| 8 Interlaced scan | ||
the unit is turned off. |
| |||
| In the conventional video system, a picture is shown on the display | |||
|
| |||
8 RESUME ^ OFF / ON / DISC RESUME |
| monitor in two halves. The Interlaced scan system places lines of | ||
| the second half of the picture | |||
When this function is set to “ON” or “DISC RESUME”, you can use |
| picture. | ||
the resume function. (A pg. 24) |
| 8 Progressive scan | ||
OFF: |
| |||
| Progressive scan displays all the horizontal lines of a picture at | |||
You cannot use the resume function. |
| one time, as a single frame. This system can convert the interlaced | ||
ON: |
| video from DVD into progressive format for connection to a | ||
The resume function works on the disc loaded on the unit. |
| progressive display. It dramatically increases the vertical | ||
DISC RESUME: |
| resolution. | ||
|
|
|
| |
The unit retains a memory of the resume points of the last |
|
|
|
|
| ATTENTION: | |||
30 discs played back, even though they have been ejected. |
| |||
NOTE: |
| ● Your TV needs to be compatible with Progressive. | ||
| ● Connect the unit and the TV using a component video cable. | |||
“DISC RESUME” setting works on |
|
|
|
|
|
|
|
| |
finalized |
|
|
|
|
| ● Turn on the unit. | |||
discs, the function under “ON” setting will be applied even if |
| |||
“RESUME” is set to “DISC RESUME”. |
| ● Turn on the TV and select an input mode such as EXT1. | ||
|
|
|
| DVD A |
|
|
|
| |
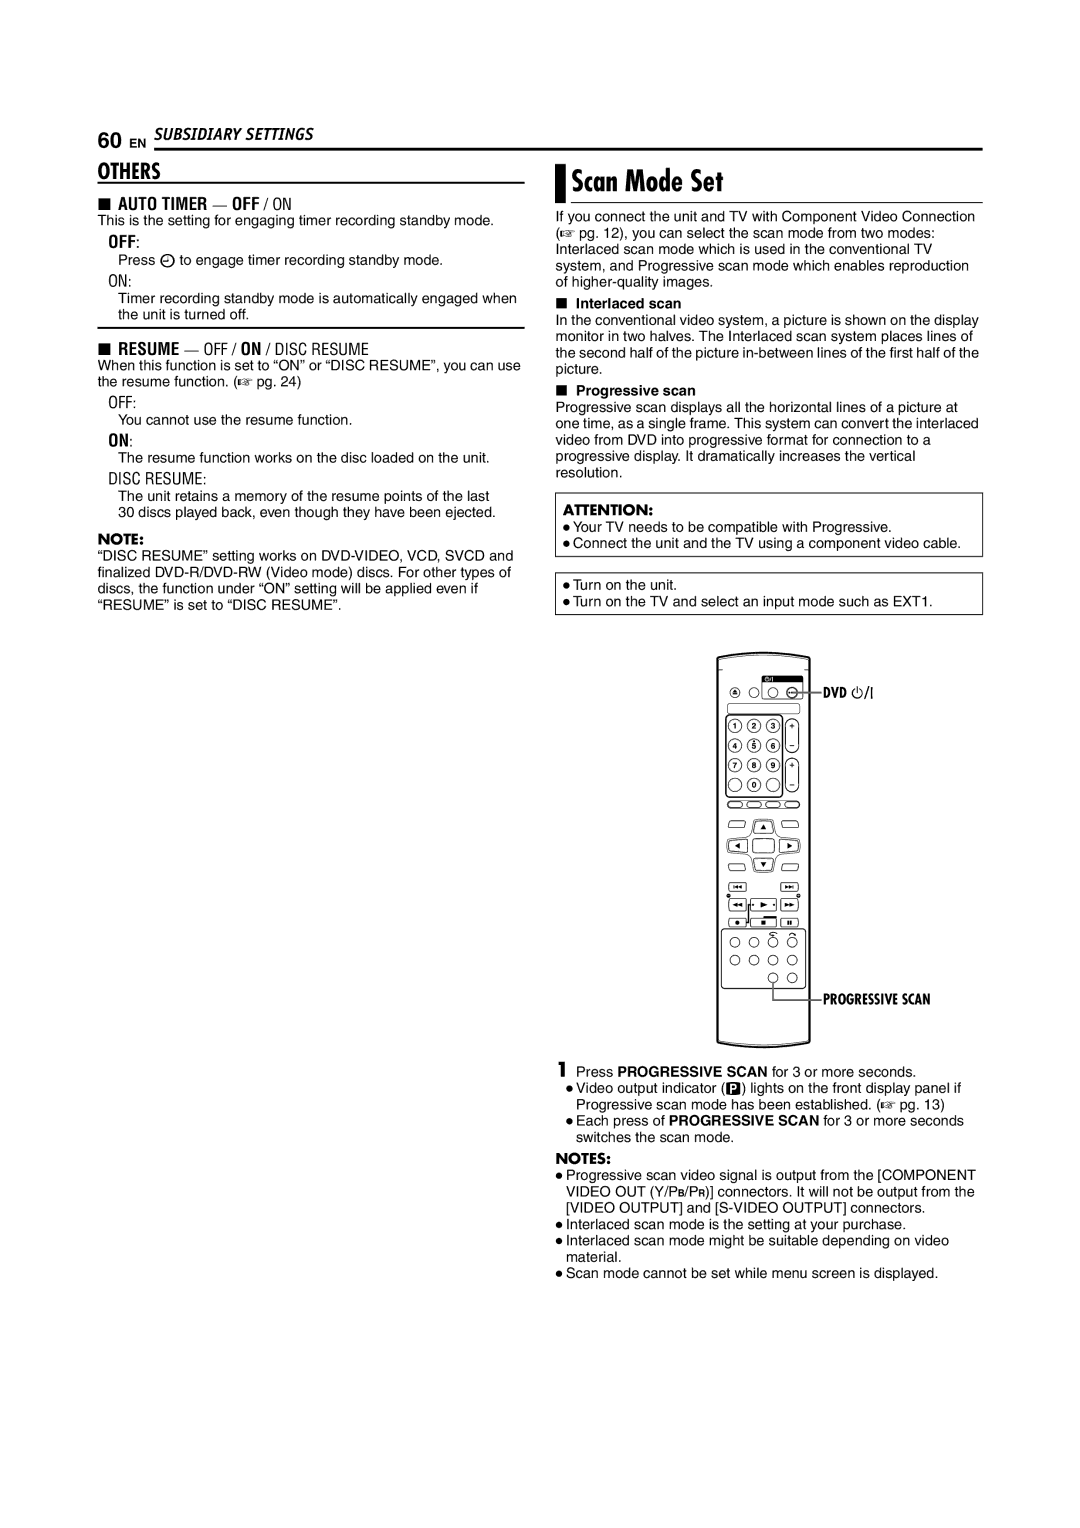
 PROGRESSIVE SCAN
1 Press PROGRESSIVE SCAN for 3 or more seconds.
● Video output indicator (q) lights on the front display panel if Progressive scan mode has been established. (A pg. 13)
● Each press of PROGRESSIVE SCAN for 3 or more seconds switches the scan mode.
NOTES:
● Progressive scan video signal is output from the [COMPONENT VIDEO OUT (Y/PB/PR)] connectors. It will not be output from the [VIDEO OUTPUT] and
● Interlaced scan mode is the setting at your purchase.
● Interlaced scan mode might be suitable depending on video material.
● Scan mode cannot be set while menu screen is displayed.
