Creating different settings for each side of a document
In this example, let’s assume you want to configure a
1.If you are not already on the Advanced tab:
•Select a Setting Shortcut from the main Kodak Scanner window that closely describes your desired output.
•Select Settings to display the Image Settings window.
•Select Advanced Image Setup icon on the Image Settings window to display the Advanced tab.
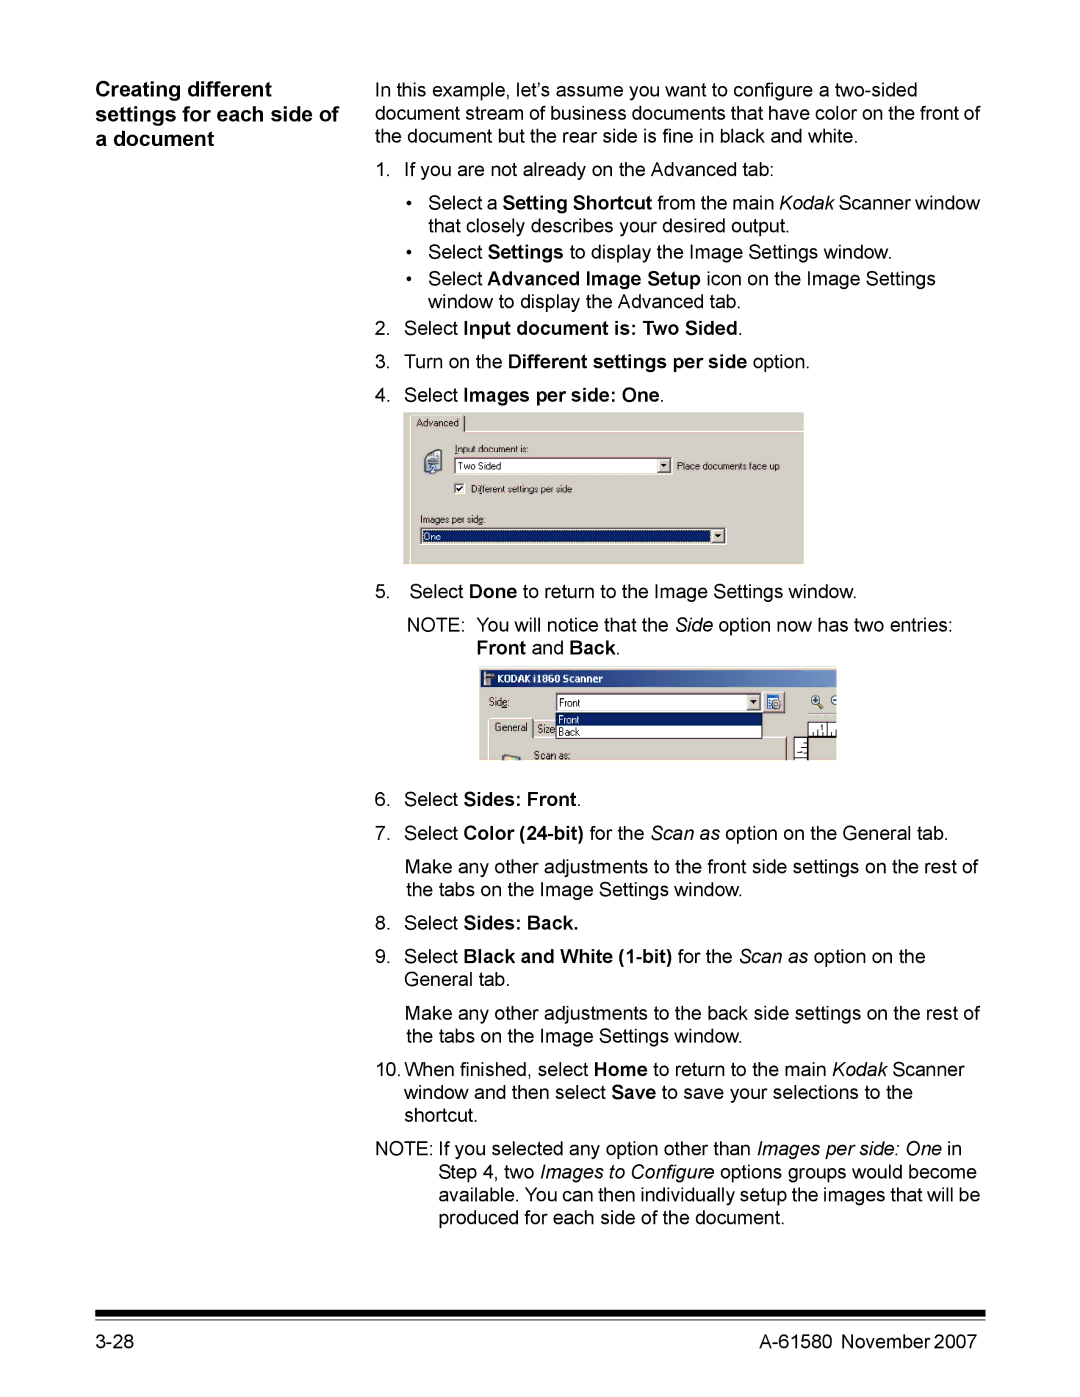
2.Select Input document is: Two Sided.
3.Turn on the Different settings per side option.
4.Select Images per side: One.
5. Select Done to return to the Image Settings window.
NOTE: You will notice that the Side option now has two entries: Front and Back.
6.Select Sides: Front.
7.Select Color
Make any other adjustments to the front side settings on the rest of the tabs on the Image Settings window.
8.Select Sides: Back.
9.Select Black and White
Make any other adjustments to the back side settings on the rest of the tabs on the Image Settings window.
10.When finished, select Home to return to the main Kodak Scanner window and then select Save to save your selections to the shortcut.
NOTE: If you selected any option other than Images per side: One in Step 4, two Images to Configure options groups would become available. You can then individually setup the images that will be produced for each side of the document.
|
