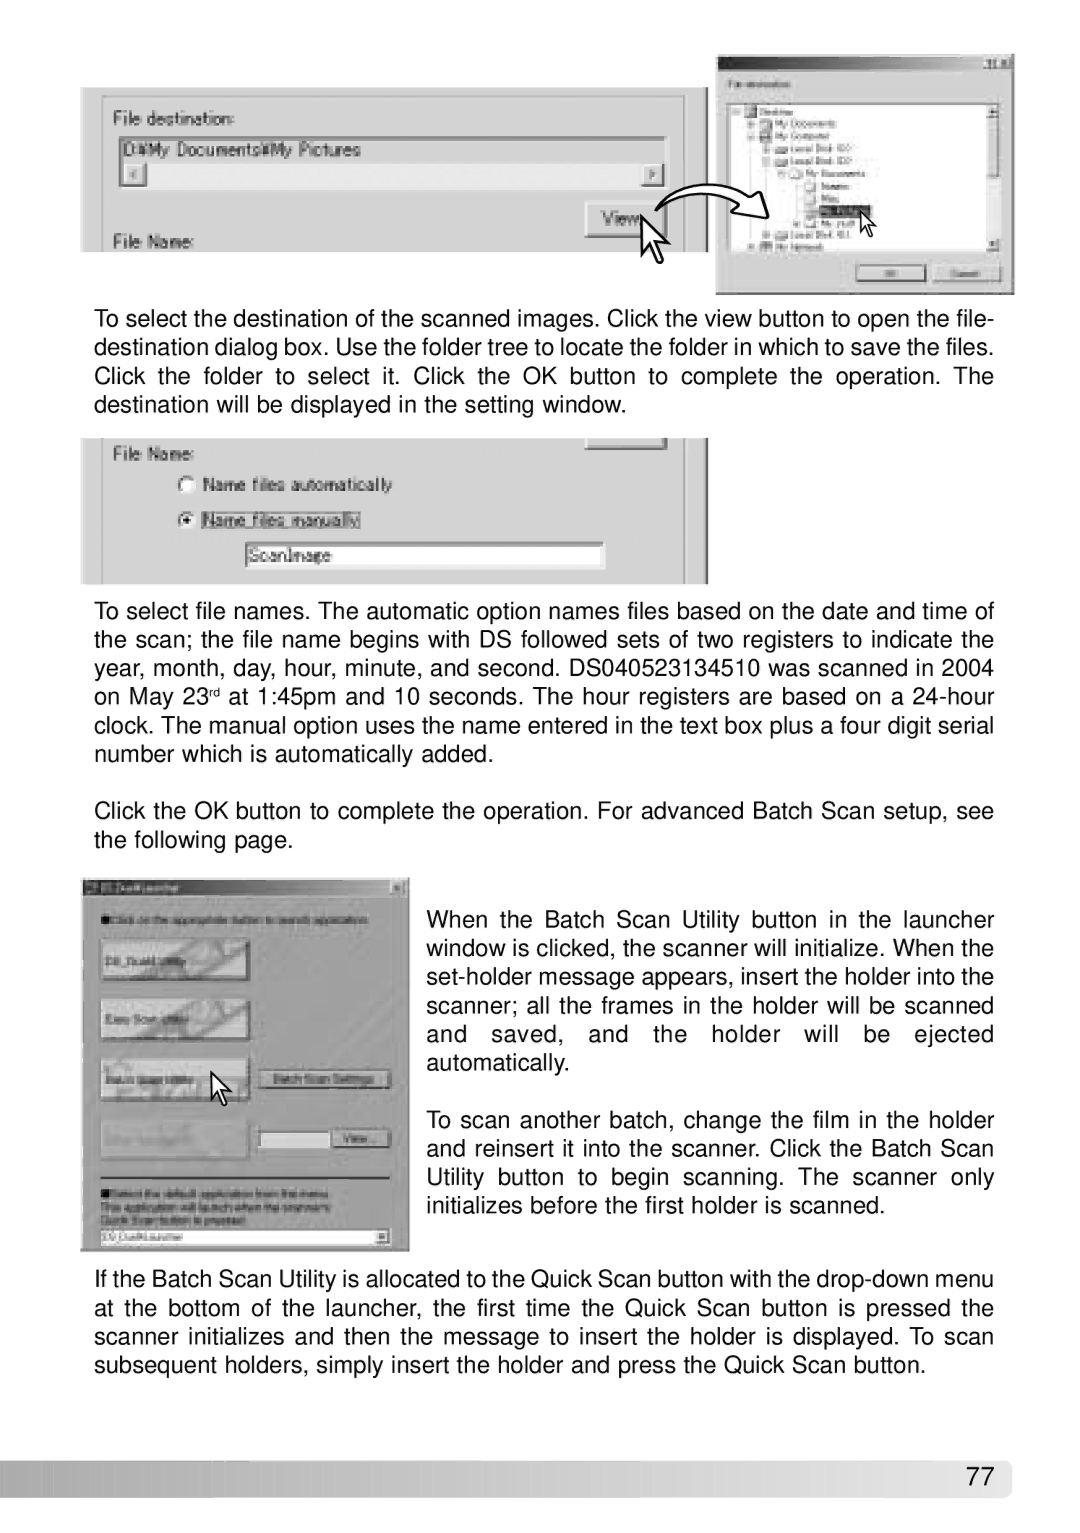
To select the destination of the scanned images. Click the view button to open the file- destination dialog box. Use the folder tree to locate the folder in which to save the files. Click the folder to select it. Click the OK button to complete the operation. The destination will be displayed in the setting window.
To select file names. The automatic option names files based on the date and time of the scan; the file name begins with DS followed sets of two registers to indicate the year, month, day, hour, minute, and second. DS040523134510 was scanned in 2004 on May 23rd at 1:45pm and 10 seconds. The hour registers are based on a
Click the OK button to complete the operation. For advanced Batch Scan setup, see the following page.
When the Batch Scan Utility button in the launcher window is clicked, the scanner will initialize. When the
To scan another batch, change the film in the holder and reinsert it into the scanner. Click the Batch Scan Utility button to begin scanning. The scanner only initializes before the first holder is scanned.
If the Batch Scan Utility is allocated to the Quick Scan button with the
![]()
![]()
![]()
![]()
![]()
![]()
![]()
![]()
![]()
![]()
![]()
![]()
![]()
![]()
![]()
![]()
![]()
![]()
![]()
![]()
![]()
![]()
![]()
![]()
![]()
![]()
![]()
![]()
![]()
![]()
![]()
![]()
![]()
![]()
![]()
![]()
![]()
![]()
![]()
![]()
![]() 77
77![]()
![]()