Grab tool
When an image is larger than the display area, the grab tool can be used to scroll the image. Click the grab button on the tool bar. Click and drag on the image to scroll. This tool cannot be used with the
Magnifying tool
The display image can be enlarged or reduced. Click the magnifying button on the tool bar. Click on the image to enlarge. To reduce, hold down the control (Windows) or option key (Macintosh) and click on the image. When the image has reached the magnification limit, the plus or minus sign in the magnifying tool disappears. This tool cannot be used with the
Auto cropping
Auto cropping eliminates the blank space around the image area. Clicking the
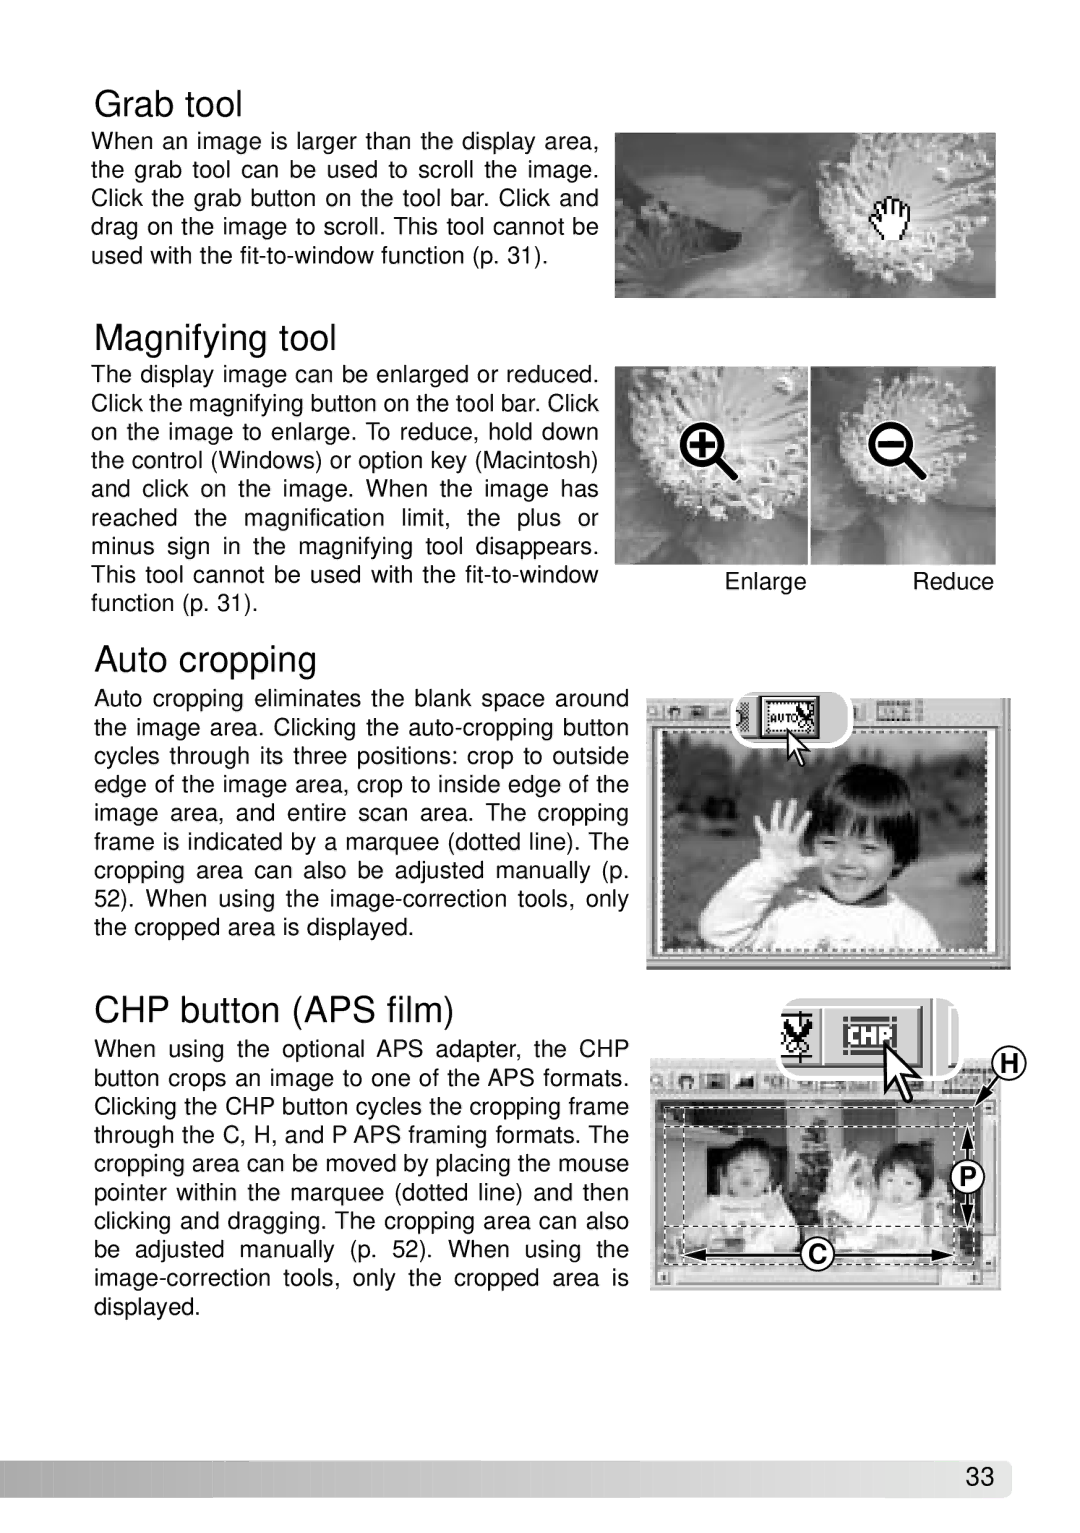
CHP button (APS film)
When using the optional APS adapter, the CHP button crops an image to one of the APS formats. Clicking the CHP button cycles the cropping frame through the C, H, and P APS framing formats. The cropping area can be moved by placing the mouse pointer within the marquee (dotted line) and then clicking and dragging. The cropping area can also be adjusted manually (p. 52). When using the
Enlarge Reduce
H
P
C
![]()
![]()
![]()
![]()
![]()
![]()
![]()
![]()
![]()
![]()
![]()
![]()
![]()
![]()
![]()
![]()
![]()
![]()
![]()
![]()
![]()
![]()
![]()
![]()
![]()
![]()
![]()
![]()
![]()
![]()
![]()
![]()
![]()
![]()
![]()
![]()
![]()
![]()
![]()
![]()
![]() 33
33![]()
![]()