LaCie Network Space 2 • DESIGN BY NEIL POULTON | Administering Your LaCie Network Space 2 |
User Manual | page 51 |
|
|
4.14.1. Connecting an External Hard Disk
You can connect an external USB hard disk or USB key to back up the data on your LaCie Network Space 2 or as a way to add stor- age capacity. Connected hard disks are accessed similarly to shared folders.
External USB hard disks must be formatted in one of the supported systems to be compatible with the LaCie Network Space 2:
To connect an external hard disk:
1.Make sure that your LaCie Network Space 2 is connected to your home network.
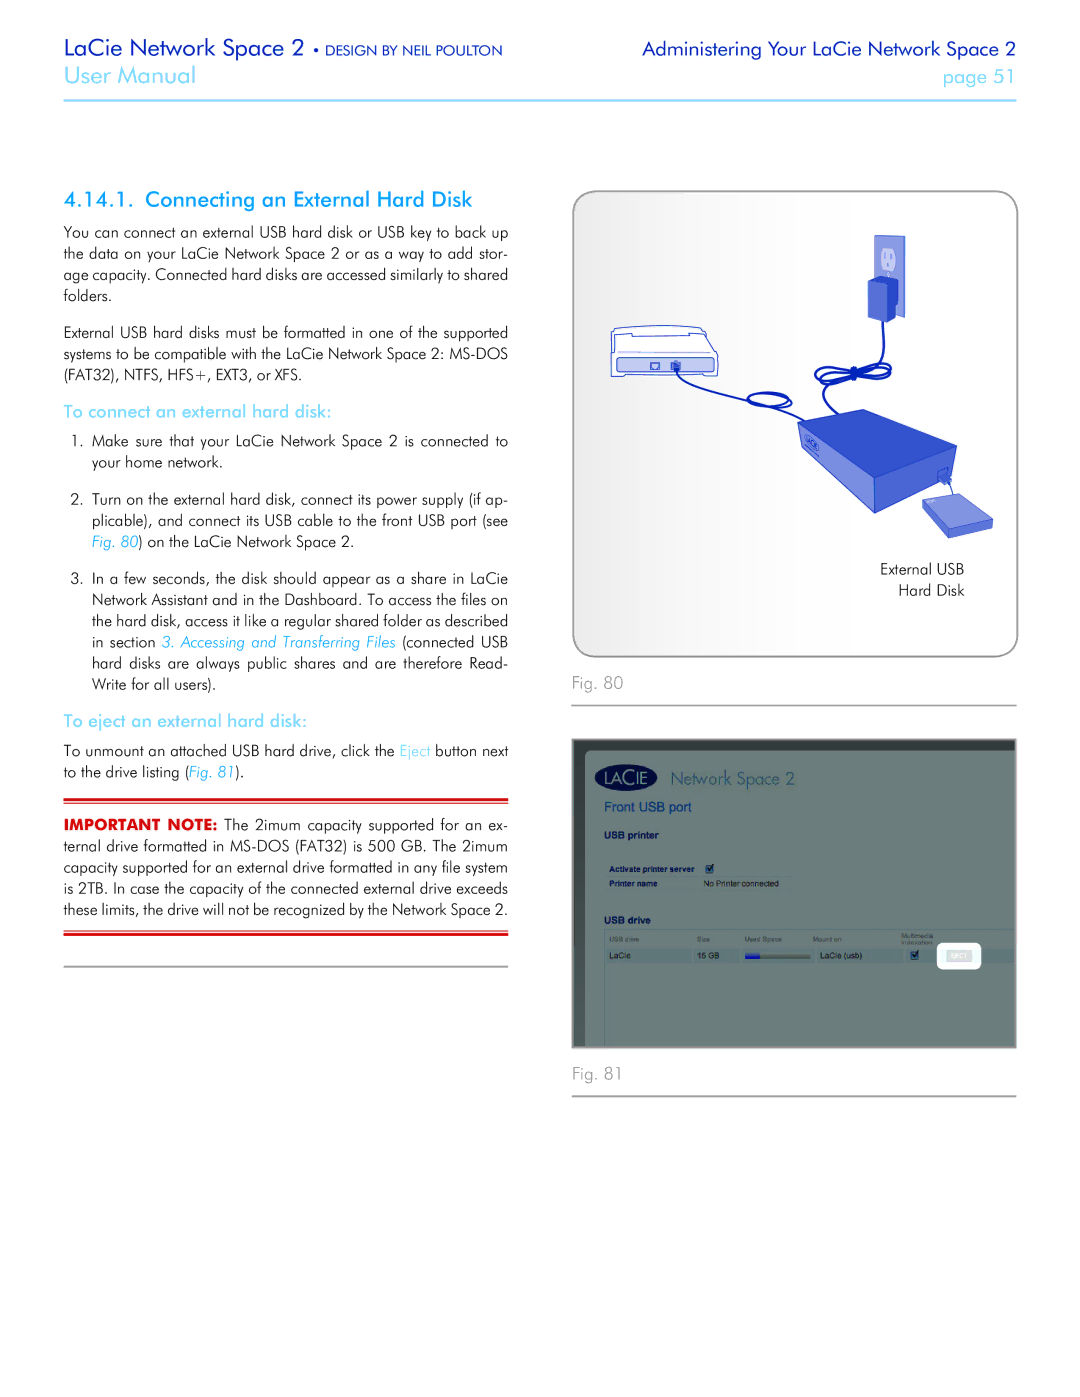
2.Turn on the external hard disk, connect its power supply (if ap- plicable), and connect its USB cable to the front USB port (see Fig. 80) on the LaCie Network Space 2.
3.In a few seconds, the disk should appear as a share in LaCie Network Assistant and in the Dashboard. To access the files on the hard disk, access it like a regular shared folder as described in section 3. Accessing and Transferring Files (connected USB hard disks are always public shares and are therefore Read-
Write for all users). | Fig. 80 |
To eject an external hard disk:
To unmount an attached USB hard drive, click the Eject button next to the drive listing (Fig. 81).
IMPORTANT NOTE: The 2imum capacity supported for an ex- ternal drive formatted in
Fig. 81
External USB Hard Disk