Chapter 3 - Software Loading and Configuration
32.Win3.1 users - you are returned to your Program Manager where the MultiFRAD Program Group and Program Item (Windows icons) have been created.
Win95/NT users - you are returned to your MultiFRAD 2000 folder which will be visible on your desktop.
Your MultiFRAD is operational at this time.
33.To map the detected DLCIs to your data ports and protocols, proceed with the following steps:
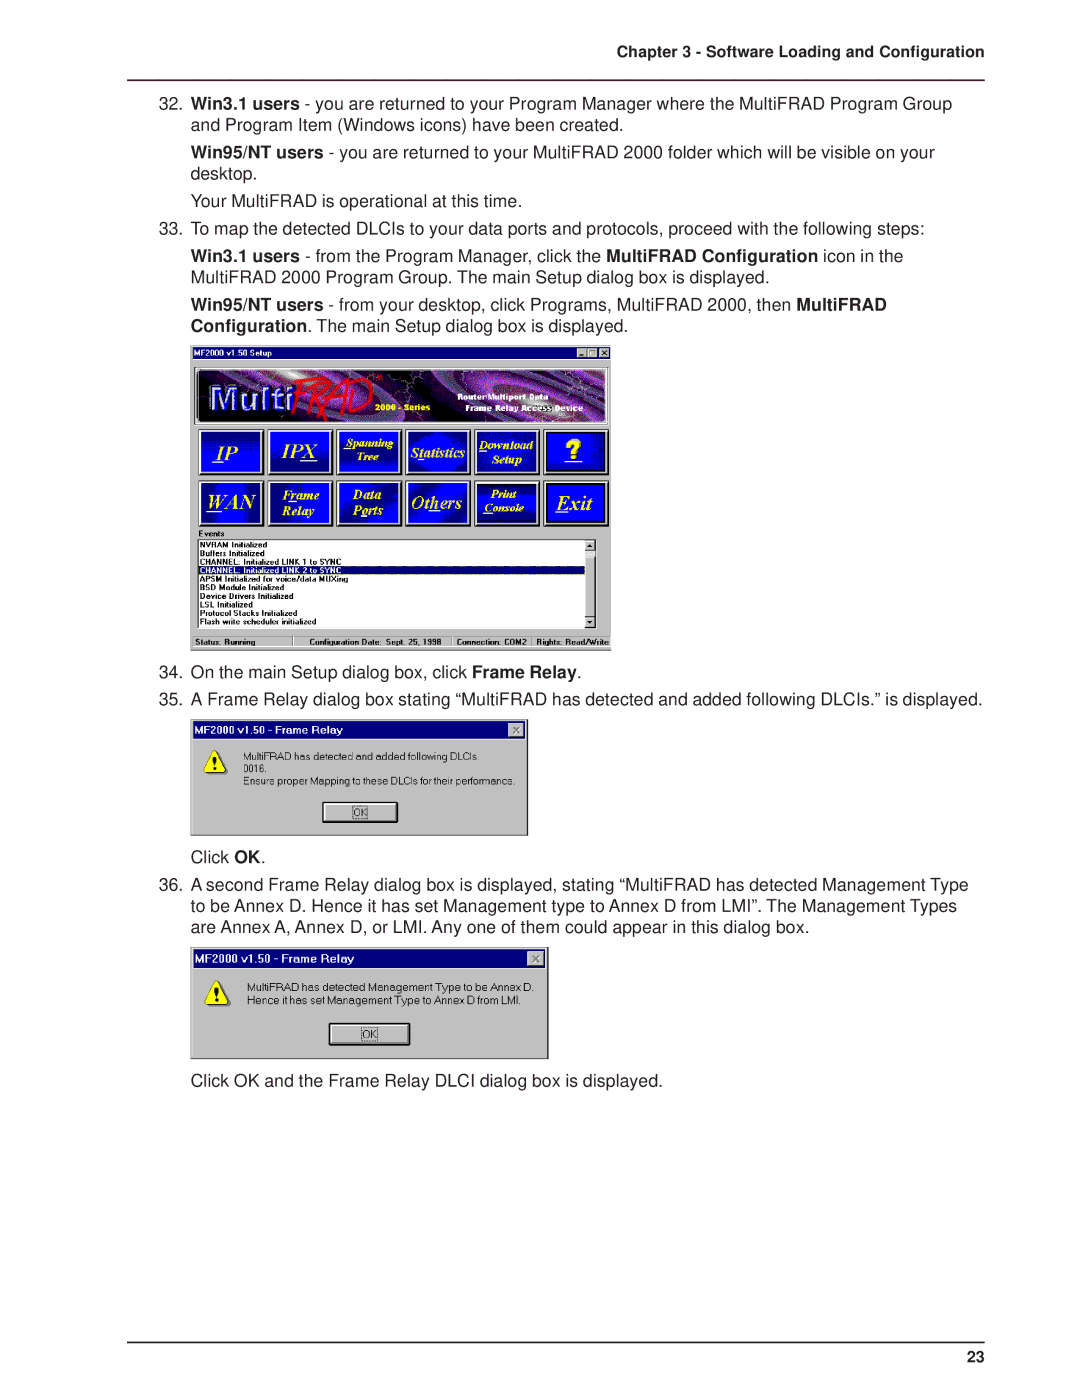
Win3.1 users - from the Program Manager, click the MultiFRAD Configuration icon in the MultiFRAD 2000 Program Group. The main Setup dialog box is displayed.
Win95/NT users - from your desktop, click Programs, MultiFRAD 2000, then MultiFRAD Configuration. The main Setup dialog box is displayed.
34.On the main Setup dialog box, click Frame Relay.
35.A Frame Relay dialog box stating “MultiFRAD has detected and added following DLCIs.” is displayed.
Click OK.
36.A second Frame Relay dialog box is displayed, stating “MultiFRAD has detected Management Type to be Annex D. Hence it has set Management type to Annex D from LMI”. The Management Types are Annex A, Annex D, or LMI. Any one of them could appear in this dialog box.
Click OK and the Frame Relay DLCI dialog box is displayed.
23