Muratec MFX-C2500 Scanning by a Network Connection, Preparing for network scanning, Scan Button

Models: MFX-C2500

1 160
Download 160 pages 23.29 Kb
Page 44
Image 44

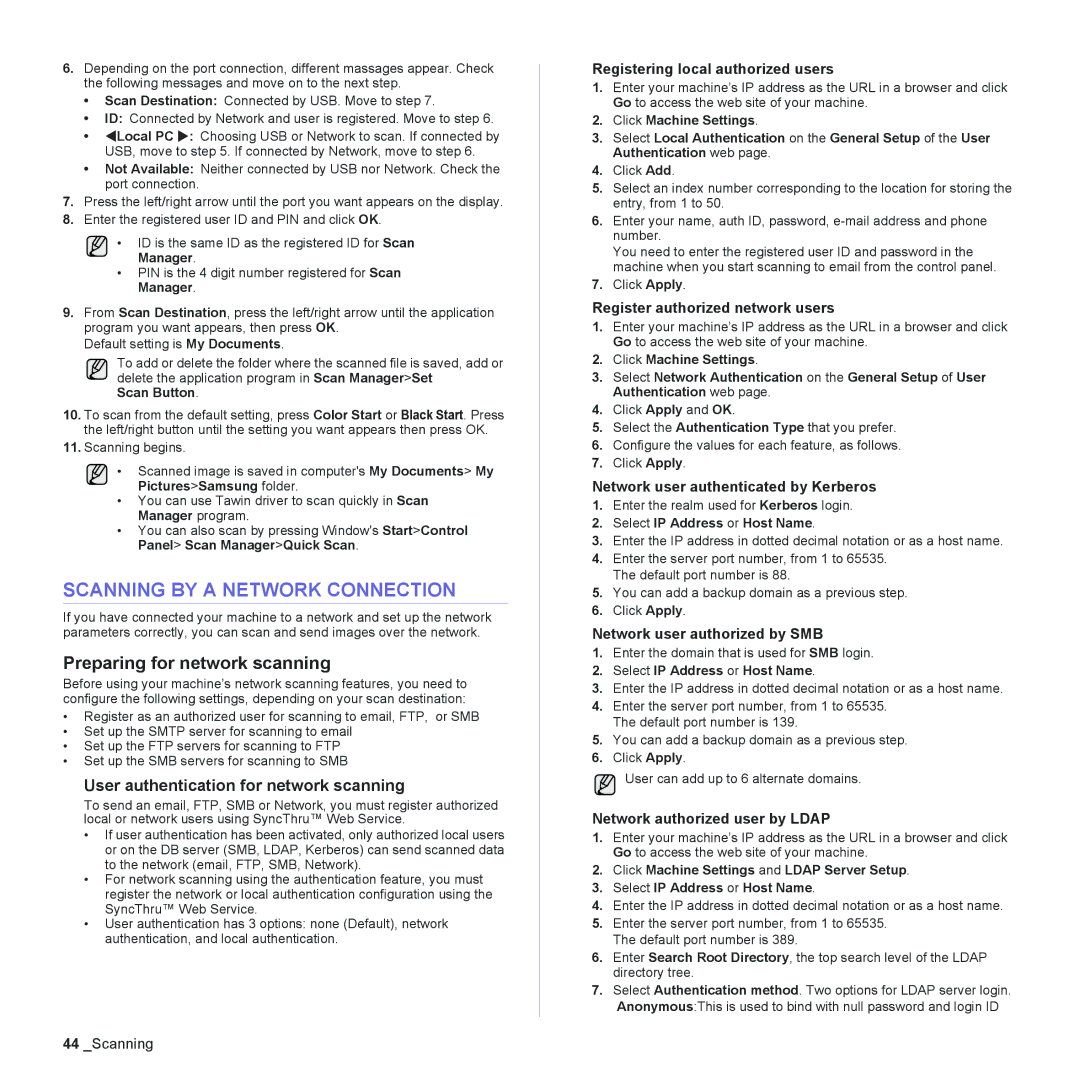
6.Depending on the port connection, different massages appear. Check the following messages and move on to the next step.

Scan Destination: Connected by USB. Move to step 7.

ID: Connected by Network and user is registered. Move to step 6.

WLocal PC X: Choosing USB or Network to scan. If connected by USB, move to step 5. If connected by Network, move to step 6.

Not Available: Neither connected by USB nor Network. Check the port connection.

7.Press the left/right arrow until the port you want appears on the display.

8.Enter the registered user ID and PIN and click OK.

• ID is the same ID as the registered ID for Scan Manager.

PIN is the 4 digit number registered for Scan Manager.

9.From Scan Destination, press the left/right arrow until the application program you want appears, then press OK.

Default setting is My Documents.

To add or delete the folder where the scanned file is saved, add or delete the application program in Scan Manager>Set

Scan Button.

10.To scan from the default setting, press Color Start or Black Start. Press the left/right button until the setting you want appears then press OK.

11.Scanning begins.

• Scanned image is saved in computer's My Documents> My Pictures>Samsung folder.

You can use Tawin driver to scan quickly in Scan Manager program.

You can also scan by pressing Window's Start>Control Panel> Scan Manager>Quick Scan.

SCANNING BY A NETWORK CONNECTION

If you have connected your machine to a network and set up the network parameters correctly, you can scan and send images over the network.

Preparing for network scanning

Before using your machine’s network scanning features, you need to configure the following settings, depending on your scan destination:

Register as an authorized user for scanning to email, FTP, or SMB

Set up the SMTP server for scanning to email

Set up the FTP servers for scanning to FTP

Set up the SMB servers for scanning to SMB

User authentication for network scanning

To send an email, FTP, SMB or Network, you must register authorized local or network users using SyncThru™ Web Service.

If user authentication has been activated, only authorized local users or on the DB server (SMB, LDAP, Kerberos) can send scanned data to the network (email, FTP, SMB, Network).

For network scanning using the authentication feature, you must register the network or local authentication configuration using the SyncThru™ Web Service.

User authentication has 3 options: none (Default), network authentication, and local authentication.

Registering local authorized users

1.Enter your machine’s IP address as the URL in a browser and click Go to access the web site of your machine.

2.Click Machine Settings.

3.Select Local Authentication on the General Setup of the User Authentication web page.

4.Click Add.

5.Select an index number corresponding to the location for storing the entry, from 1 to 50.

6.Enter your name, auth ID, password, e-mail address and phone number.

You need to enter the registered user ID and password in the machine when you start scanning to email from the control panel.

7.Click Apply.

Register authorized network users

1.Enter your machine’s IP address as the URL in a browser and click Go to access the web site of your machine.

2.Click Machine Settings.

3.Select Network Authentication on the General Setup of User Authentication web page.

4.Click Apply and OK.

5.Select the Authentication Type that you prefer.

6.Configure the values for each feature, as follows.

7.Click Apply.

Network user authenticated by Kerberos

1.Enter the realm used for Kerberos login.

2.Select IP Address or Host Name.

3.Enter the IP address in dotted decimal notation or as a host name.

4.Enter the server port number, from 1 to 65535. The default port number is 88.

5.You can add a backup domain as a previous step.

6.Click Apply.

Network user authorized by SMB

1.Enter the domain that is used for SMB login.

2.Select IP Address or Host Name.

3.Enter the IP address in dotted decimal notation or as a host name.

4.Enter the server port number, from 1 to 65535. The default port number is 139.

5.You can add a backup domain as a previous step.

6.Click Apply.

User can add up to 6 alternate domains.

Network authorized user by LDAP

1.Enter your machine’s IP address as the URL in a browser and click Go to access the web site of your machine.

2.Click Machine Settings and LDAP Server Setup.

3.Select IP Address or Host Name.

4.Enter the IP address in dotted decimal notation or as a host name.

5.Enter the server port number, from 1 to 65535. The default port number is 389.

6.Enter Search Root Directory, the top search level of the LDAP directory tree.

7.Select Authentication method. Two options for LDAP server login. Anonymous:This is used to bind with null password and login ID

44_Scanning

Page 44
Image 44
Muratec MFX-C2500 manual Scanning by a Network Connection, Preparing for network scanning, Scan Button

MFX-C2500 specifications

The Muratec MFX-C2500 is a versatile multifunction printer designed for businesses that require efficient printing, scanning, copying, and faxing capabilities. This device stands out in the competitive market of office technology with its robust feature set and advanced technologies, making it a reliable workhorse for any workplace.

One of the key features of the MFX-C2500 is its high-speed printing capability, with an output speed of up to 25 pages per minute in both color and black and white. This rapid performance ensures that documents can be produced quickly, thus enhancing productivity in busy office environments. The printer supports a resolution of up to 1200 x 1200 dpi, ensuring that printed materials are sharp, clear, and professional-looking.

Additionally, the MFX-C2500 offers a high monthly duty cycle, allowing it to handle substantial workloads without compromising on speed or quality. This makes it an ideal choice for medium to large businesses that require reliable performance over extended periods.

In terms of scanning capabilities, the MFX-C2500 is equipped with a fast and efficient document feeder that can process double-sided documents. This feature not only saves time but also reduces paper usage, making it an environmentally friendly choice. The scanner also offers a variety of formats, including PDF, JPEG, and TIFF, making it easy to digitize documents for storage or sharing.

The MFX-C2500 also features advanced connectivity options, including USB, network, and wireless printing capabilities. Users can print directly from a variety of devices, such as smartphones and tablets, thanks to its compatibility with mobile printing technologies like Apple AirPrint and Google Cloud Print. This flexibility ensures that users can access the printer from virtually anywhere in the office.

Security is another important consideration, and the MFX-C2500 addresses this with robust security features that protect sensitive information. The device includes user authentication options and secure printing protocols, ensuring that only authorized personnel have access to the printer’s functions.

Lastly, the MFX-C2500 incorporates advanced energy-saving technologies, helping businesses reduce their environmental footprint while also lowering utility costs. It meets Energy Star certification standards, which is an important consideration for companies aiming for sustainability.

In summary, the Muratec MFX-C2500 is a powerful and efficient multifunction printer that combines high-speed performance, advanced scanning capabilities, and robust security features, making it an excellent choice for businesses looking to enhance their workflow and productivity.