Adjustment of Screen Position (Horizontal)
Horizontal (H) Adjustment Screen
1.Align the cursor with icon (2)
The cursor is moved left and right with the POSITION CONTROL◀ / ♣ buttons.
Adjustment is possible only in multi mode.
Horizontal (H) adjustment screen
Icon (2)
H-POSITION 1
H-WIDTH
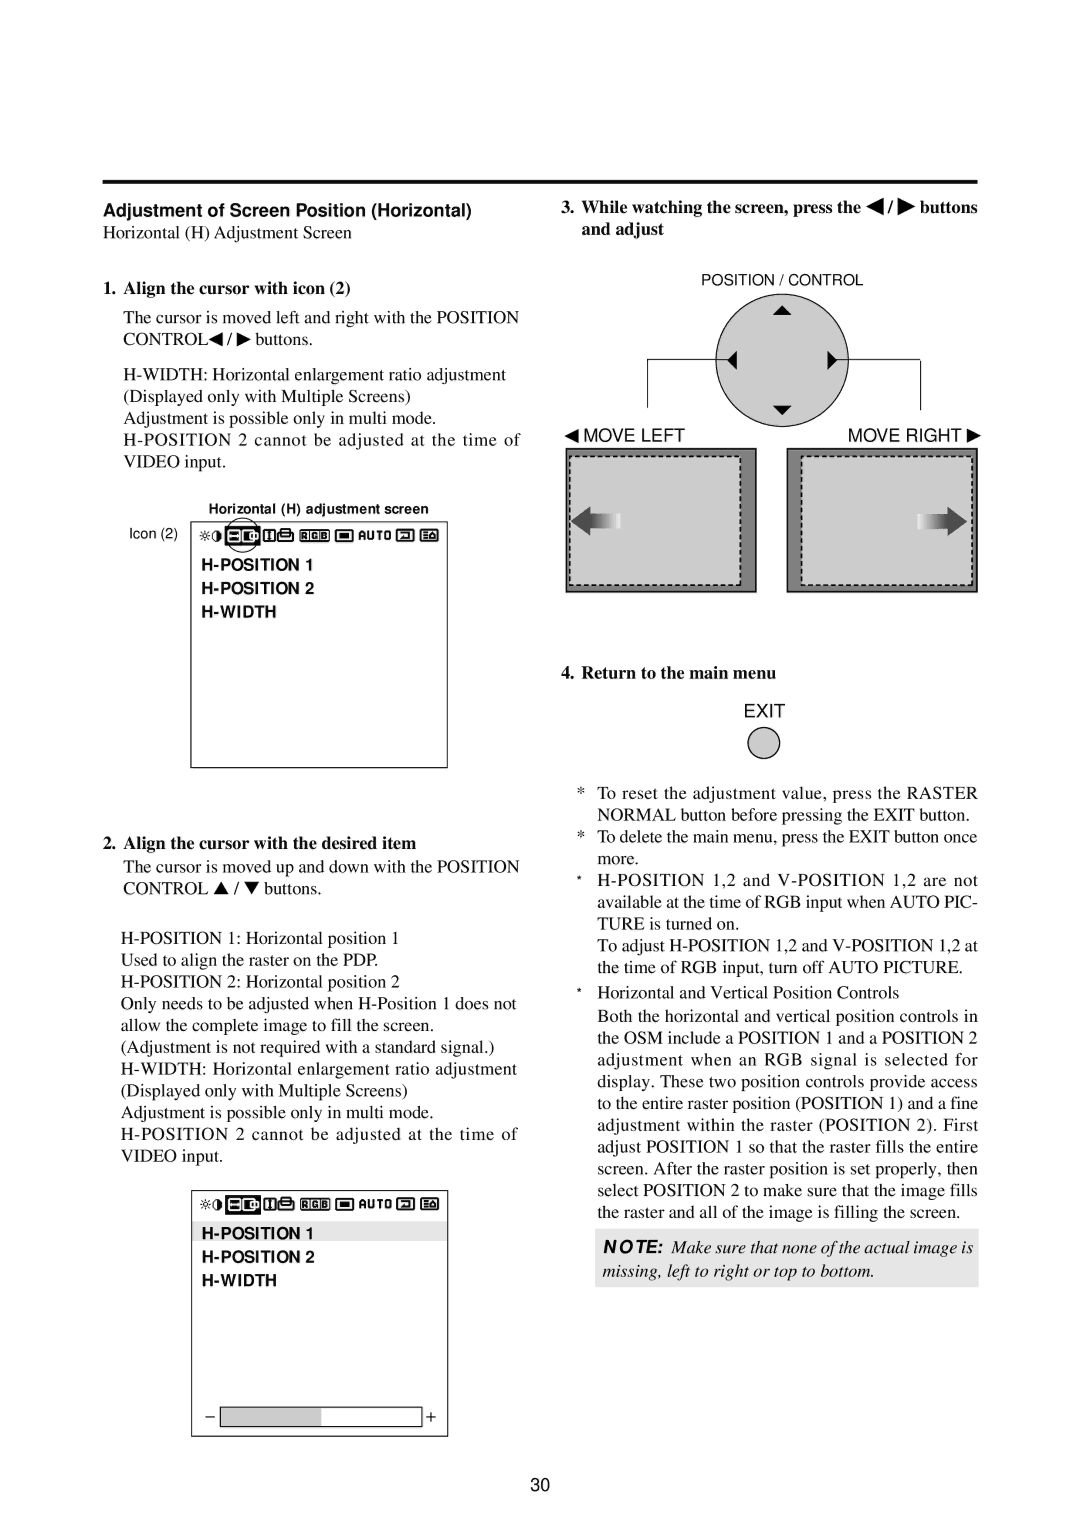
3.While watching the screen, press the ◀ / ♣ buttons and adjust
POSITION / CONTROL
◀ MOVE LEFT |
| MOVE RIGHT ♣ | ||||
|
|
|
|
|
|
|
|
|
|
|
|
|
|
|
|
|
|
|
|
|
4.Return to the main menu
EXIT
2.Align the cursor with the desired item
The cursor is moved up and down with the POSITION CONTROL ▲ / ▼ buttons.
Only needs to be adjusted when
Adjustment is possible only in multi mode.
*To reset the adjustment value, press the RASTER NORMAL button before pressing the EXIT button.
*To delete the main menu, press the EXIT button once more.
*
To adjust
*Horizontal and Vertical Position Controls
Both the horizontal and vertical position controls in the OSM include a POSITION 1 and a POSITION 2 adjustment when an RGB signal is selected for display. These two position controls provide access to the entire raster position (POSITION 1) and a fine adjustment within the raster (POSITION 2). First adjust POSITION 1 so that the raster fills the entire screen. After the raster position is set properly, then select POSITION 2 to make sure that the image fills the raster and all of the image is filling the screen.
NOTE: Make sure that none of the actual image is missing, left to right or top to bottom.
30