Adjustment of the Clock Frequency/Clock Phase
(AUTO PICTURE)
When AUTO PICTURE is set to ON, normally the clock frequency adjustment and the clock phase adjustment are not necessary, but this adjustment should be made when the automatic adjustment cannot be made correctly.
Make the adjustment when a new signal has been input, when vertical lines appear blurry, or if the image appears unclear.
the time of RGB input when AUTO PICTURE is turned on.
To adjust
time of RGB input, turn off AUTO PICTURE.
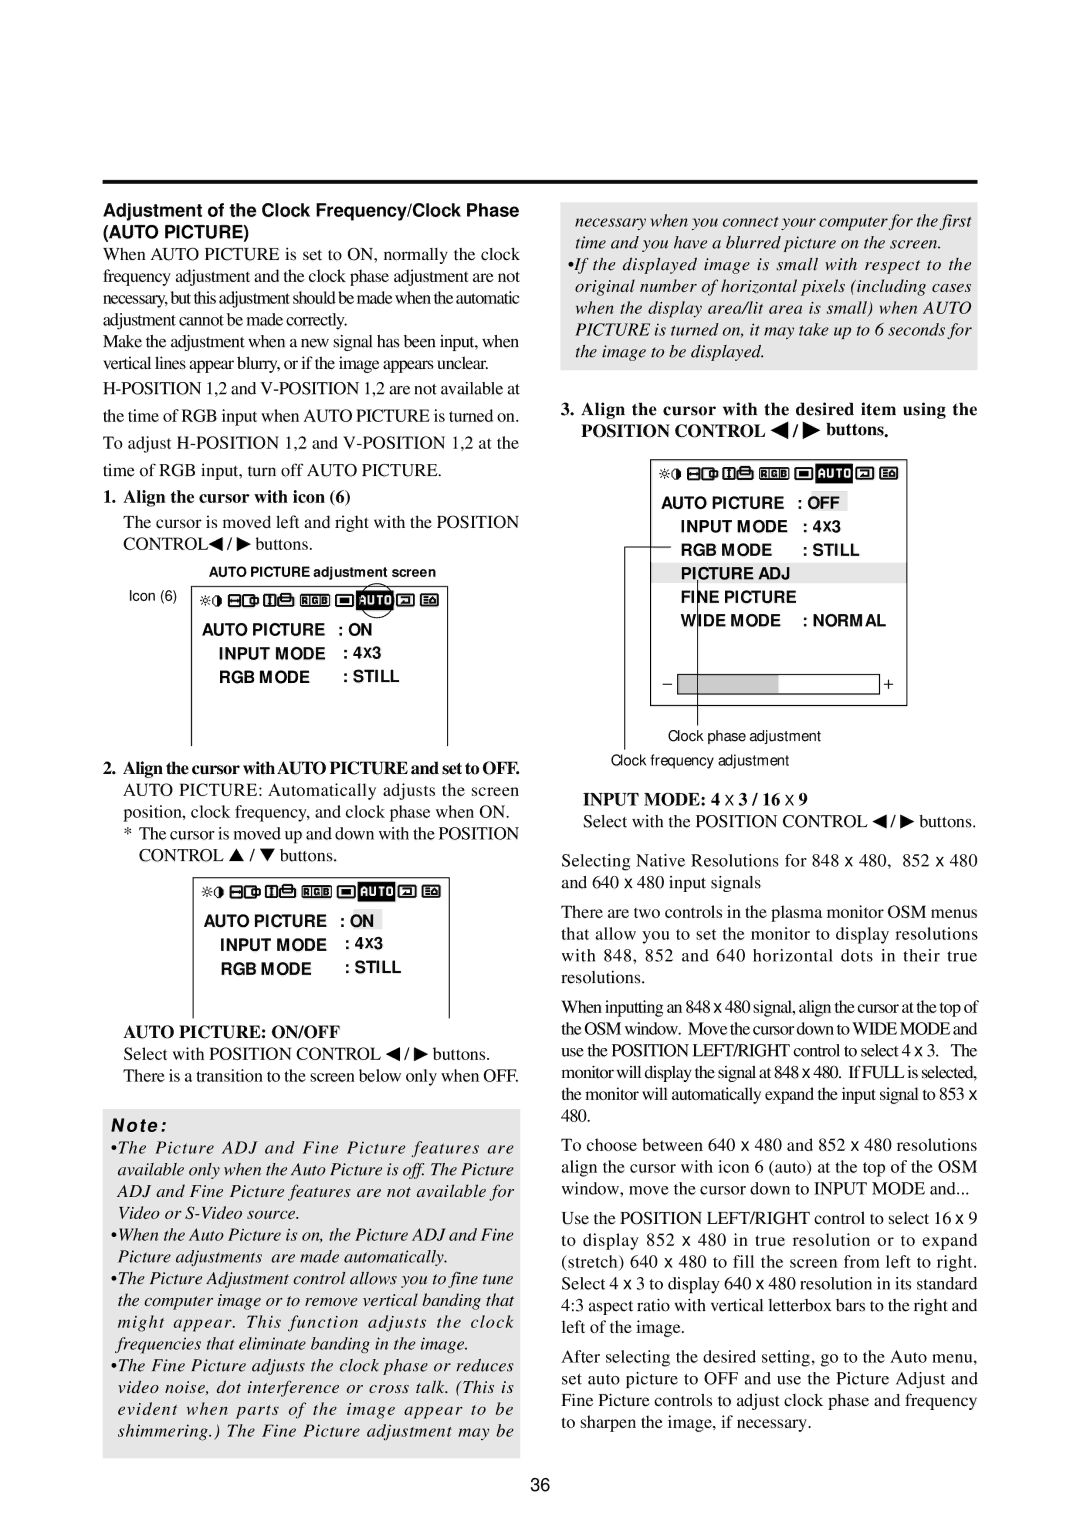
1.Align the cursor with icon (6)
The cursor is moved left and right with the POSITION CONTROL◀ / ♣ buttons.
AUTO PICTURE adjustment screen
Icon (6)
AUTO PICTURE | : ON |
INPUT MODE | : 4X3 |
RGB MODE | : STILL |
2.Align the cursor with AUTO PICTURE and set to OFF. AUTO PICTURE: Automatically adjusts the screen position, clock frequency, and clock phase when ON.
*The cursor is moved up and down with the POSITION CONTROL ▲ / ▼ buttons.
AUTO PICTURE | : | ON |
|
INPUT MODE | : | 4X3 |
|
RGB MODE | : STILL | ||
AUTO PICTURE: ON/OFF
Select with POSITION CONTROL ◀ / ♣ buttons. There is a transition to the screen below only when OFF.
Note:
•The Picture ADJ and Fine Picture features are available only when the Auto Picture is off. The Picture ADJ and Fine Picture features are not available for Video or
•When the Auto Picture is on, the Picture ADJ and Fine Picture adjustments are made automatically.
•The Picture Adjustment control allows you to fine tune the computer image or to remove vertical banding that might appear. This function adjusts the clock frequencies that eliminate banding in the image.
•The Fine Picture adjusts the clock phase or reduces video noise, dot interference or cross talk. (This is evident when parts of the image appear to be shimmering.) The Fine Picture adjustment may be
necessary when you connect your computer for the first time and you have a blurred picture on the screen.
•If the displayed image is small with respect to the original number of horizontal pixels (including cases when the display area/lit area is small) when AUTO PICTURE is turned on, it may take up to 6 seconds for the image to be displayed.
3.Align the cursor with the desired item using the POSITION CONTROL ◀ / ♣ buttons.
|
|
|
|
|
|
|
|
|
|
|
|
|
|
|
|
|
|
|
|
|
|
|
|
|
|
|
|
|
|
|
|
|
|
|
|
|
|
|
|
|
|
|
|
|
|
|
|
|
|
|
|
|
|
|
|
| AUTO PICTURE | : | OFF |
|
|
|
|
| |||||
|
|
|
| INPUT MODE | : 4X3 | ||||||||
|
|
|
| RGB MODE | : STILL | ||||||||
|
|
|
| ||||||||||
|
|
|
| PICTURE ADJ |
|
|
|
|
|
|
|
| |
|
|
|
| FINE PICTURE | : NORMAL | ||||||||
|
|
|
| WIDE MODE | |||||||||
|
|
|
|
|
|
|
|
|
|
|
|
|
|
|
|
|
|
|
|
|
|
|
|
|
|
|
|
|
|
|
|
|
|
|
|
|
|
|
|
|
|
Clock phase adjustment
Clock frequency adjustment
INPUT MODE: 4 X 3 / 16 X 9
Select with the POSITION CONTROL ◀ / ♣ buttons.
Selecting Native Resolutions for 848 x 480, 852 x 480 and 640 x 480 input signals
There are two controls in the plasma monitor OSM menus that allow you to set the monitor to display resolutions with 848, 852 and 640 horizontal dots in their true resolutions.
When inputting an 848 x 480 signal, align the cursor at the top of the OSM window. Move the cursor down to WIDE MODE and use the POSITION LEFT/RIGHT control to select 4 x 3. The monitor will display the signal at 848 x 480. If FULL is selected, the monitor will automatically expand the input signal to 853 x 480.
To choose between 640 x 480 and 852 x 480 resolutions align the cursor with icon 6 (auto) at the top of the OSM window, move the cursor down to INPUT MODE and...
Use the POSITION LEFT/RIGHT control to select 16 x 9 to display 852 x 480 in true resolution or to expand (stretch) 640 x 480 to fill the screen from left to right. Select 4 x 3 to display 640 x 480 resolution in its standard 4:3 aspect ratio with vertical letterbox bars to the right and left of the image.
After selecting the desired setting, go to the Auto menu, set auto picture to OFF and use the Picture Adjust and Fine Picture controls to adjust clock phase and frequency to sharpen the image, if necessary.
36