Utilities and Diagnostics
Uploading a file can also be useful for troubleshooting purposes. The uploaded configuration file can be tested on a different Netopia 4553 by Netopia or your network administrator.
The procedure below applies whether you are using the console or the WAN interface. To upload a configuration file:
1.Decide on a name for the file and a path for saving it.
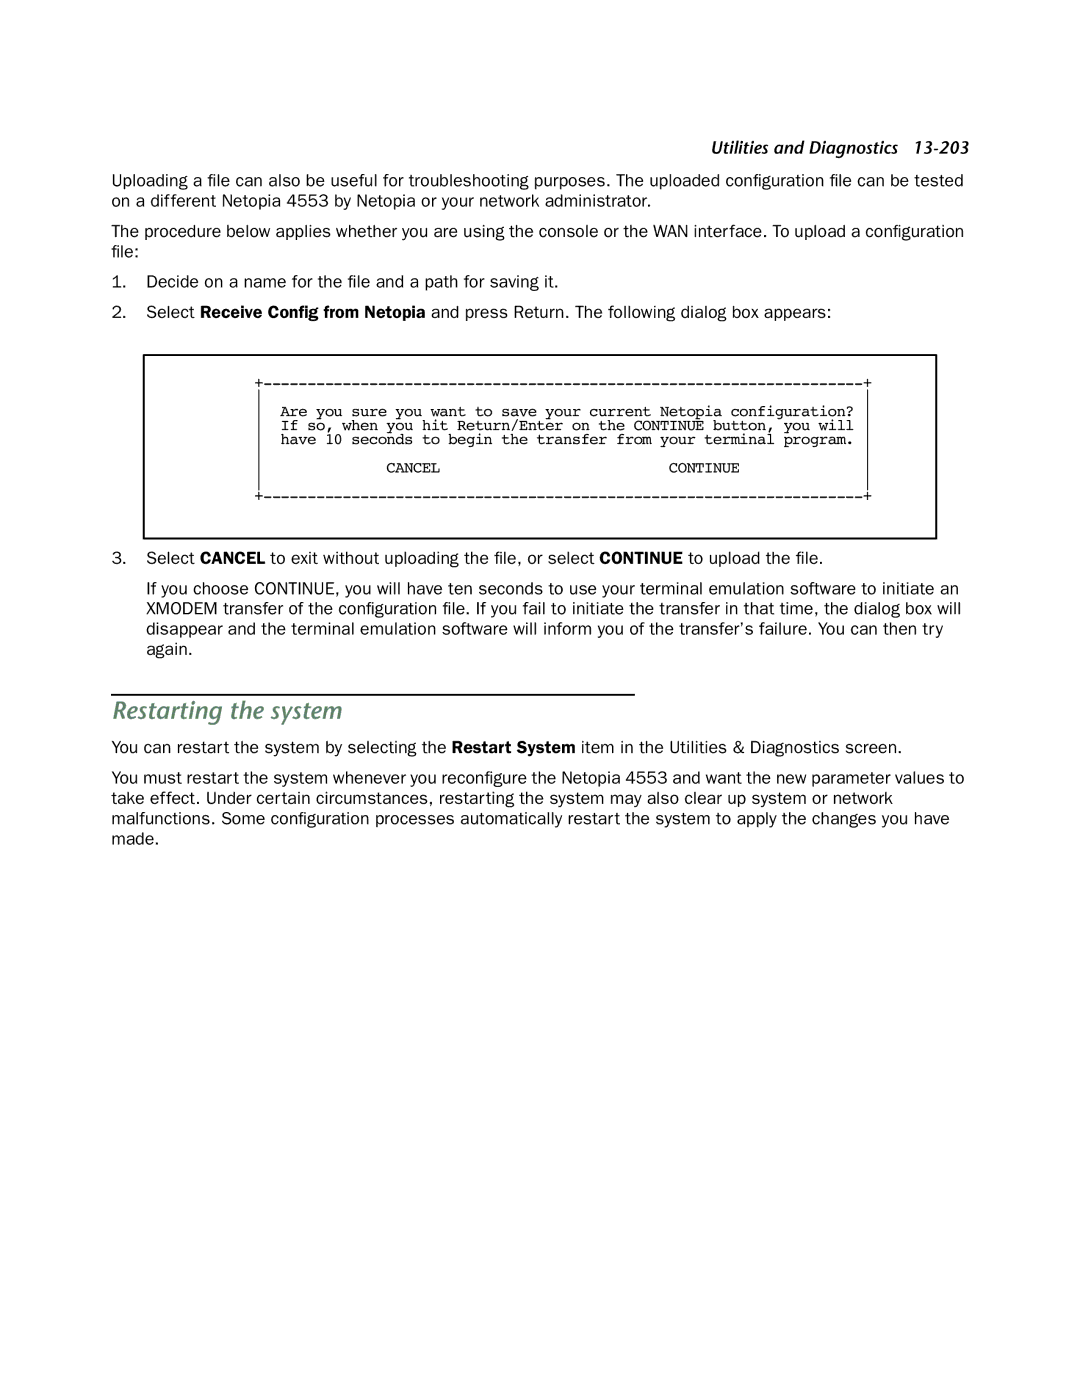
2.Select Receive Config from Netopia and press Return. The following dialog box appears:
| + | ||
|
| ||
Are you sure you want to save your current Netopia configuration? | |||
If so, when you hit Return/Enter on the CONTINUE button, you will | |||
have 10 seconds to begin the transfer from your terminal program. | |||
|
| ||
CANCEL | CONTINUE | ||
|
| ||
| + | ||
3.Select CANCEL to exit without uploading the file, or select CONTINUE to upload the file.
If you choose CONTINUE, you will have ten seconds to use your terminal emulation software to initiate an XMODEM transfer of the configuration file. If you fail to initiate the transfer in that time, the dialog box will disappear and the terminal emulation software will inform you of the transfer’s failure. You can then try again.
Restarting the system
You can restart the system by selecting the Restart System item in the Utilities & Diagnostics screen.
You must restart the system whenever you reconfigure the Netopia 4553 and want the new parameter values to take effect. Under certain circumstances, restarting the system may also clear up system or network malfunctions. Some configuration processes automatically restart the system to apply the changes you have made.
