6-32 User’s Reference Guide
3.Select a Clock Source, either Network (the default) or Internal.
If you are using an
4.Select Data Link Encapsulation and from the
■If you selected RFC1483, the next
■If you selected PPP, the next
5.The next two fields, Data Circuit VPI and Data Circuit VCI are editable. Enter the Virtual Path Identifier and Virtual Channel Identifier values that your provider specifies.
6.Press the Down arrow key until you reach NEXT SCREEN. Press Return to bring up the next screen.
Easy Setup Profile
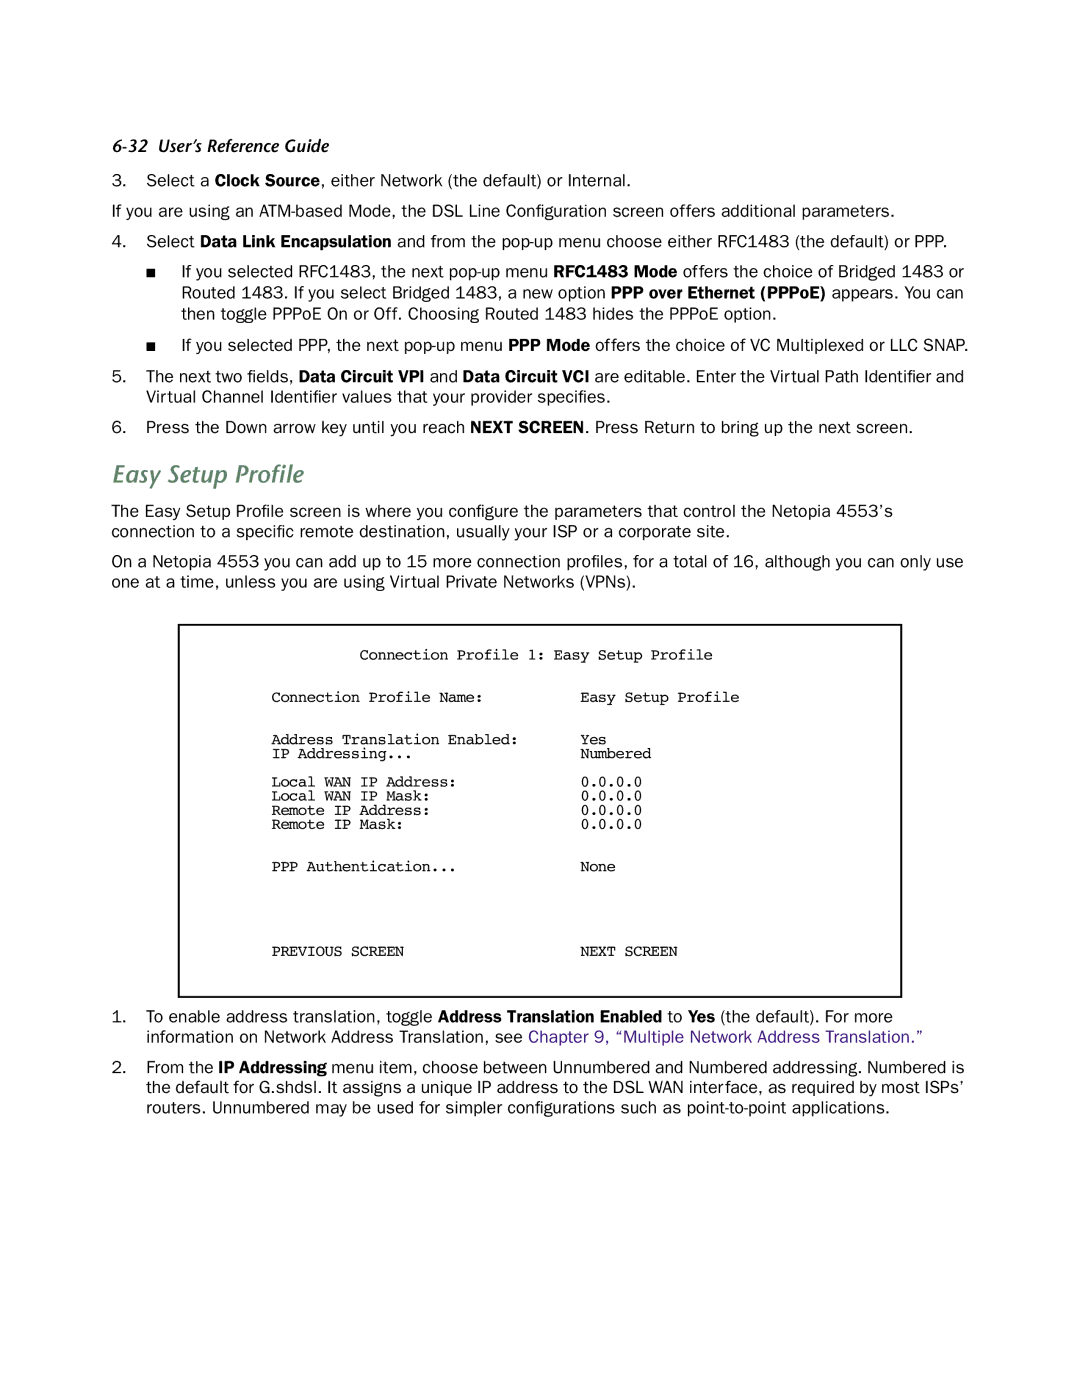
The Easy Setup Profile screen is where you configure the parameters that control the Netopia 4553’s connection to a specific remote destination, usually your ISP or a corporate site.
On a Netopia 4553 you can add up to 15 more connection profiles, for a total of 16, although you can only use one at a time, unless you are using Virtual Private Networks (VPNs).
Connection Profile 1: Easy Setup Profile
Connection Profile Name: | Easy Setup Profile |
Address Translation Enabled: | Yes |
IP Addressing... | Numbered |
Local WAN IP Address: | 0.0.0.0 |
Local WAN IP Mask: | 0.0.0.0 |
Remote IP Address: | 0.0.0.0 |
Remote IP Mask: | 0.0.0.0 |
PPP Authentication... | None |
PREVIOUS SCREEN | NEXT SCREEN |
1.To enable address translation, toggle Address Translation Enabled to Yes (the default). For more information on Network Address Translation, see Chapter 9, “Multiple Network Address Translation.”
2.From the IP Addressing menu item, choose between Unnumbered and Numbered addressing. Numbered is the default for G.shdsl. It assigns a unique IP address to the DSL WAN interface, as required by most ISPs’ routers. Unnumbered may be used for simpler configurations such as