Easy Setup
7.Toggle IP Address Serving to On or Off, depending on whether you want the device’s IP address server to supply dynamic IP addresses to your client workstations. Normally, you would accept the default On so that workstations on your LAN can have IP addresses assigned dynamically from the Router.
8.The IP address server will provide 100 IP addresses automatically to workstations on your LAN. You only need to change the Number of Client IP Addresses if you have some other IP addressing scheme.
9.By default, the 1st Client Address is 192.168.1.100, based on the device’s default IP address of 192.168.1.1. You only need to change this if you have some other IP addressing scheme.
10.Press the Down arrow key until you reach NEXT SCREEN. Press Return.
Easy Setup Security Configuration
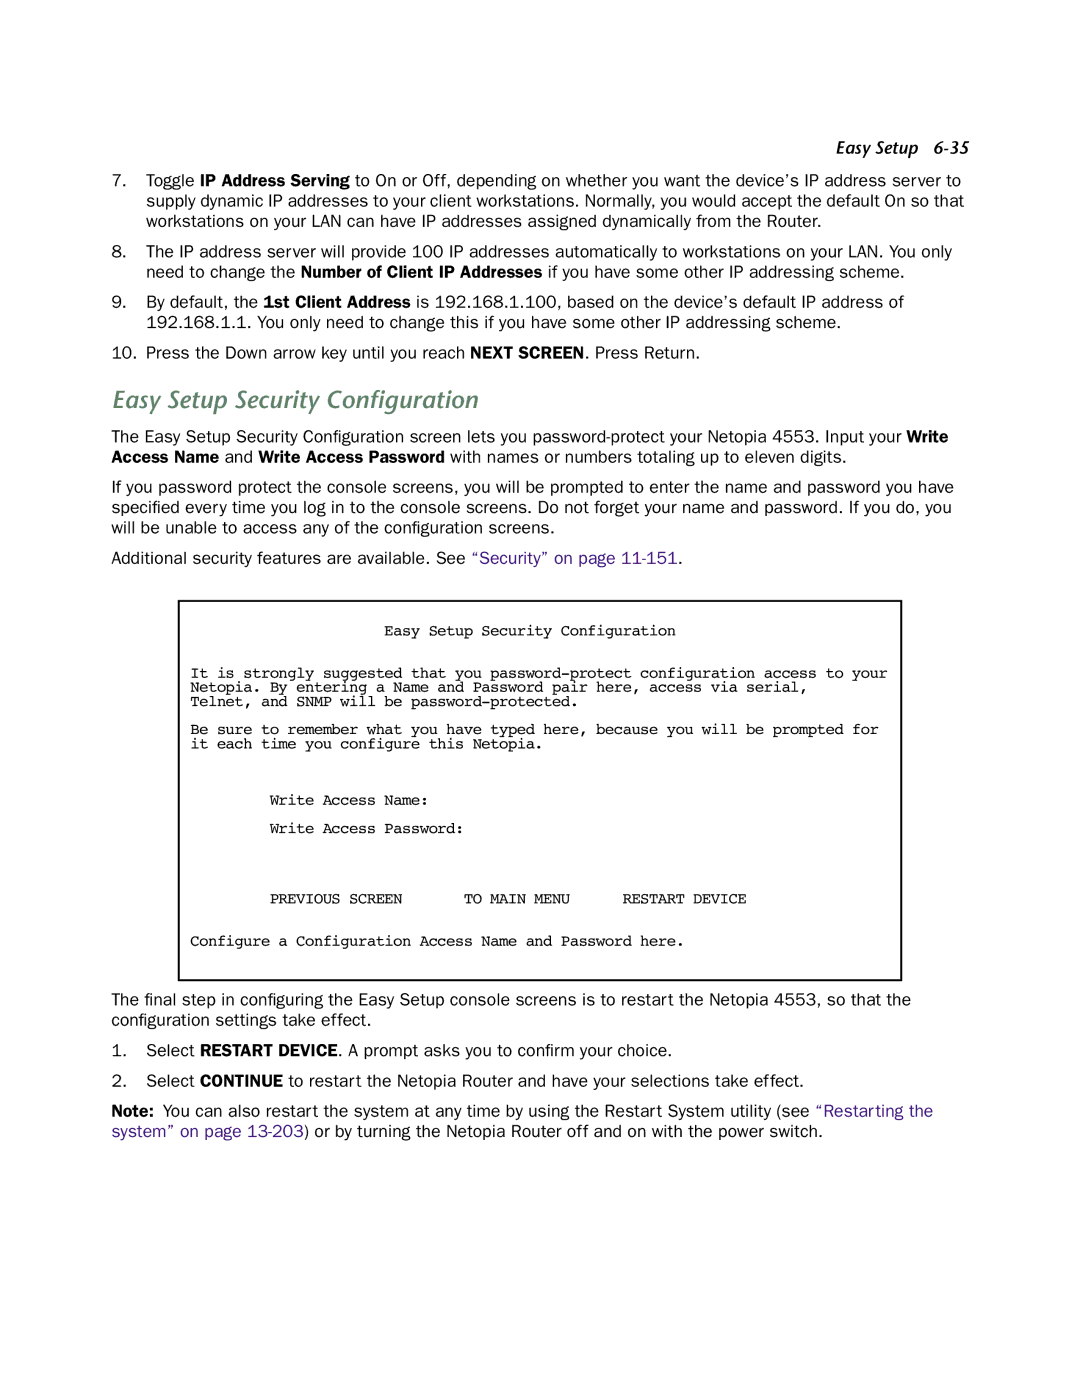
The Easy Setup Security Configuration screen lets you
If you password protect the console screens, you will be prompted to enter the name and password you have specified every time you log in to the console screens. Do not forget your name and password. If you do, you will be unable to access any of the configuration screens.
Additional security features are available. See “Security” on page
Easy Setup Security Configuration
It is strongly suggested that you
Be sure to remember what you have typed here, because you will be prompted for it each time you configure this Netopia.
Write Access Name:
Write Access Password:
PREVIOUS SCREEN | TO MAIN MENU | RESTART DEVICE |
Configure a Configuration Access Name and Password here.
The final step in configuring the Easy Setup console screens is to restart the Netopia 4553, so that the configuration settings take effect.
1.Select RESTART DEVICE. A prompt asks you to confirm your choice.
2.Select CONTINUE to restart the Netopia Router and have your selections take effect.
Note: You can also restart the system at any time by using the Restart System utility (see “Restarting the system” on page
