WAN and System Configuration
System configuration screens
You can connect to the Netopia 4553’s system configuration screens in either of two ways:
■By using Telnet with the Router’s Ethernet port IP address
■Through the console port, using a local terminal (see “Connecting a console cable to your router” on page
You can also retrieve the Netopia 4553’s configuration information and remotely set its parameters using the Simple Network Management Protocol (see “SNMP” on page
Open a Telnet connection to the router’s IP address; for example, “192.168.1.1.”
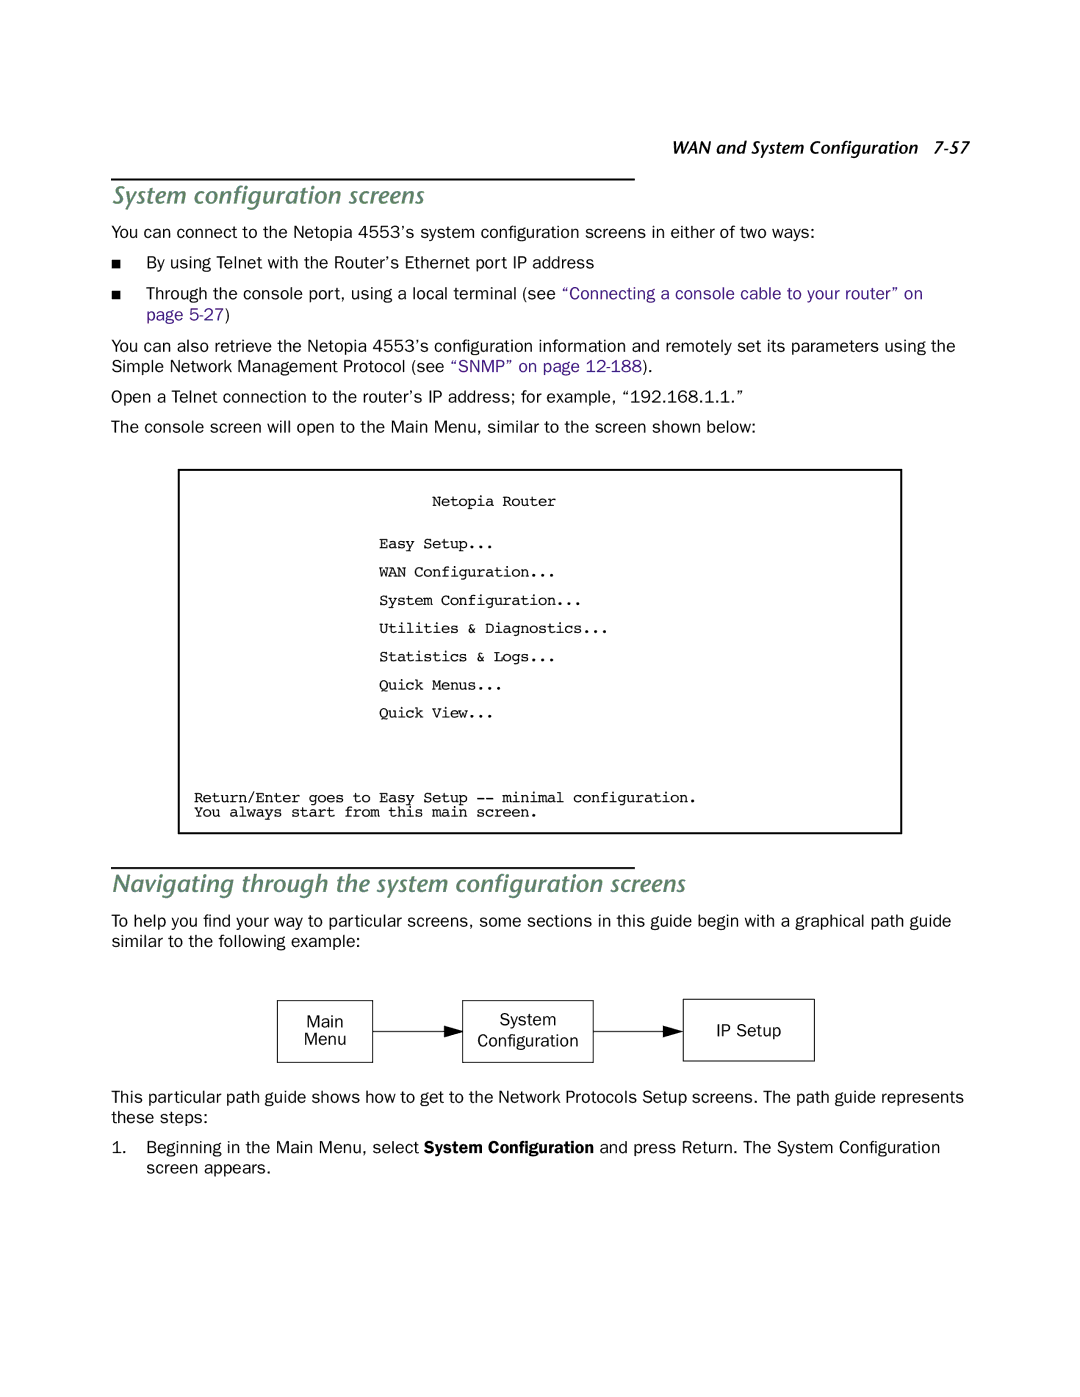
The console screen will open to the Main Menu, similar to the screen shown below:
Netopia Router
Easy Setup...
WAN Configuration...
System Configuration...
Utilities & Diagnostics...
Statistics & Logs...
Quick Menus...
Quick View...
Return/Enter goes to Easy Setup
You always start from this main screen.
Navigating through the system configuration screens
To help you find your way to particular screens, some sections in this guide begin with a graphical path guide similar to the following example:
Main
Menu
System
Configuration
IP Setup
This particular path guide shows how to get to the Network Protocols Setup screens. The path guide represents these steps:
1.Beginning in the Main Menu, select System Configuration and press Return. The System Configuration screen appears.