Goto | Locate a Host Adapter by index number | G |
|
|
|
Info | Display the info screen about the selected Host Adapter | I |
|
|
|
| Display a Help Page | F1 |
|
|
|
Exit | Return to the Settings Menu | X or Esc |
|
|
|
The scan selection list is automatically saved.
Change Scan Dwell Time
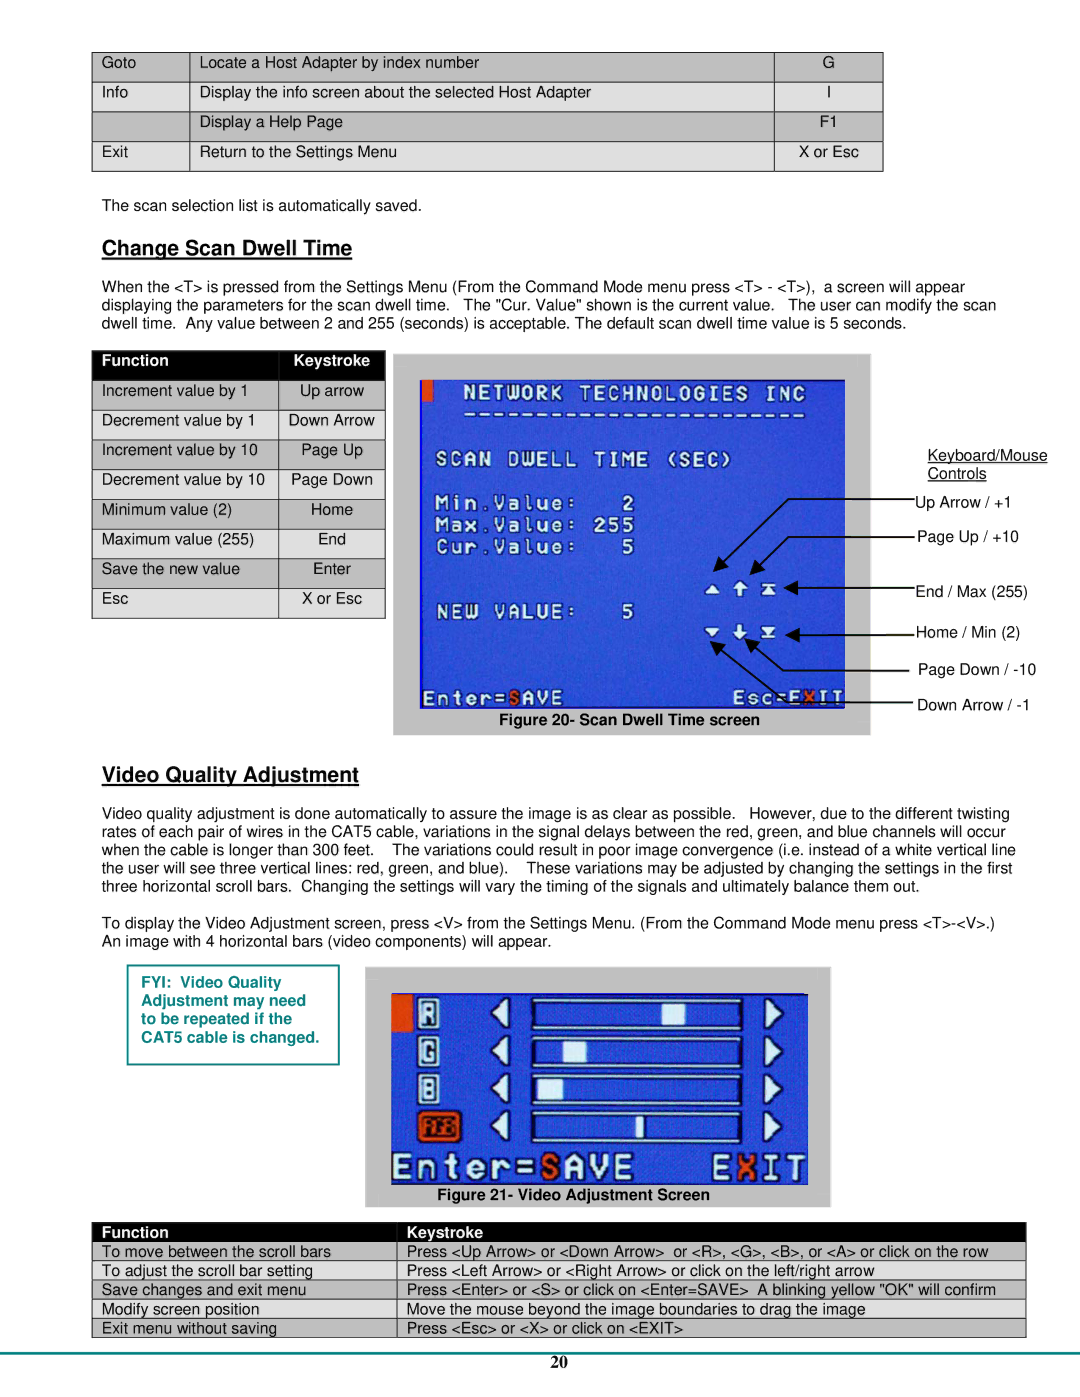
When the <T> is pressed from the Settings Menu (From the Command Mode menu press <T> - <T>), a screen will appear displaying the parameters for the scan dwell time. The "Cur. Value" shown is the current value. The user can modify the scan dwell time. Any value between 2 and 255 (seconds) is acceptable. The default scan dwell time value is 5 seconds.
Function | Keystroke |
Increment value by 1 | Up arrow |
|
|
Decrement value by 1 | Down Arrow |
|
|
Increment value by 10 | Page Up |
|
|
Decrement value by 10 | Page Down |
|
|
Minimum value (2) | Home |
|
|
Maximum value (255) | End |
|
|
Save the new value | Enter |
|
|
Esc | X or Esc |
|
|
Keyboard/Mouse
Controls
Up Arrow / +1
Page Up / +10
End / Max (255)
![]() Home / Min (2)
Home / Min (2)
![]() Page Down /
Page Down /
Down Arrow /
Figure 20- Scan Dwell Time screen
Video Quality Adjustment
Video quality adjustment is done automatically to assure the image is as clear as possible. However, due to the different twisting rates of each pair of wires in the CAT5 cable, variations in the signal delays between the red, green, and blue channels will occur when the cable is longer than 300 feet. The variations could result in poor image convergence (i.e. instead of a white vertical line the user will see three vertical lines: red, green, and blue). These variations may be adjusted by changing the settings in the first three horizontal scroll bars. Changing the settings will vary the timing of the signals and ultimately balance them out.
To display the Video Adjustment screen, press <V> from the Settings Menu. (From the Command Mode menu press
FYI: Video Quality Adjustment may need to be repeated if the CAT5 cable is changed.
Function
To move between the scroll bars
To adjust the scroll bar setting
Save changes and exit menu
Modify screen position
Exit menu without saving
Figure 21- Video Adjustment Screen
Keystroke
Press <Up Arrow> or <Down Arrow> or <R>, <G>, <B>, or <A> or click on the row Press <Left Arrow> or <Right Arrow> or click on the left/right arrow
Press <Enter> or <S> or click on <Enter=SAVE> A blinking yellow "OK" will confirm Move the mouse beyond the image boundaries to drag the image
Press <Esc> or <X> or click on <EXIT>
20
