4. Scanning
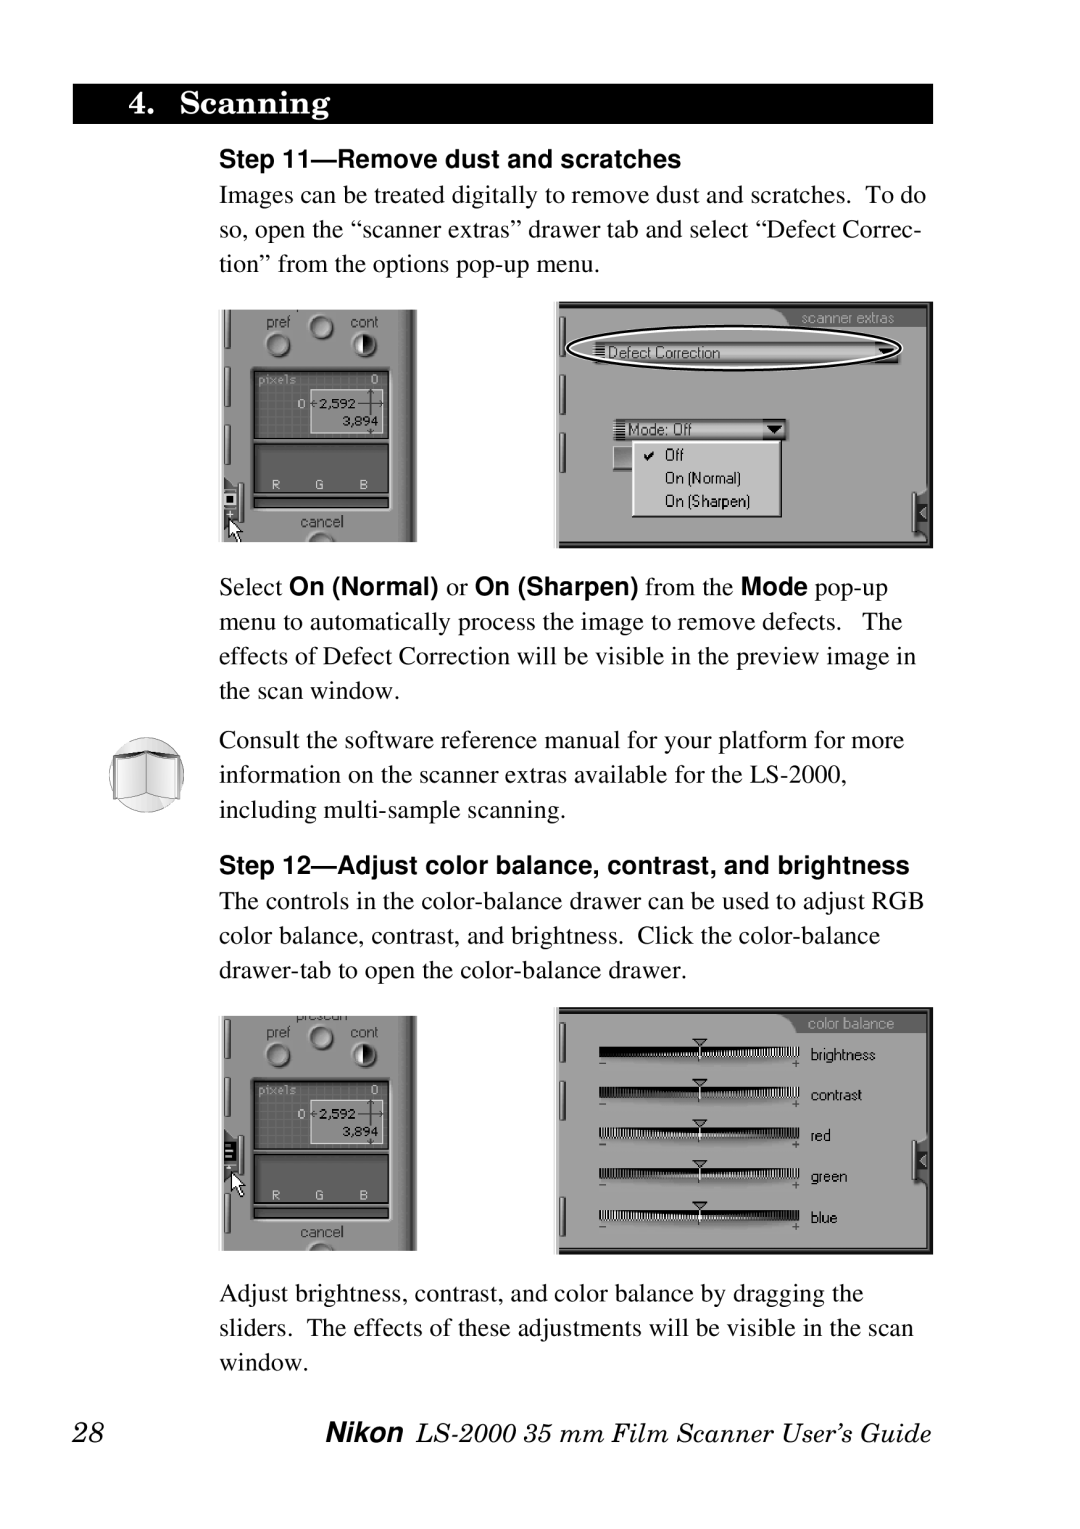
Step 11—Remove dust and scratches
Images can be treated digitally to remove dust and scratches. To do so, open the “scanner extras” drawer tab and select “Defect Correc- tion” from the options
Select On (Normal) or On (Sharpen) from the Mode
Consult the software reference manual for your platform for more information on the scanner extras available for the
Step 12—Adjust color balance, contrast, and brightness
The controls in the
Adjust brightness, contrast, and color balance by dragging the sliders. The effects of these adjustments will be visible in the scan window.
28 | Nikon |