4. Scanning
Brightness, contrast, and color balance can be adjusted over limited parts of the tone range using the controls in the
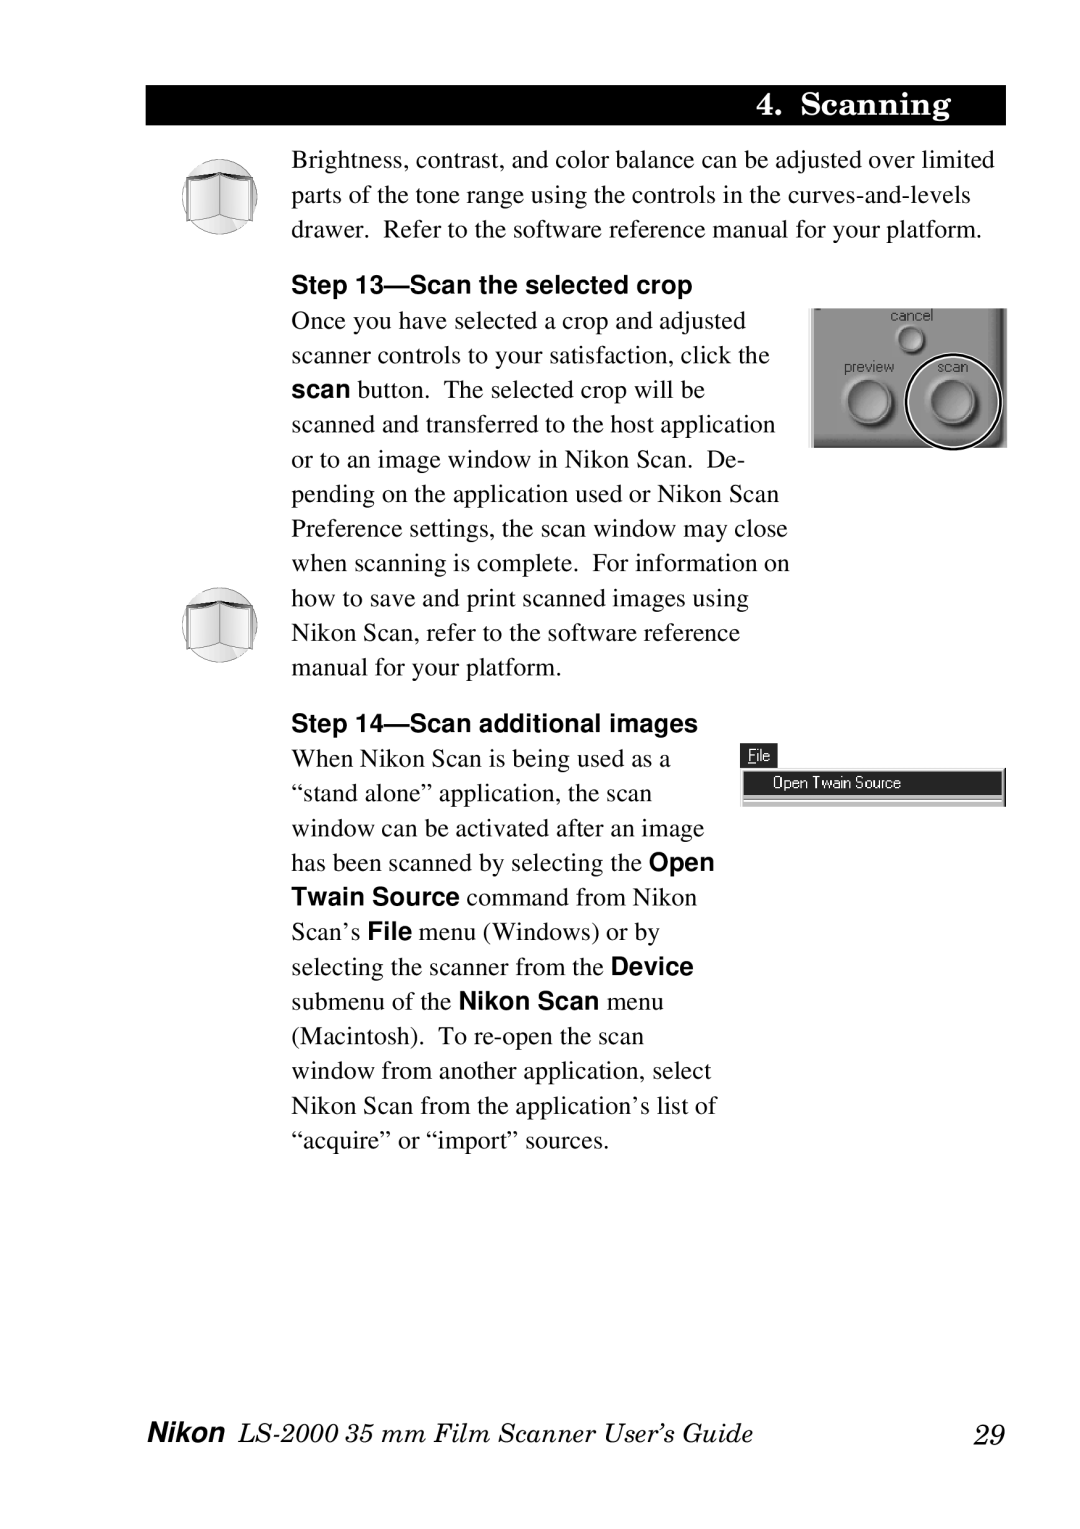
Step 13—Scan the selected crop
Once you have selected a crop and adjusted scanner controls to your satisfaction, click the scan button. The selected crop will be scanned and transferred to the host application or to an image window in Nikon Scan. De- pending on the application used or Nikon Scan Preference settings, the scan window may close when scanning is complete. For information on how to save and print scanned images using Nikon Scan, refer to the software reference manual for your platform.
Step 14—Scan additional images
When Nikon Scan is being used as a “stand alone” application, the scan window can be activated after an image has been scanned by selecting the Open Twain Source command from Nikon Scan’s File menu (Windows) or by selecting the scanner from the Device submenu of the Nikon Scan menu (Macintosh). To
Nikon | 29 |