4. Scanning
4. Scanning
This chapter takes you step-by-step through the process using Nikon Scan to scan images with your LS-2000.
Step 1—Turn on your computer
After turning on the scanner and any other peripheral devices, turn on your computer.
Step 2—Start Nikon Scan
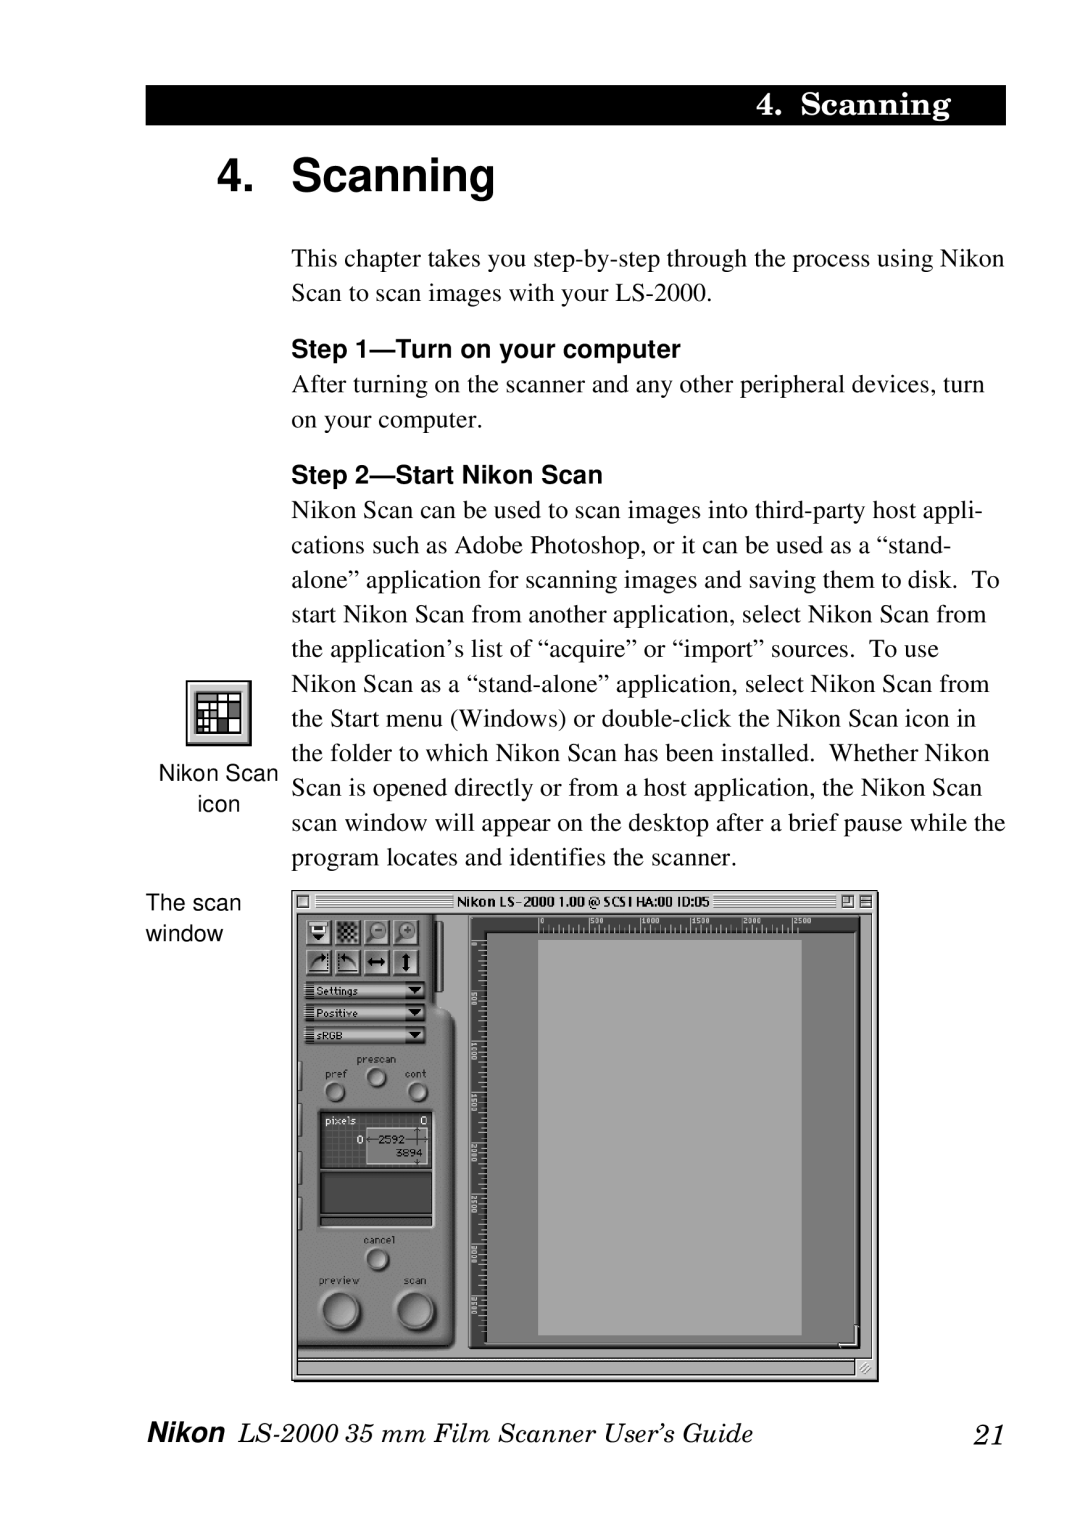
Nikon Scan can be used to scan images into third-party host appli- cations such as Adobe Photoshop, or it can be used as a “stand- alone” application for scanning images and saving them to disk. To start Nikon Scan from another application, select Nikon Scan from the application’s list of “acquire” or “import” sources. To use Nikon Scan as a “stand-alone” application, select Nikon Scan from the Start menu (Windows) or double-click the Nikon Scan icon in the folder to which Nikon Scan has been installed. Whether Nikon Scan is opened directly or from a host application, the Nikon Scan scan window will appear on the desktop after a brief pause while the program locates and identifies the scanner.
Nikon LS-2000 35 mm Film Scanner User’s Guide | 21 |

