Formatting the Recorder (FORMAT)
If you format the recorder, all function settings will return to their defaults*. All files** stored in the recorder will be deleted.
If you have important files that you want to save, connect the recorder to a computer and transfer those files from the recorder to the computer before formatting the device.
*Date and time settings will not be cleared, so you won’t need to set them again.
**Locked files will also be deleted.
5
Formatting the
Recorder (FORMA
T)
1,3, 

 2,4
2,4
5,7 ![]()
![]() 6
6
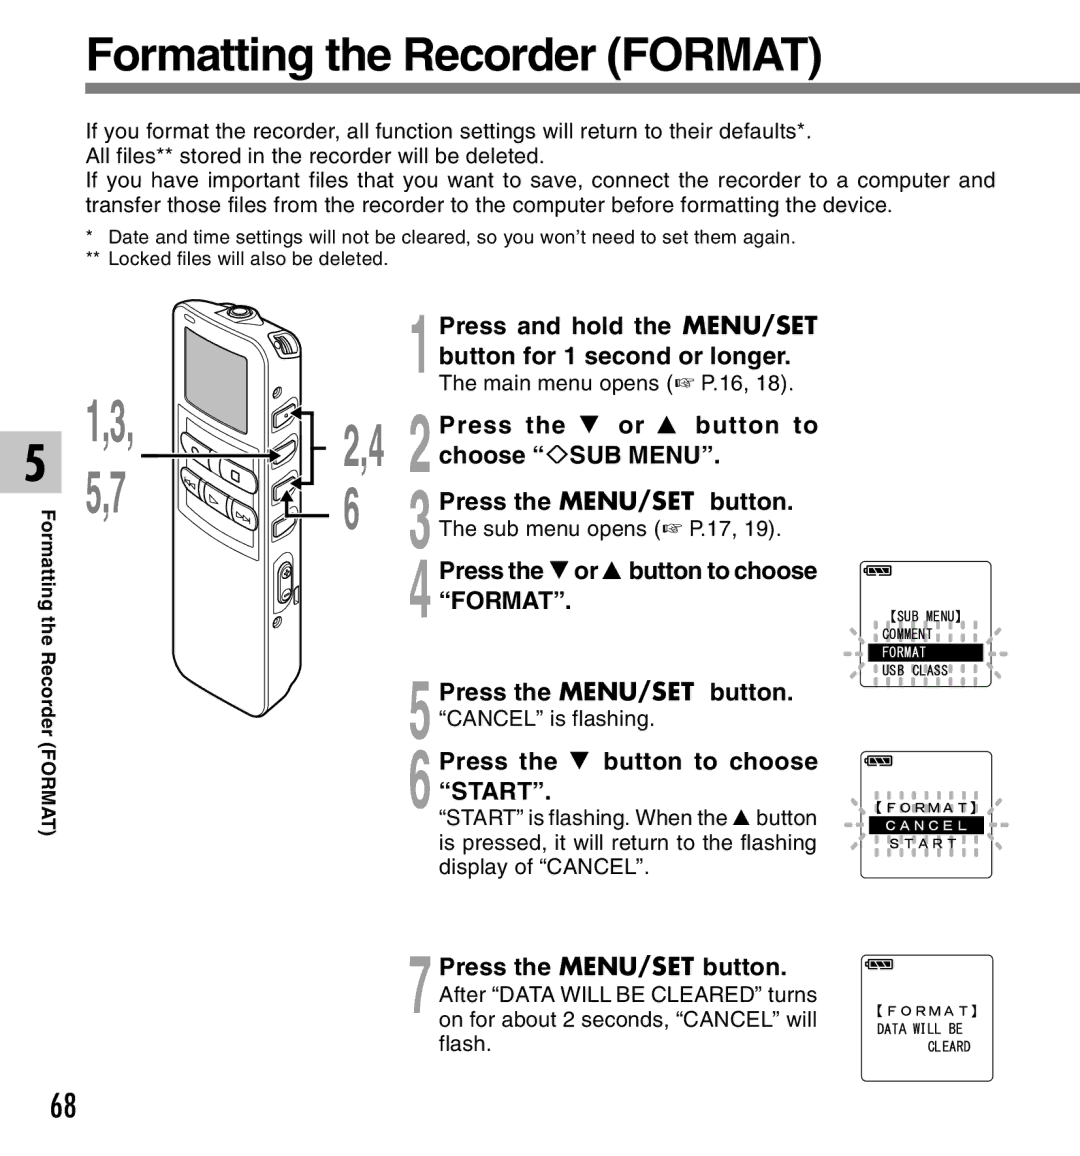
1Press and hold the MENU/SET button for 1 second or longer. The main menu opens (☞ P.16, 18).
2Press the 3 or 2 button to choose “◊SUB MENU”.
3Press the MENU/SET button. The sub menu opens (☞ P.17, 19).
4Press the 3or 2button to choose “FORMAT”.
5Press the MENU/SET button. “CANCEL” is flashing.
6Press the 3 button to choose “START”.
“START” is flashing. When the 2button is pressed, it will return to the flashing display of “CANCEL”.
7Press the MENU/SET button. After “DATA WILL BE CLEARED” turns on for about 2 seconds, “CANCEL” will flash.
68