Chapter 3 Recording and playback
When the recording is to be continued
Press the unit’s REC START button or VTR button on the lens once more.
When the ONE SHOT mode of INTERVAL REC is to be exited
There are two ways to do this.
1)Set the unit’s POWER switch to OFF.
2)Perform a menu operation and select OFF as the INTERVAL REC MODE item setting.
Checkpoints common to all INTERVAL REC modes
≥Sound-related
Whether the sound is to be recorded or not during interval recording is set by setting ON or OFF for the AUDIO REC item on the <REC FUNCTION> screen.
≥Tape function button-related
During interval recording, all the tape function buttons (EJECT, REW, FF and PLAY/STILL) except STOP do not work.
≥The PRE RECORDING function does not work in the INTERVAL REC mode.
≥Starting recording quickly when unit is in pause mode Selecting REC as the setting for one of either USER MAIN or USER1/USER2 buttons in advance enables quick start recording during pause mode when the set button is pressed. Measurement of pause mode time is continued even after quick start recording.
≥When the unit’s power was turned off during recording If the unit’s POWER switch was set to the OFF position during interval recording with the use of the memory, the tape will continue to run in order to record the video signals which were stored in the memory until the moment when the POWER switch was set to OFF, and then the power will automatically go off.
If the battery was removed, the DC cable was disconnected or the power supplied through the AC adapter was cut off during recording, those shots (up to 5 seconds) taken prior to the moment concerned may not be recorded. Bear this in mind when the battery is to be replaced.
≥When the tape has run out during recording
Bear in mind that if the tape has run out and stops during interval recording with the use of the memory, those shots (up to 5 seconds) taken prior to the moment when the tape stopped may not be recorded.
≥If a PLAY, FF or REW operation is performed after
While the images are being recorded, the LED of the button pressed (for play, FF or REW operation) will flash.
≥Concerning the time code display
When recording has been started, the time code (TCG) display may remain in the hold status until it is possible for the time code (TCR) on the tape to be read.
≥After turning the power ON, inserting a tape, or pressing PLAY/FF/REW, the first recording made with INTERVAL REC (including ONE SHOT mode) will be about 1 second longer than the time set in the REC TIME menu option. This is to guarantee the quality of consecutive recordings and is not a defect.
|
| |
The RETAKE function ensures continuity with the previous cut |
| |
on the tape when shooting is resumed. |
| |
It is set by opening the <REC FUNCTION> screen from the |
| |
SYSTEM SETTING page and selecting ON as the setting for |
| |
3 | ||
the RETAKE MODE item by performing menu operations. | ||
The RETAKE MODE item settings are described below. | ||
| ||
ON: The retake operation is performed when the RET button |
| |
| ||
on the lens is pressed while the MODE CHECK button |
| |
is held down. |
| |
OFF: The RETAKE function does not operate. |
| |
If, when the |
| |
of the recording or the stop mode is established afterwards, |
| |
the RET button on the lens is pressed while the MODE |
| |
CHECK button is held down, the tape will be rewound to the |
| |
approximate start point (a position advanced by 10 or so |
| |
frames from the recording start) of the final image that was |
| |
last recorded, and the |
| |
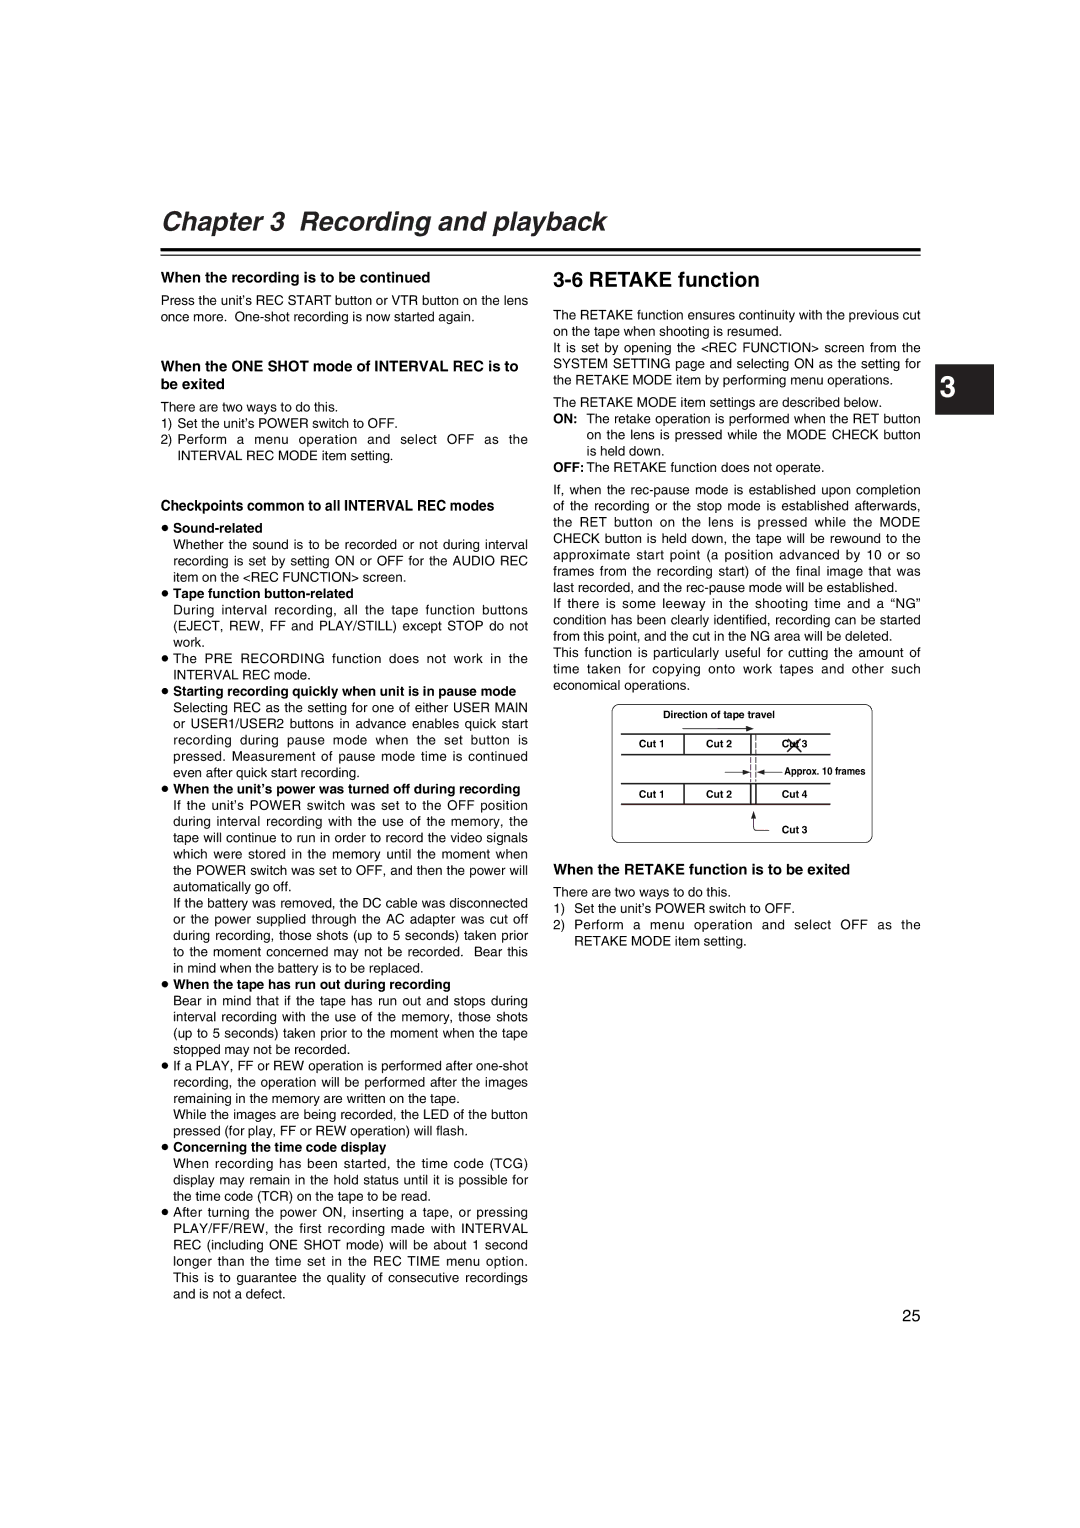
If there is some leeway in the shooting time and a “NG” |
| |
condition has been clearly identified, recording can be started |
| |
from this point, and the cut in the NG area will be deleted. |
| |
This function is particularly useful for cutting the amount of |
| |
time taken for copying onto work tapes and other such |
| |
economical operations. |
|
Direction of tape travel
Cut 1 | Cut 2 | Cut 3 |
![]() Approx. 10 frames
Approx. 10 frames
Cut 1 | Cut 2 | Cut 4 |
Cut 3
When the RETAKE function is to be exited
There are two ways to do this.
1)Set the unit’s POWER switch to OFF.
2)Perform a menu operation and select OFF as the RETAKE MODE item setting.
25