Chapter 5 Preparation
6 Press the JOG dial button again and turn it until the character to be set is displayed.
When the button is turned, the character displayed is switched in the following sequence:
Space: ∑
7
letters:
numbers:
symbols: ’, >, <, /,
7 Press the JOG dial button to enter the character.
8 Turn the JOG dial button to move the arrow (cursor) to the next position (right), and repeat steps 6 and 7 to set the characters. (No more than 12 characters may be entered.)
9 When the characters have been input, turn the JOG dial button to move the arrow (cursor) to the “:” position.
10 When the JOG dial button is pressed, the arrow (cursor) returns to the “TITLE:” item.
11 Turn the JOG dial button to move the arrow (cursor) to the “WRITE” item.
12 When the JOG dial button is pressed, the following message appears.
WRITE?
YES
#![]() NO
NO![]() TITLE:
TITLE:
13 Turn the JOG dial button to move the arrow (cursor) to YES, and press the JOG dial button.
When writing is complete, “WRITE OK” is displayed, indicating that the setting data and title have been stored in the lens file area of internal memory.
14 Press the MENU button to exit the menu operations.
Reading the lens file data
1 Refer to steps 1 to 3 in “Storing the lens file data,” and enter the lens file.
2 Turn the JOG dial button to move the arrow (cursor) to the “READ” item.
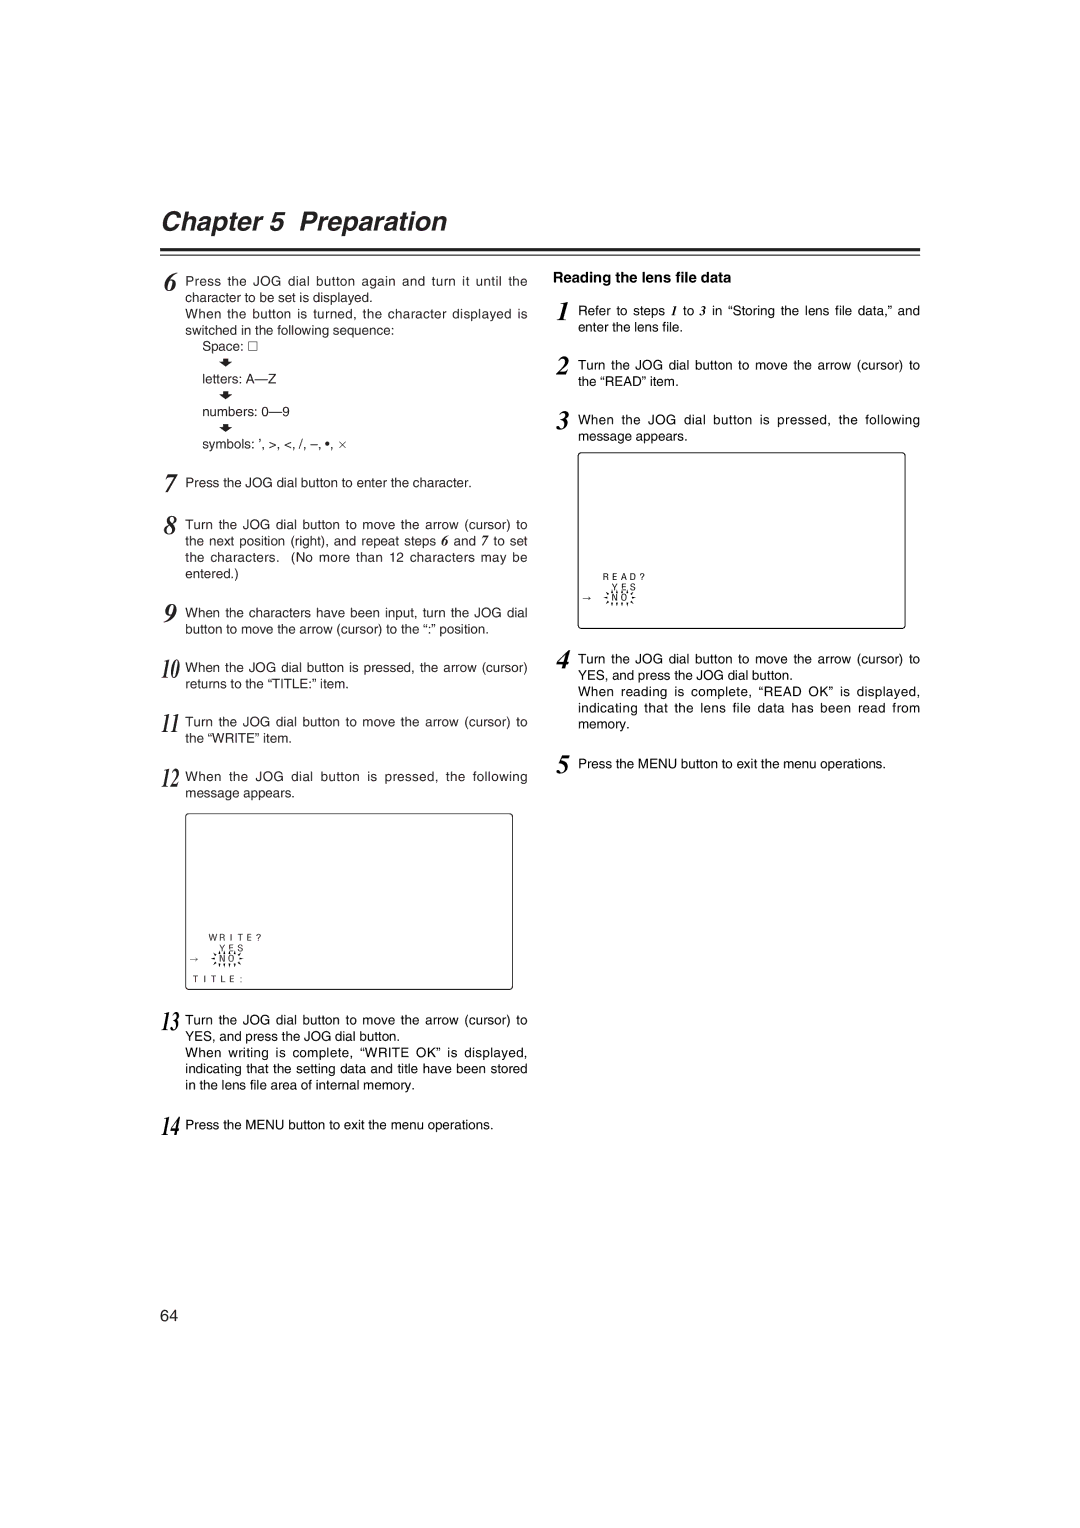
3 When the JOG dial button is pressed, the following message appears.
READ?
YES
#![]() NO
NO![]()
4 Turn the JOG dial button to move the arrow (cursor) to YES, and press the JOG dial button.
When reading is complete, “READ OK” is displayed, indicating that the lens file data has been read from memory.
5 Press the MENU button to exit the menu operations.
64