Chapter 4 Adjustments and settings for recording
4-2-3 Setting the synchro scan mode
Proceed with operation by following the steps below.
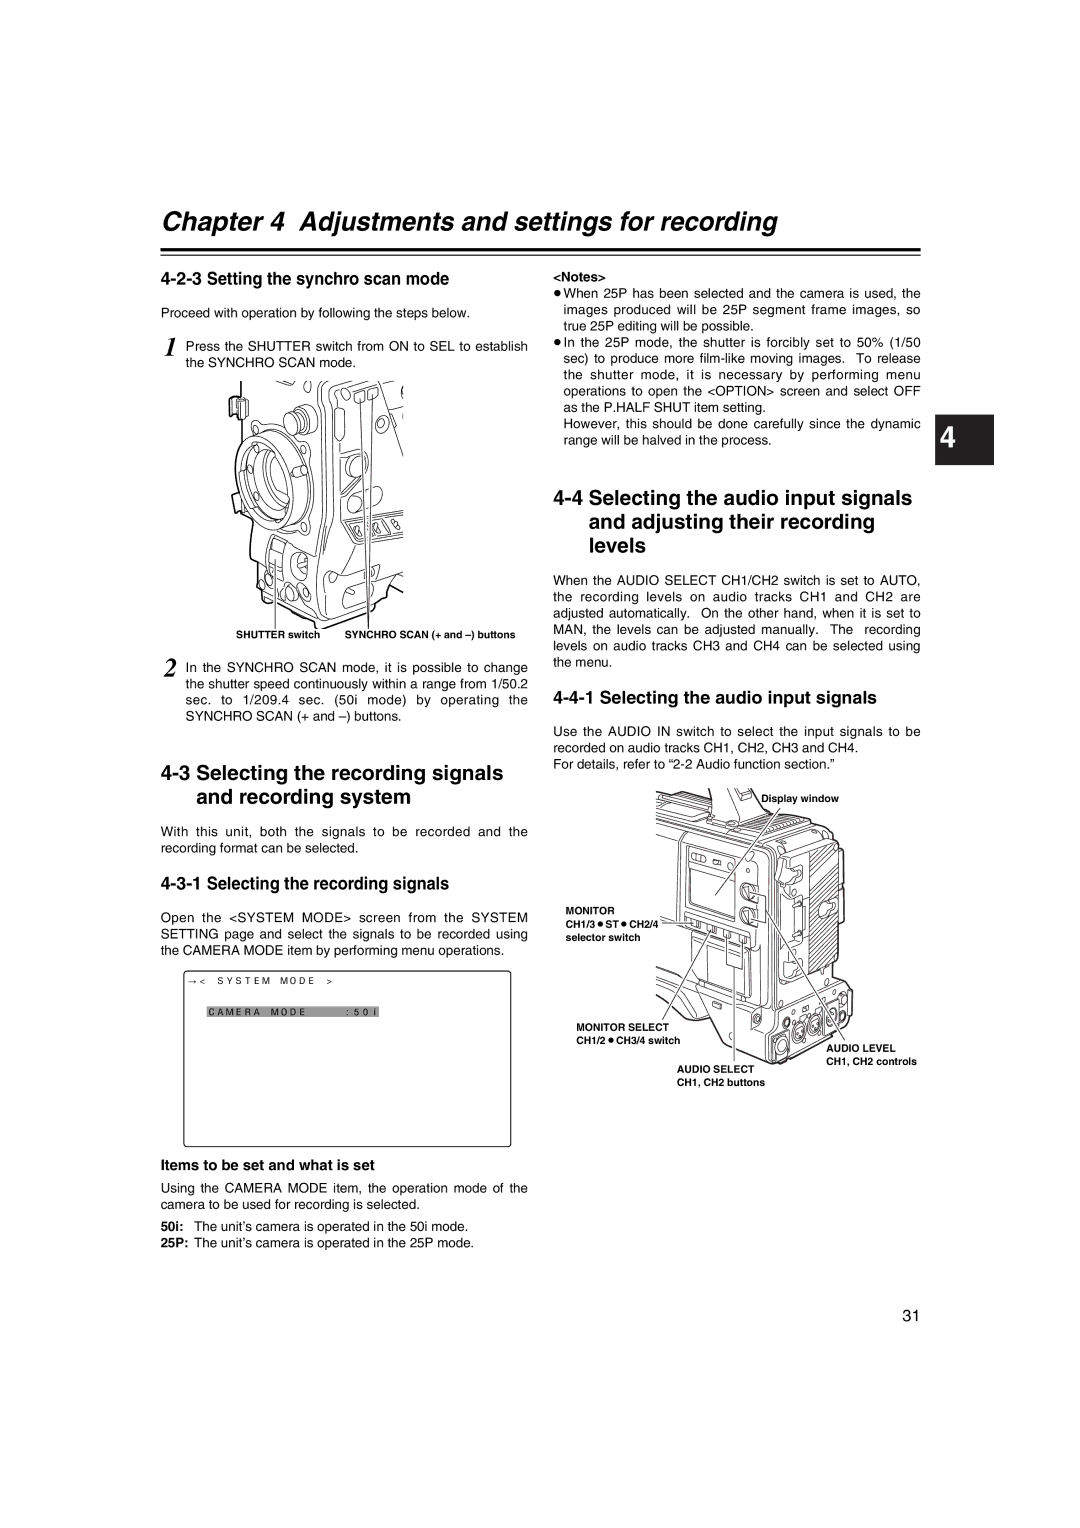
1 Press the SHUTTER switch from ON to SEL to establish the SYNCHRO SCAN mode.
SHUTTER switch | SYNCHRO SCAN (+ and |
2 In the SYNCHRO SCAN mode, it is possible to change the shutter speed continuously within a range from 1/50.2 sec. to 1/209.4 sec. (50i mode) by operating the SYNCHRO SCAN (+ and
4-3 Selecting the recording signals and recording system
With this unit, both the signals to be recorded and the recording format can be selected.
4-3-1 Selecting the recording signals
Open the <SYSTEM MODE> screen from the SYSTEM SETTING page and select the signals to be recorded using the CAMERA MODE item by performing menu operations.
#< SYSTEM MODE >
CAMERA MODE | :50i |
<Notes>
≥When 25P has been selected and the camera is used, the images produced will be 25P segment frame images, so true 25P editing will be possible.
≥In the 25P mode, the shutter is forcibly set to 50% (1/50 sec) to produce more
operations to open the <OPTION> screen and select OFF |
| |
as the P.HALF SHUT item setting. |
|
|
However, this should be done carefully since the dynamic | 4 | |
range will be halved in the process. |
| |
| ||
| ||
and adjusting their recording |
| |
levels |
|
|
When the AUDIO SELECT CH1/CH2 switch is set to AUTO, |
| |
the recording levels on audio tracks CH1 and CH2 are |
| |
adjusted automatically. On the other hand, when it is set to |
| |
MAN, the levels can be adjusted manually. | The recording |
|
levels on audio tracks CH3 and CH4 can be selected using the menu.
4-4-1 Selecting the audio input signals
Use the AUDIO IN switch to select the input signals to be recorded on audio tracks CH1, CH2, CH3 and CH4.
For details, refer to
Display window
MONITOR
CH1/3OSTOCH2/4 ![]() selector switch
selector switch
MONITOR SELECT
CH1/2OCH3/4 switch
AUDIO LEVEL
CH1, CH2 controls
AUDIO SELECT CH1, CH2 buttons
Items to be set and what is set
Using the CAMERA MODE item, the operation mode of the camera to be used for recording is selected.
50i: The unit’s camera is operated in the 50i mode.
25P: The unit’s camera is operated in the 25P mode.
31