Chapter 3 Recording and playback
Procedure for shooting
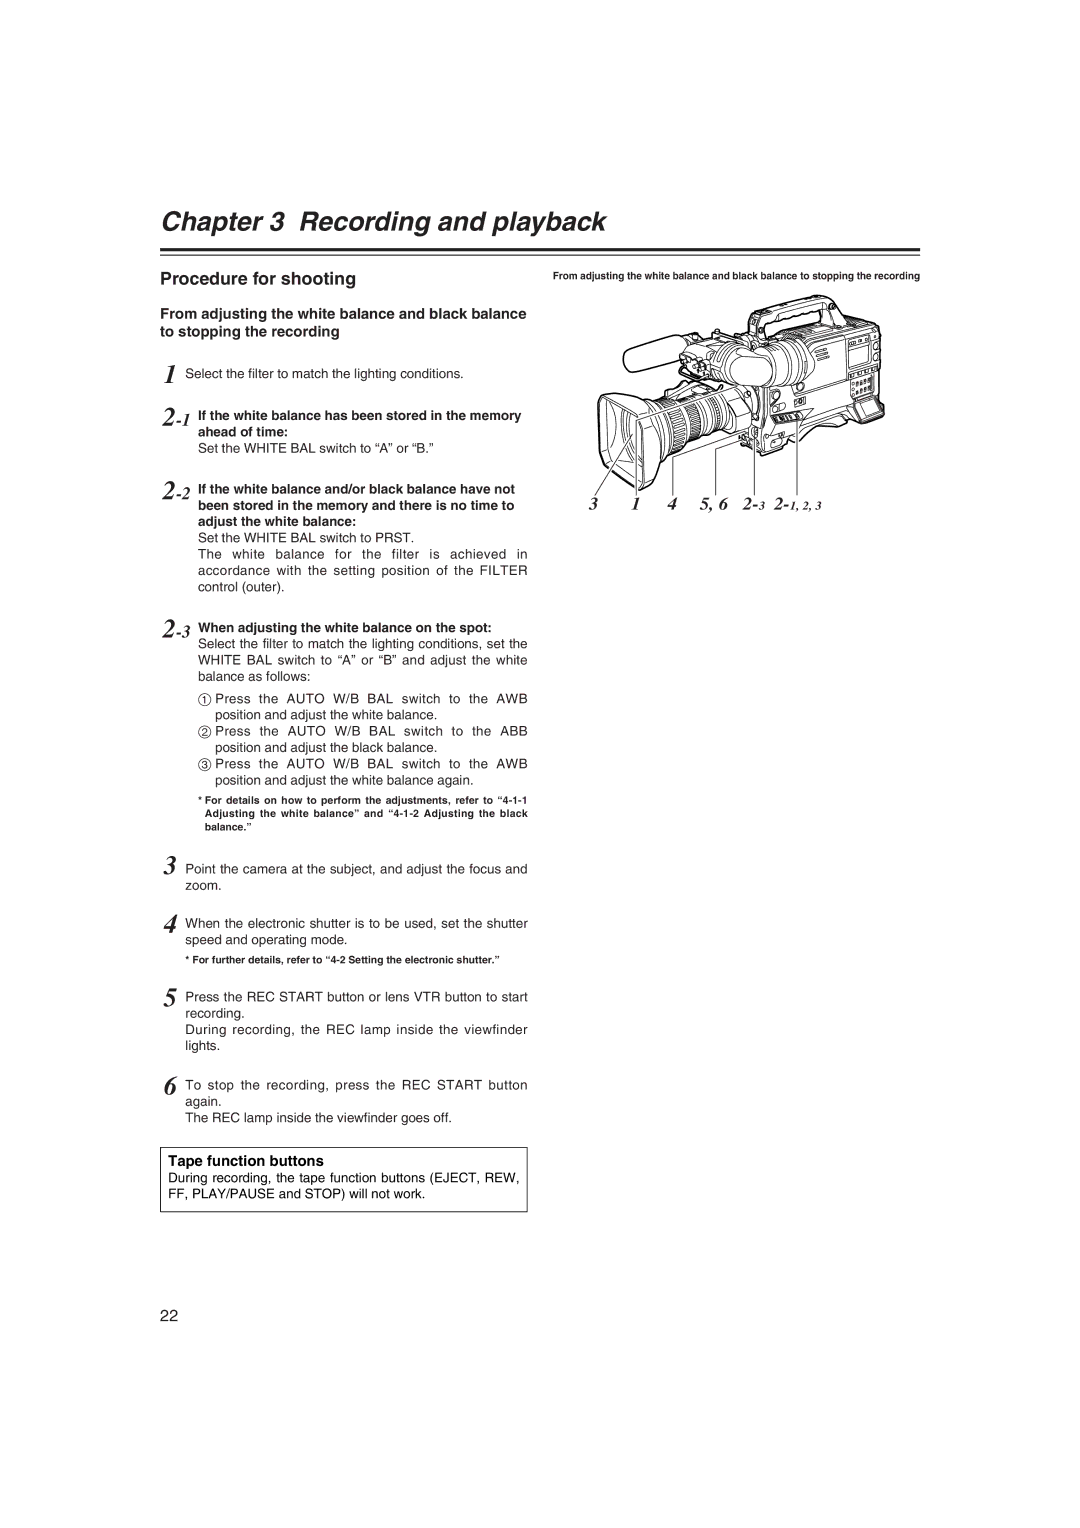
From adjusting the white balance and black balance to stopping the recording
From adjusting the white balance and black balance to stopping the recording
1 Select the filter to match the lighting conditions. |
|
|
| |
If the white balance has been stored in the memory |
|
|
| |
| ahead of time: |
|
|
|
| Set the WHITE BAL switch to “A” or “B.” |
|
|
|
If the white balance and/or black balance have not | 3 | 1 | 4 5, 6 | |
| been stored in the memory and there is no time to | |||
adjust the white balance:
Set the WHITE BAL switch to PRST.
The white balance for the filter is achieved in accordance with the setting position of the FILTER control (outer).
2-3 When adjusting the white balance on the spot:
Select the filter to match the lighting conditions, set the WHITE BAL switch to “A” or “B” and adjust the white balance as follows:
1 Press the AUTO W/B BAL switch to the AWB position and adjust the white balance.
2 Press the AUTO W/B BAL switch to the ABB position and adjust the black balance.
3 Press the AUTO W/B BAL switch to the AWB position and adjust the white balance again.
*For details on how to perform the adjustments, refer to
3
4
5
6
Point the camera at the subject, and adjust the focus and zoom.
When the electronic shutter is to be used, set the shutter speed and operating mode.
* For further details, refer to
Press the REC START button or lens VTR button to start recording.
During recording, the REC lamp inside the viewfinder lights.
To stop the recording, press the REC START button again.
The REC lamp inside the viewfinder goes off.
Tape function buttons
During recording, the tape function buttons (EJECT, REW, FF, PLAY/PAUSE and STOP) will not work.
22