Chapter 4 Adjustments and settings for recording
Appending titles to the setting data used for the scene files
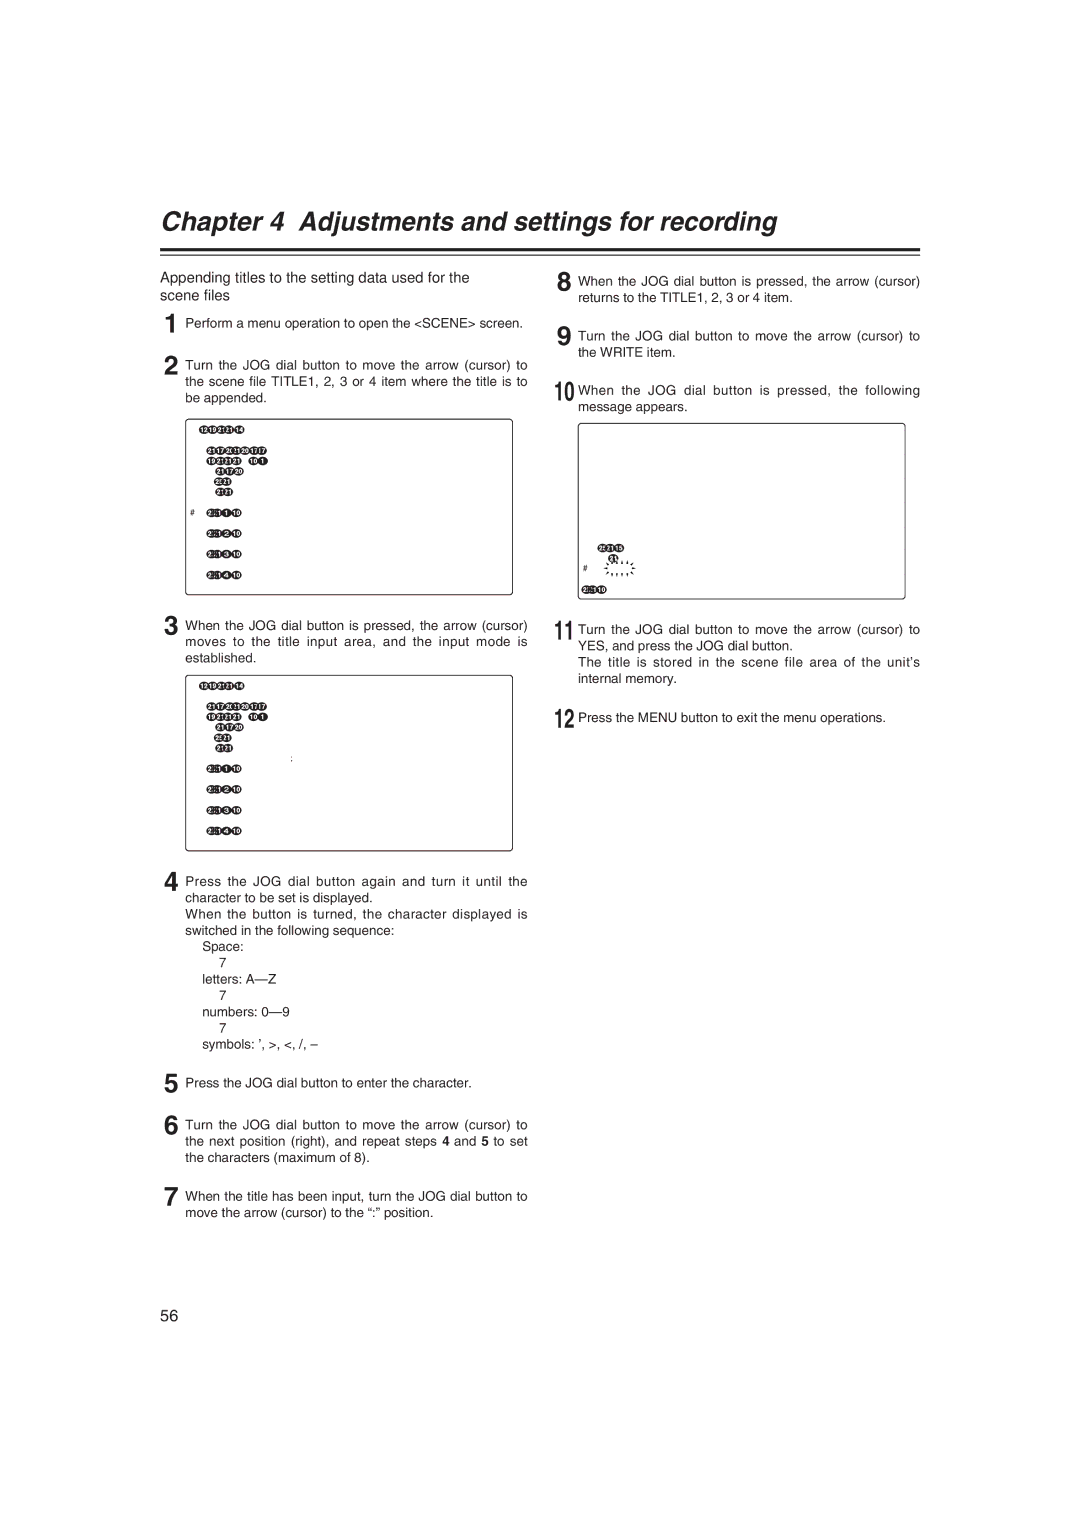
1 Perform a menu operation to open the <SCENE> screen.
2 Turn the JOG dial button to move the arrow (cursor) to the scene file TITLE1, 2, 3 or 4 item where the title is to be appended.
< SCENE >
READ USER DATA
SCENE SEL:1
READ
WRITE
RESET
#TITLE1 : ********
TITLE2 : ********
TITLE3 : ********
TITLE4 : ********
3 When the JOG dial button is pressed, the arrow (cursor) moves to the title input area, and the input mode is established.
< SCENE >
READ USER DATA
SCENE SEL:1
READ
WRITE
RESET
;
TITLE1 : ********
TITLE2 : ********
TITLE3 : ********
TITLE4 : ********
4 Press the JOG dial button again and turn it until the character to be set is displayed.
When the button is turned, the character displayed is switched in the following sequence:
Space: ∑ 7
letters:
numbers:
symbols: ’, >, <, /, –
5 Press the JOG dial button to enter the character.
6 Turn the JOG dial button to move the arrow (cursor) to the next position (right), and repeat steps 4 and 5 to set the characters (maximum of 8).
7 When the title has been input, turn the JOG dial button to move the arrow (cursor) to the “:” position.
8 When the JOG dial button is pressed, the arrow (cursor) returns to the TITLE1, 2, 3 or 4 item.
9 Turn the JOG dial button to move the arrow (cursor) to the WRITE item.
10 When the JOG dial button is pressed, the following message appears.
WRITE?
YES
#![]() NO
NO![]() TITLE:
TITLE:
11 Turn the JOG dial button to move the arrow (cursor) to YES, and press the JOG dial button.
The title is stored in the scene file area of the unit’s internal memory.
12 Press the MENU button to exit the menu operations.
56