Title operations
After performing steps
Erase Title§
[HDD] [RAM]
editing”)
Press [2, 1] to select “Erase” and press [ENTER].
≥Once erased, the recorded contents are lost and cannot be restored. Make certain before proceeding. ≥The available recording space on
≥Available recording space on
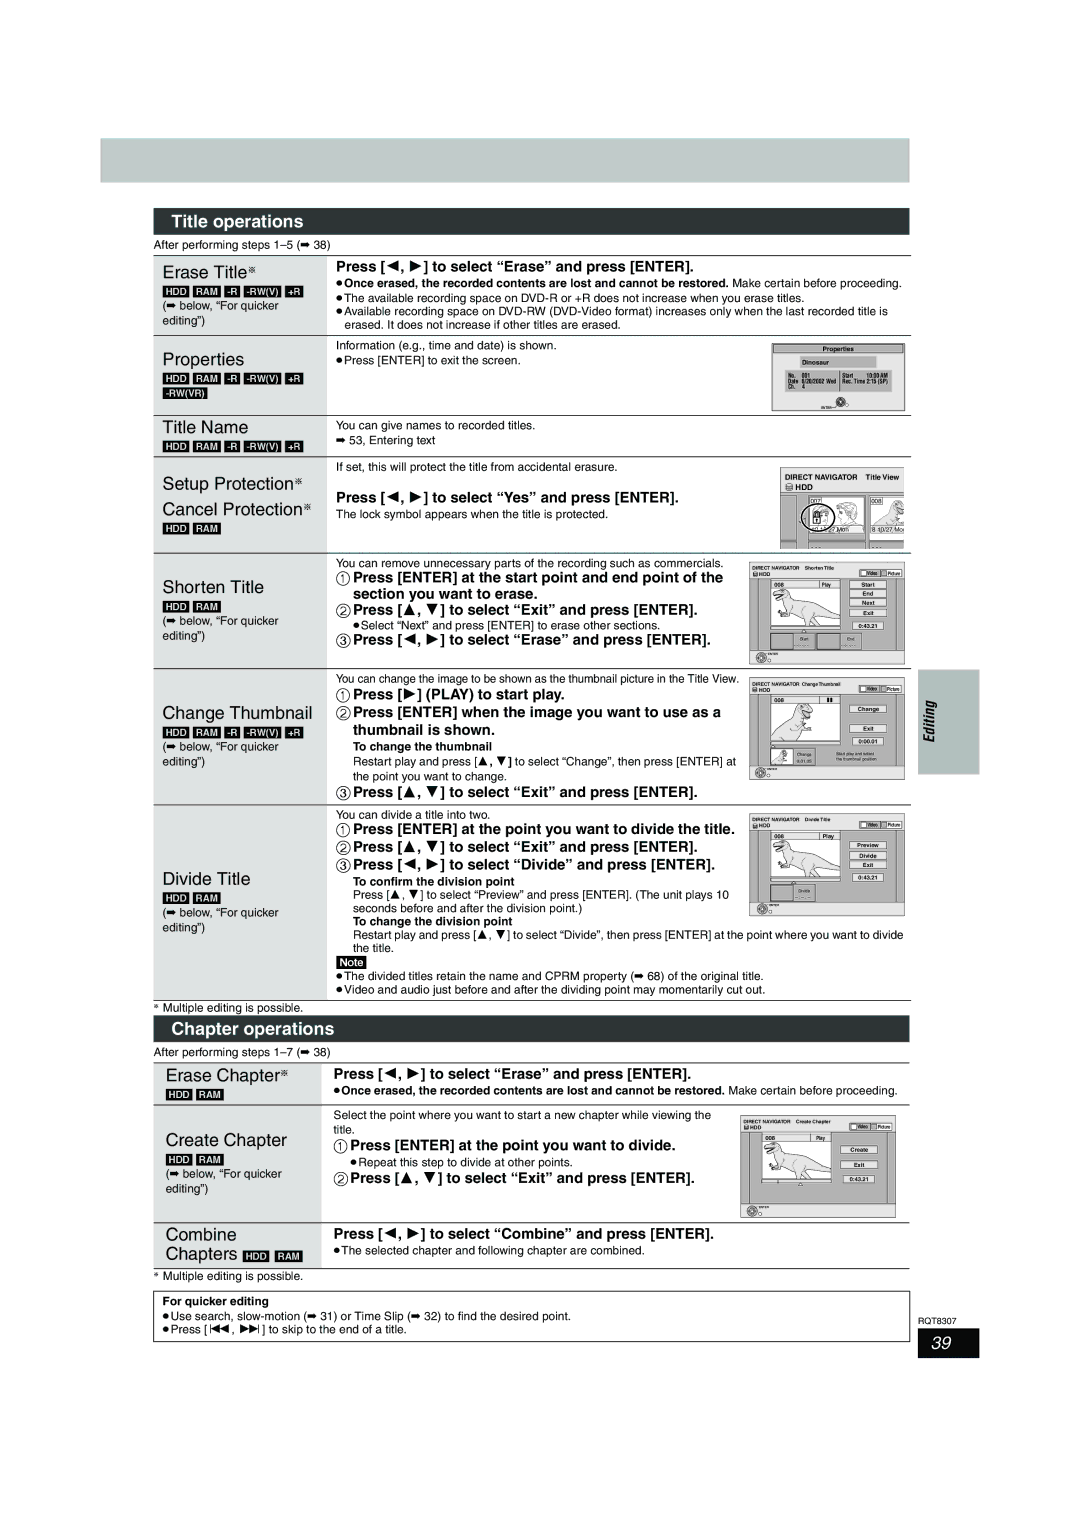
Properties | Information (e.g., time and date) is shown. |
| Properties |
|
| |
≥Press [ENTER] to exit the screen. |
| Dinosaur |
|
|
| |
[HDD] [RAM] |
|
| Date 6/20/2002 Wed Rec. Time 2:15 (SP) |
| ||
|
|
| No. 001 | Start | 10:00 AM | |
|
| Ch. 4 |
|
|
| |
|
|
|
|
|
| |
|
|
| ENTER |
|
|
|
Title Name | You can give names to recorded titles. |
|
|
|
|
|
[HDD] [RAM] | ➡ 53, Entering text |
|
|
|
|
|
|
|
|
|
|
| |
Setup Protection§ | If set, this will protect the title from accidental erasure. |
| DIRECT NAVIGATOR | Title View | ||
|
| |||||
Press [2, 1] to select “Yes” and press [ENTER]. |
| HDD |
|
|
| |
Cancel Protection§ |
| 007 |
| 008 |
| |
The lock symbol appears when the title is protected. |
|
|
|
|
| |
[HDD] [RAM] |
|
| 10 10/27 Mon | 8 10/27 Mon | ||
|
|
| - - - |
| - - - |
|
| You can remove unnecessary parts of the recording such as commercials. | DIRECT NAVIGATOR Shorten Title |
|
|
| |
Shorten Title | 1 Press [ENTER] at the start point and end point of the | HDD |
|
| Video | Picture |
008 | Play |
| End |
| ||
| section you want to erase. |
| Start |
| ||
[HDD] [RAM] |
|
|
| Exit |
| |
2 Press [3, 4] to select “Exit” and press [ENTER]. |
|
|
|
| ||
|
|
|
|
| Next |
|
(➡ below, “For quicker | ≥Select “Next” and press [ENTER] to erase other sections. |
|
|
| 0:43.21 |
|
editing”) |
|
|
|
| ||
3 Press [2, 1] to select “Erase” and press [ENTER]. |
| Start | End |
|
| |
|
| - | - |
|
| |
|
| ENTER |
|
|
|
|
Change Thumbnail
[HDD] [RAM]
(➡ below, “For quicker editing”)
You can change the image to be shown as the thumbnail picture in the Title View.
1Press [1] (PLAY) to start play.
2Press [ENTER] when the image you want to use as a
thumbnail is shown.
To change the thumbnail
Restart play and press [3, 4] to select “Change”, then press [ENTER] at the point you want to change.
3Press [3, 4] to select “Exit” and press [ENTER].
DIRECT NAVIGATOR Change Thumbnail |
| |
HDD | Video | Picture |
008 |
| Editing |
| Change | |
| Exit | |
| 0:00.01 | |
Change | Start play and select |
|
0:01.05 | the thumbnail position |
|
|
| |
ENTER |
|
|
Divide Title
[HDD] [RAM]
(➡ below, “For quicker editing”)
You can divide a title into two. | DIRECT NAVIGATOR Divide Title | ||
1 Press [ENTER] at the point you want to divide the title. | HDD | Video Picture | |
008 | Play | ||
2 Press [3, 4] to select “Exit” and press [ENTER]. | |||
| Preview | ||
| Divide | ||
3 Press [2, 1] to select “Divide” and press [ENTER]. |
| ||
| Exit | ||
|
| ||
To confirm the division point |
| 0:43.21 | |
|
| ||
Press [3, 4] to select “Preview” and press [ENTER]. (The unit plays 10 |
| Divide | |
| |||
seconds before and after the division point.) | ENTER |
| |
|
| ||
To change the division point
Restart play and press [3, 4] to select “Divide”, then press [ENTER] at the point where you want to divide the title.
[Note]
≥The divided titles retain the name and CPRM property (➡ 68) of the original title. ≥Video and audio just before and after the dividing point may momentarily cut out.
§Multiple editing is possible.
Chapter operations
After performing steps
Erase Chapter§ | Press [2, 1] to select “Erase” and press [ENTER]. |
[HDD] [RAM] | ≥Once erased, the recorded contents are lost and cannot be restored. Make certain before proceeding. |
| Select the point where you want to start a new chapter while viewing the | DIRECT NAVIGATOR Create Chapter |
| |
Create Chapter | title. | HDD | Video | Picture |
008 | Create |
| ||
1 Press [ENTER] at the point you want to divide. |
| |||
|
| Play |
| |
[HDD] [RAM] | ≥Repeat this step to divide at other points. |
| Exit |
|
(➡ below, “For quicker | 2 Press [3, 4] to select “Exit” and press [ENTER]. |
| 0:43.21 |
|
editing”) |
|
|
|
|
|
| ENTER |
|
|
Combine | Press [2, 1] to select “Combine” and press [ENTER]. |
Chapters [HDD] [RAM] | ≥The selected chapter and following chapter are combined. |
§Multiple editing is possible.
For quicker editing
≥Use search,
RQT8307
39