PictBridge Printing with a Digital Camera
Camera Printer
You can connect the printer to a PictBridge compatible digital camera or digital video camera to print recorded images. An example of connecting to the Panasonic digital camera LUMIX
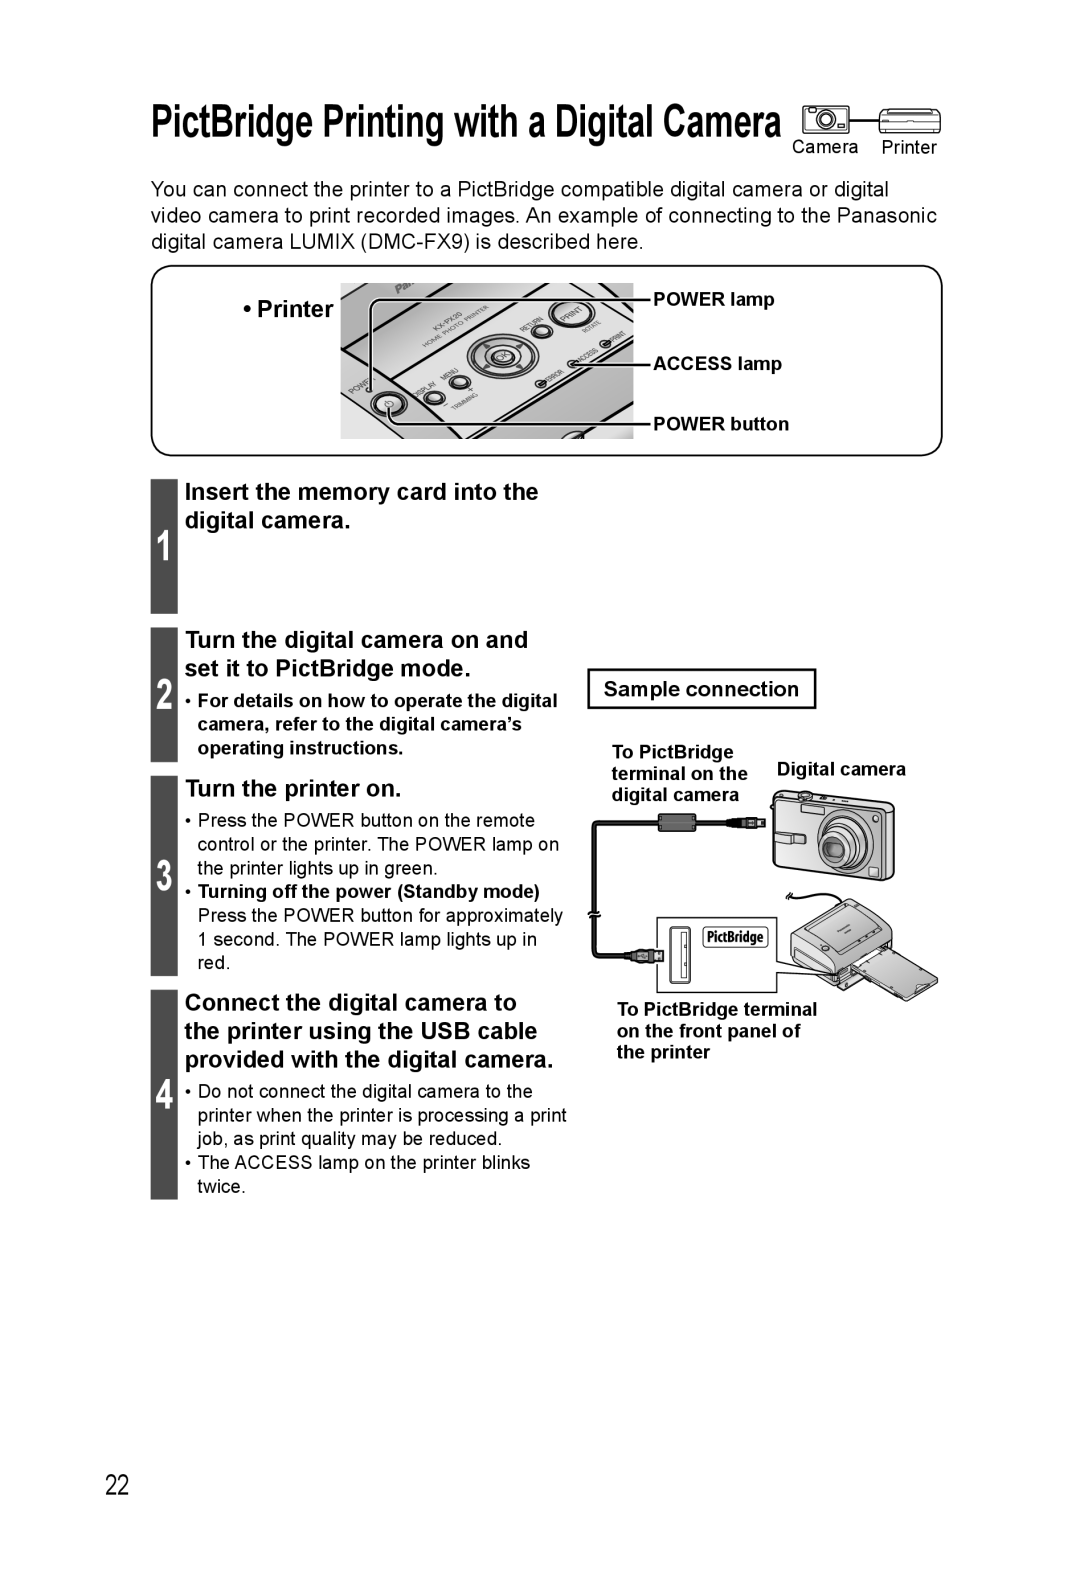
•Printer 
 POWER lamp


 ACCESS lamp

 POWER button
1
Insert the memory card into the digital camera.
Turn the digital camera on and set it to PictBridge mode.
2 • For details on how to operate the digital camera, refer to the digital camera’s operating instructions.
Turn the printer on.
•Press the POWER button on the remote control or the printer. The POWER lamp on
3 the printer lights up in green.
•Turning off the power (Standby mode) Press the POWER button for approximately 1 second. The POWER lamp lights up in red.
Connect the digital camera to the printer using the USB cable provided with the digital camera.
4 • Do not connect the digital camera to the printer when the printer is processing a print job, as print quality may be reduced.
•The ACCESS lamp on the printer blinks twice.
Sample connection
To PictBridge | Digital camera |
terminal on the | |
digital camera |
|
To PictBridge terminal on the front panel of the printer
22