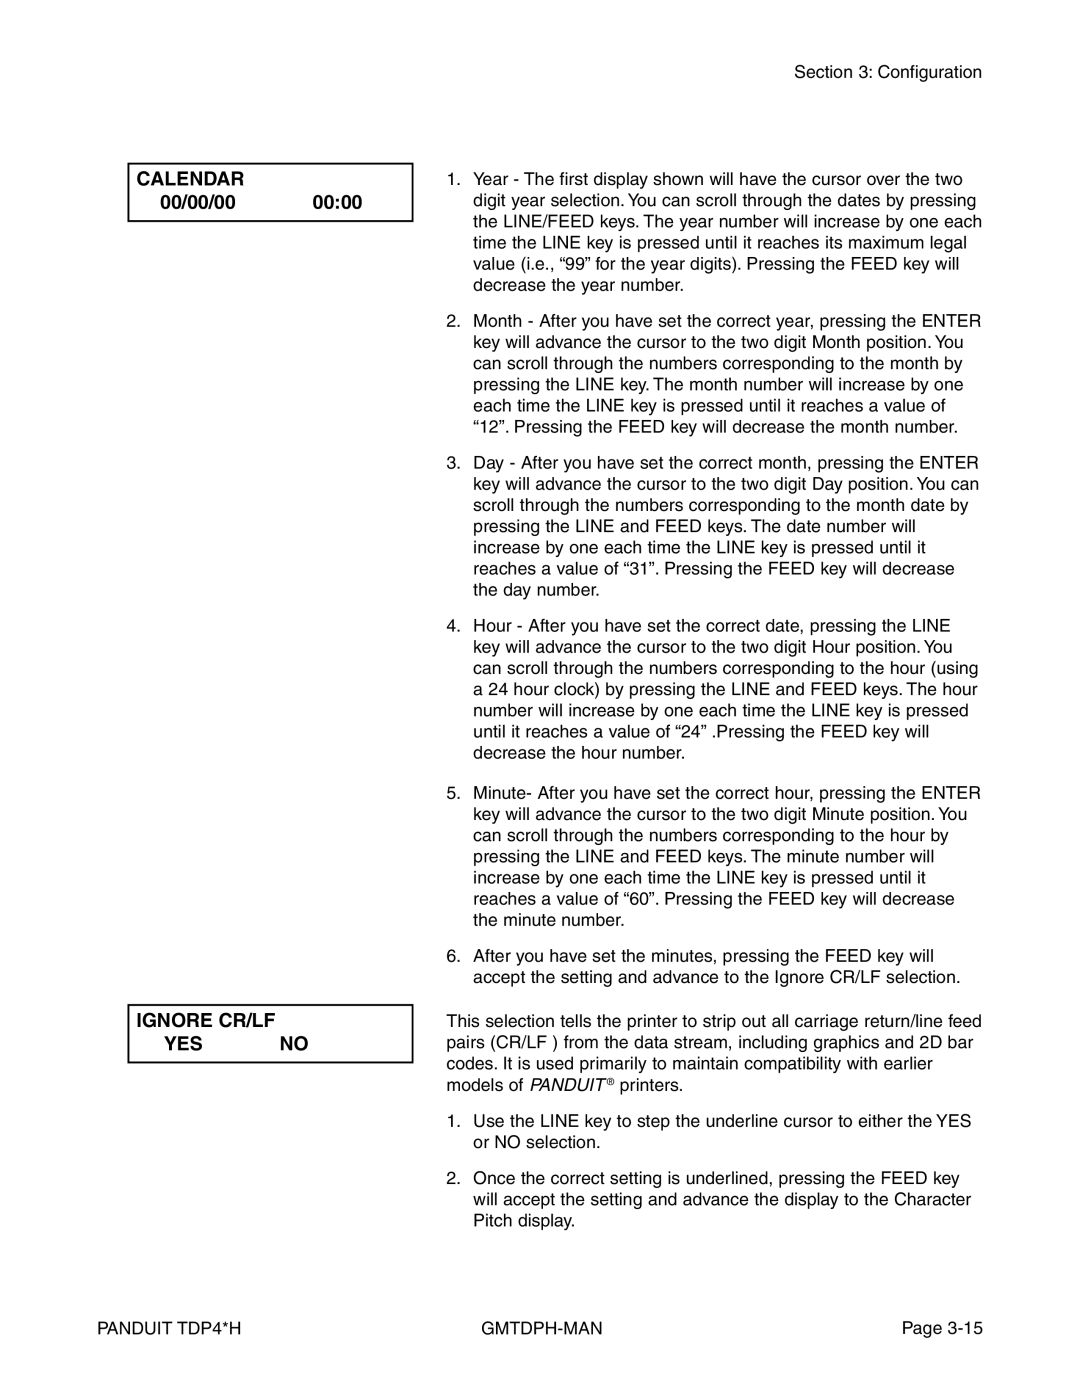
CALENDAR

00/00/00 00:00

IGNORE CR/LF

YES NO

Section 3: Configuration

1.Year - The first display shown will have the cursor over the two digit year selection. You can scroll through the dates by pressing the LINE/FEED keys. The year number will increase by one each time the LINE key is pressed until it reaches its maximum legal value (i.e., “99” for the year digits). Pressing the FEED key will decrease the year number.

2.Month - After you have set the correct year, pressing the ENTER key will advance the cursor to the two digit Month position. You can scroll through the numbers corresponding to the month by pressing the LINE key. The month number will increase by one each time the LINE key is pressed until it reaches a value of “12”. Pressing the FEED key will decrease the month number.

3.Day - After you have set the correct month, pressing the ENTER key will advance the cursor to the two digit Day position. You can scroll through the numbers corresponding to the month date by pressing the LINE and FEED keys. The date number will increase by one each time the LINE key is pressed until it reaches a value of “31”. Pressing the FEED key will decrease the day number.

4.Hour - After you have set the correct date, pressing the LINE key will advance the cursor to the two digit Hour position. You can scroll through the numbers corresponding to the hour (using a 24 hour clock) by pressing the LINE and FEED keys. The hour number will increase by one each time the LINE key is pressed until it reaches a value of “24” .Pressing the FEED key will decrease the hour number.

5.Minute- After you have set the correct hour, pressing the ENTER key will advance the cursor to the two digit Minute position. You can scroll through the numbers corresponding to the hour by pressing the LINE and FEED keys. The minute number will increase by one each time the LINE key is pressed until it reaches a value of “60”. Pressing the FEED key will decrease the minute number.

6.After you have set the minutes, pressing the FEED key will accept the setting and advance to the Ignore CR/LF selection.

This selection tells the printer to strip out all carriage return/line feed pairs (CR/LF ) from the data stream, including graphics and 2D bar codes. It is used primarily to maintain compatibility with earlier models of PANDUIT ® printers.

1.Use the LINE key to step the underline cursor to either the YES or NO selection.

2.Once the correct setting is underlined, pressing the FEED key will accept the setting and advance the display to the Character Pitch display.

PANDUIT TDP4*H

GMTDPH-MAN

Page 3-15

Page 41
Image 41
Panduit TDP46H, TDP43H, TDP42H manual Calendar, Ignore CR/LF YES no

TDP46H, TDP43H, TDP42H specifications

Panduit is a well-respected name in the field of network and cabling solutions, and their TDP series of identification printers, specifically the TDP42H, TDP43H, and TDP46H, showcase advanced technologies that cater to the diverse needs of modern enterprises.

The TDP42H is known for its high-resolution printing capability and versatility, allowing users to print labels in various formats and sizes. This printer employs thermal transfer technology, ensuring that the print quality remains sharp and durable over time. It features a user-friendly interface that allows for quick and easy setup, making it accessible for both seasoned professionals and newcomers alike. One of the standout features of the TDP42H is its ability to produce both indoor and outdoor labels, thanks to its weather-resistant materials, which are ideal for challenging environments.

The TDP43H builds on the strengths of the TDP42H by offering enhanced connectivity options. It supports wireless printing and is compatible with various mobile devices, allowing for seamless operation in a range of settings. Additionally, it has a larger printing area, which allows for more extensive information on each label. This makes it suitable for more complex identification tasks in industrial settings. The TDP43H also incorporates advanced software capabilities, enabling users to design custom labels that meet the specific needs of their projects.

On the other hand, the TDP46H is built for high-volume printing tasks. It boasts a faster printing speed and a higher print resolution compared to its counterparts. This printer is ideal for environments where efficiency and productivity are paramount. The TDP46H features a robust design that can withstand the rigors of frequent use, ensuring reliability in demanding situations. Furthermore, it integrates with various Panduit software applications, enabling effortless label design and printing.

Overall, the Panduit TDP series printers, including the TDP42H, TDP43H, and TDP46H, are engineered for adaptability, real-time printing efficiency, and high-quality output. Their combination of advanced technologies and robust design makes them essential tools for businesses seeking to enhance their labeling capabilities. Whether it’s for warehouses, data centers, or office environments, these printers offer innovative solutions tailored to the numerous challenges faced in the world of identification and labeling.