CONNECTIONS
Refer to Figure 8.
1.Connect the viewstation to the recorder via an Ethernet switch. Use shielded network cables.
NOTE: Use a shielded cable, similar to Belden 1533P, that meets or exceeds the support requirements for ANSI/TIA/EIA 568B.2 Cat 5e.
2.Connect a monitor, keyboard, and mouse to the viewstation.
3.Connect cameras to the video input coaxial connectors on the recorders, and then set the termination switches to Term (75 ohms). This is the factory default.
4.Connect looping video sources, such as monitors, to the video output coaxial connectors on the recorder and then set the switches to Loop
5.Connect a
6.Wire alarms and relays. Refer to the Wiring Alarms and Relays section.
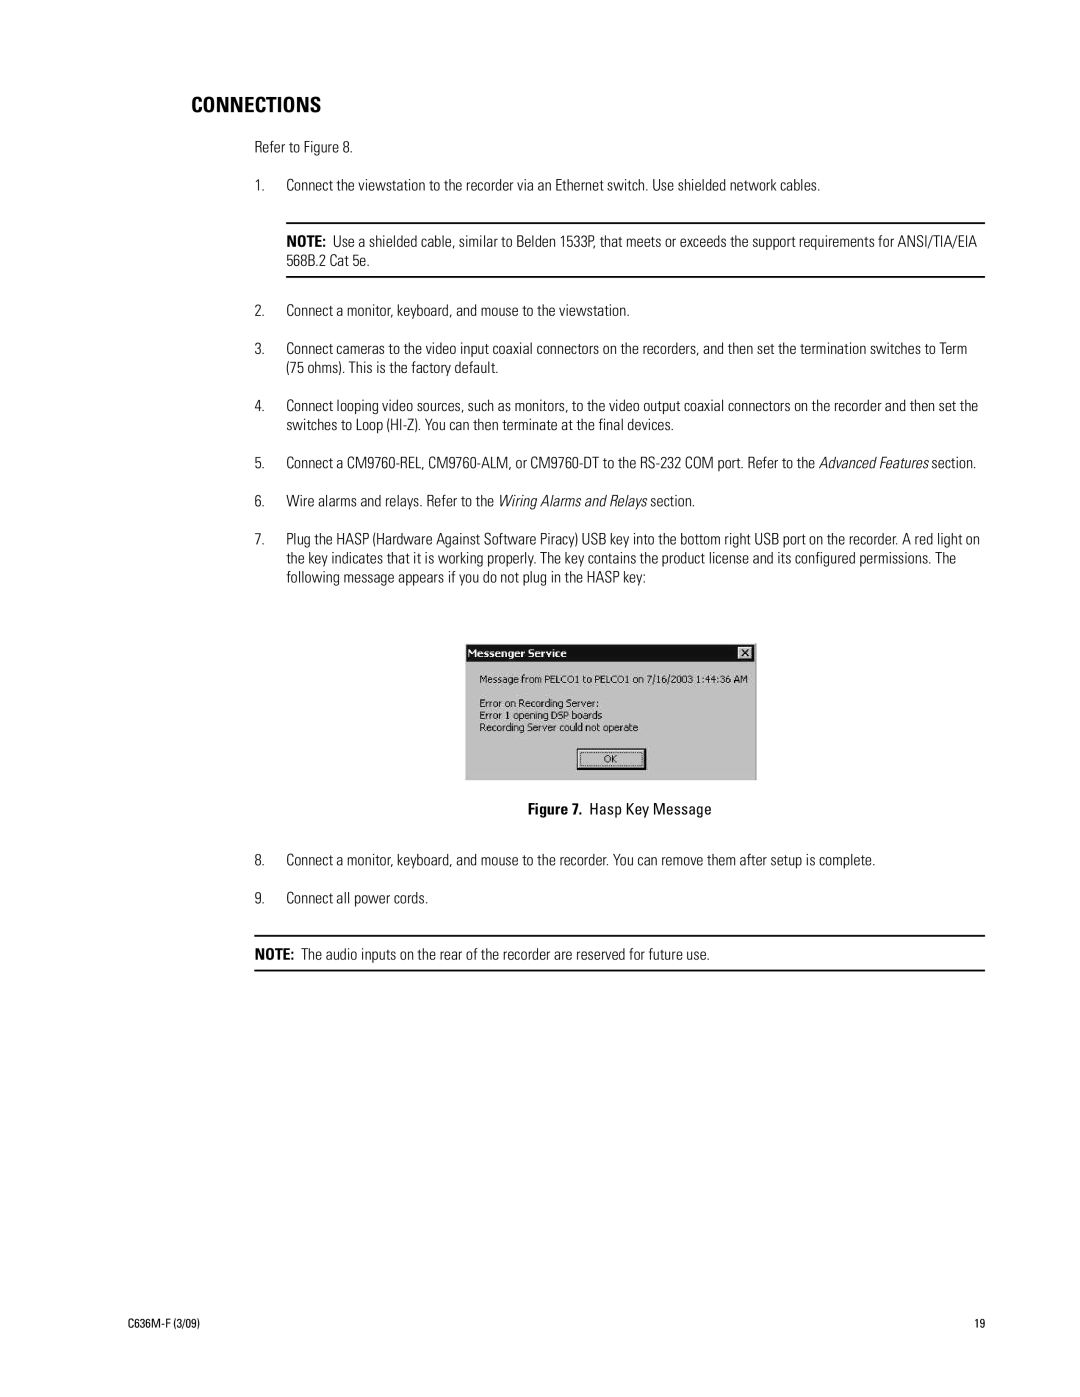
7.Plug the HASP (Hardware Against Software Piracy) USB key into the bottom right USB port on the recorder. A red light on the key indicates that it is working properly. The key contains the product license and its configured permissions. The following message appears if you do not plug in the HASP key:
Figure 7. Hasp Key Message
8.Connect a monitor, keyboard, and mouse to the recorder. You can remove them after setup is complete.
9.Connect all power cords.
NOTE: The audio inputs on the rear of the recorder are reserved for future use.
| 19 |