I/O Manager for Relay Unit
The Step 3 and Step 4 screens in the I/O Manager Configuration are used to finish configuring a relay unit. Step 3 configures the recorder channels with the selected relay ports. Step 4 translates the event type from one type to another.
If you are already in the I/O Manager Configuration, follow the steps below.
If you are not in the I/O Manager Configuration, go to Start > Programs > DX9000 Server > IO Manager Configuration. In the I/O Manager Configuration, click Next three times to reach Step 3.
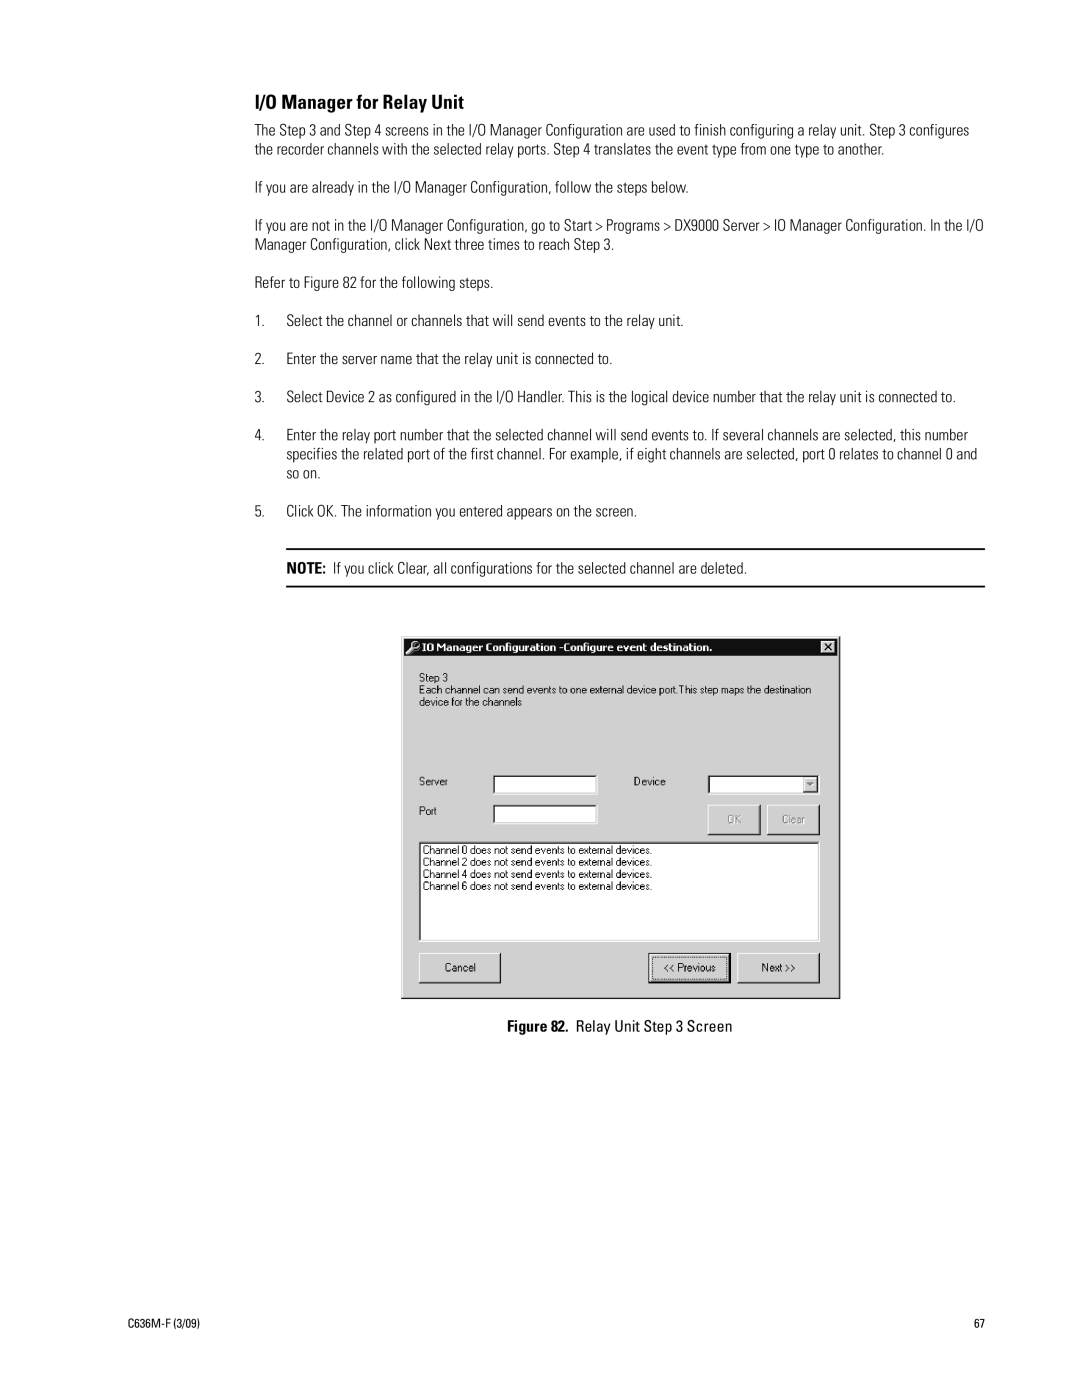
Refer to Figure 82 for the following steps.
1.Select the channel or channels that will send events to the relay unit.
2.Enter the server name that the relay unit is connected to.
3.Select Device 2 as configured in the I/O Handler. This is the logical device number that the relay unit is connected to.
4.Enter the relay port number that the selected channel will send events to. If several channels are selected, this number specifies the related port of the first channel. For example, if eight channels are selected, port 0 relates to channel 0 and so on.
5.Click OK. The information you entered appears on the screen.
NOTE: If you click Clear, all configurations for the selected channel are deleted.
Figure 82. Relay Unit Step 3 Screen
| 67 |