WEEKLY RECORDING SCHEDULE
NOTE: To make sure there is no delay during scheduled recording, begin the recording at least five minutes before the actual recording time. For example, schedule a recording at 7:55 a.m. instead of 8:00 a.m.
1.Select the “Weekly recording schedule” radio button.
2.Click Continuous or “Event record.”
3.In the time bars, click the desired start/end times for recording for each day of the week, or enter the exact start/end times in the “Fine tune” fields.
4.Click Apply.
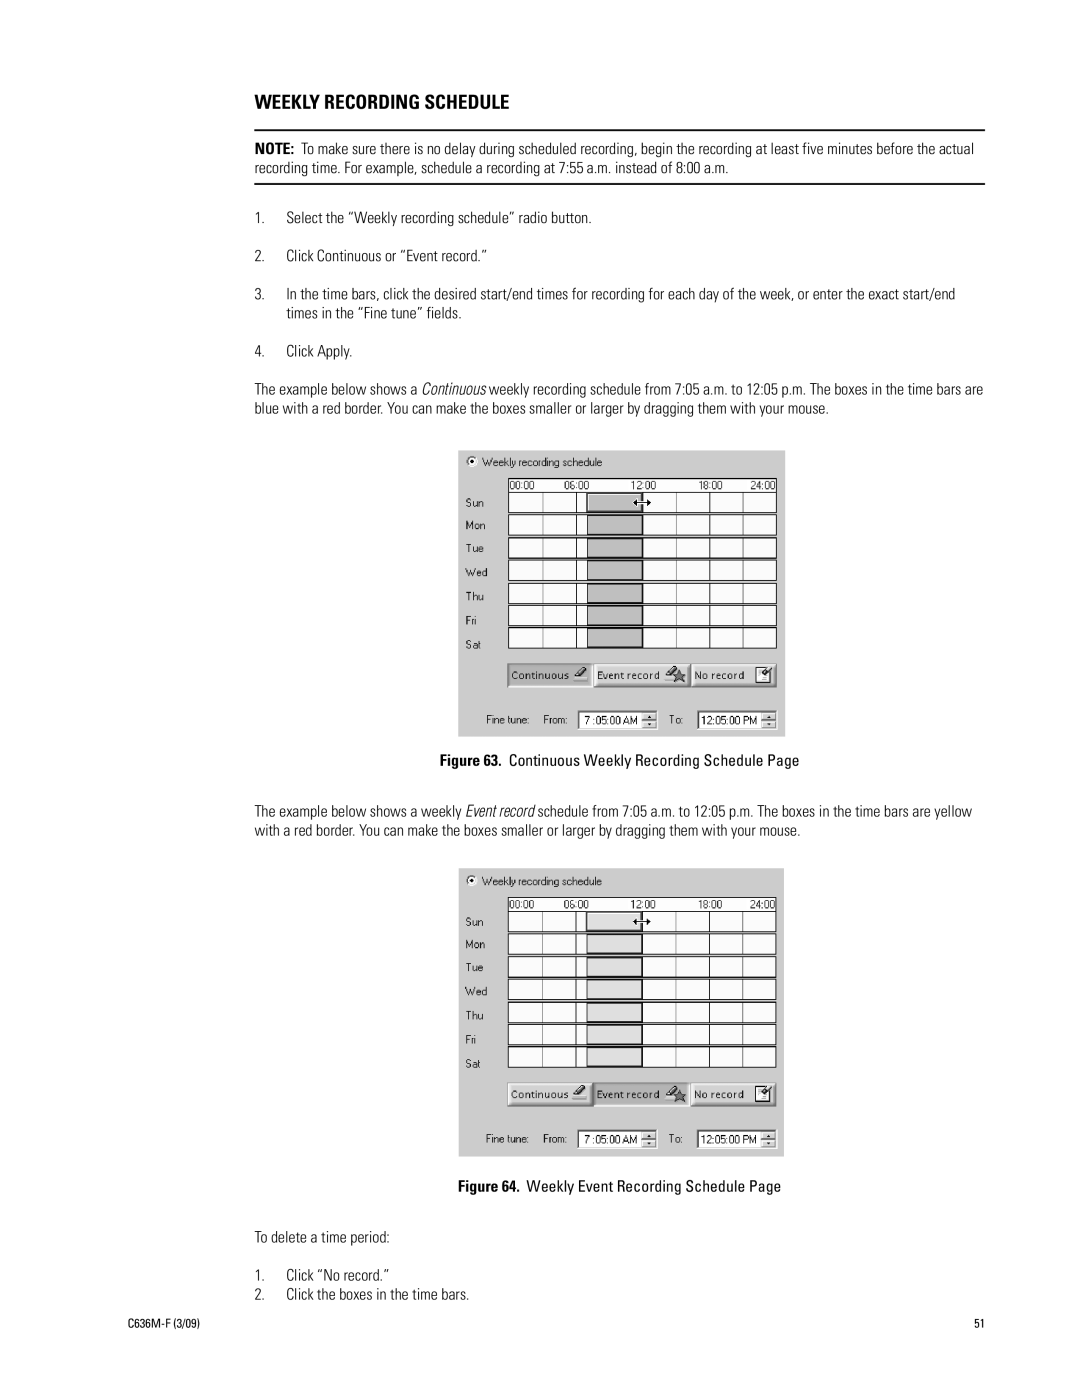
The example below shows a Continuous weekly recording schedule from 7:05 a.m. to 12:05 p.m. The boxes in the time bars are blue with a red border. You can make the boxes smaller or larger by dragging them with your mouse.
Figure 63. Continuous Weekly Recording Schedule Page
The example below shows a weekly Event record schedule from 7:05 a.m. to 12:05 p.m. The boxes in the time bars are yellow with a red border. You can make the boxes smaller or larger by dragging them with your mouse.
Figure 64. Weekly Event Recording Schedule Page
To delete a time period:
1.Click “No record.”
2.Click the boxes in the time bars.
| 51 |