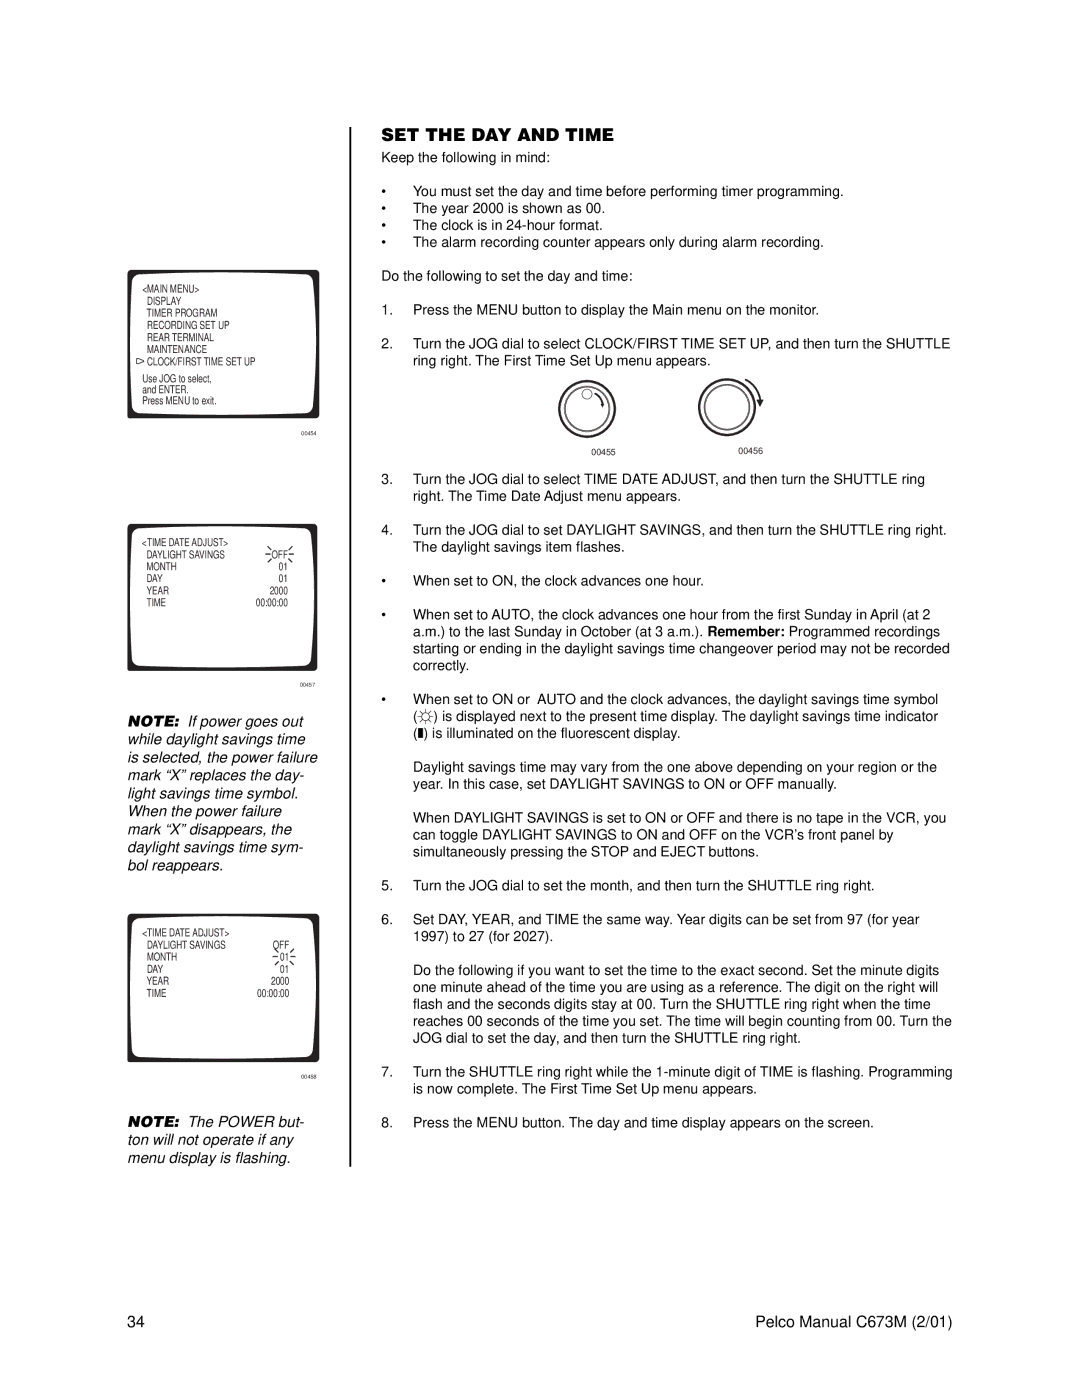
<MAIN MENU>
DISPLAY
TIMER PROGRAM RECORDING SET UP REAR TERMINAL MAINTENANCE ![]() CLOCK/FIRST TIME SET UP
CLOCK/FIRST TIME SET UP
Use JOG to select, and ENTER.
Press MENU to exit.
00454
<TIME DATE ADJUST> |
|
DAYLIGHT SAVINGS | OFF |
MONTH | 01 |
DAY | 01 |
YEAR | 2000 |
TIME | 00:00:00 |
00457
NOTE: If power goes out while daylight savings time is selected, the power failure mark “X” replaces the day- light savings time symbol. When the power failure mark “X” disappears, the daylight savings time sym- bol reappears.
<TIME DATE ADJUST> |
|
DAYLIGHT SAVINGS | OFF |
MONTH | 01 |
DAY | 01 |
YEAR | 2000 |
TIME | 00:00:00 |
00458
NOTE: The POWER but- ton will not operate if any menu display is flashing.
SET THE DAY AND TIME
Keep the following in mind:
•You must set the day and time before performing timer programming.
•The year 2000 is shown as 00.
•The clock is in
•The alarm recording counter appears only during alarm recording.
Do the following to set the day and time:
1.Press the MENU button to display the Main menu on the monitor.
2.Turn the JOG dial to select CLOCK/FIRST TIME SET UP, and then turn the SHUTTLE ring right. The First Time Set Up menu appears.
00455 | 00456 |
3.Turn the JOG dial to select TIME DATE ADJUST, and then turn the SHUTTLE ring right. The Time Date Adjust menu appears.
4.Turn the JOG dial to set DAYLIGHT SAVINGS, and then turn the SHUTTLE ring right. The daylight savings item flashes.
•When set to ON, the clock advances one hour.
•When set to AUTO, the clock advances one hour from the first Sunday in April (at 2 a.m.) to the last Sunday in October (at 3 a.m.). Remember: Programmed recordings starting or ending in the daylight savings time changeover period may not be recorded correctly.
•When set to ON or AUTO and the clock advances, the daylight savings time symbol
(![]() ) is displayed next to the present time display. The daylight savings time indicator (❚) is illuminated on the fluorescent display.
) is displayed next to the present time display. The daylight savings time indicator (❚) is illuminated on the fluorescent display.
Daylight savings time may vary from the one above depending on your region or the year. In this case, set DAYLIGHT SAVINGS to ON or OFF manually.
When DAYLIGHT SAVINGS is set to ON or OFF and there is no tape in the VCR, you can toggle DAYLIGHT SAVINGS to ON and OFF on the VCR’s front panel by simultaneously pressing the STOP and EJECT buttons.
5.Turn the JOG dial to set the month, and then turn the SHUTTLE ring right.
6.Set DAY, YEAR, and TIME the same way. Year digits can be set from 97 (for year 1997) to 27 (for 2027).
Do the following if you want to set the time to the exact second. Set the minute digits one minute ahead of the time you are using as a reference. The digit on the right will flash and the seconds digits stay at 00. Turn the SHUTTLE ring right when the time reaches 00 seconds of the time you set. The time will begin counting from 00. Turn the JOG dial to set the day, and then turn the SHUTTLE ring right.
7.Turn the SHUTTLE ring right while the
8.Press the MENU button. The day and time display appears on the screen.
34 | Pelco Manual C673M (2/01) |