08Setting up
Color Temp
Adjusts the color temperature, resulting in a better white balance.
Selections | High | White with bluish tone |
|
|
|
| Intermediate tone between High and Mid | |
|
|
|
| Mid | Natural tone |
|
|
|
| Intermediate tone between Mid and Low | |
|
|
|
| Low | White with reddish tone |
|
|
|
| Manual | Color temperature adjusted to your |
|
| preference |
|
|
|
7 Select an item to be adjusted ( | then ENTER). | |||||
8 Select the desired level ( | ). |
|
| |||
|
|
|
|
|
| |
Item |
|
| button |
| button | |
|
|
|
|
| ||
R High | Fine adjustment for | For weaker red |
| For stronger red | ||
| bright portions |
|
|
|
| |
G High | For weaker green | For stronger green | ||||
| ||||||
|
|
|
|
| ||
B High |
| For weaker blue |
| For stronger blue | ||
|
|
|
|
| ||
R Low | Fine adjustment for | For weaker red |
| For stronger red | ||
| dark portions |
|
|
|
| |
G Low | For weaker green | For stronger green | ||||
| ||||||
|
|
|
|
| ||
B Low |
| For weaker blue |
| For stronger blue | ||
|
|
|
|
|
| |
•To perform adjustment for another item, press RETURN, and then repeat steps 7 and 8.
• You may press | to immediately change an item to be |
adjusted. |
|
9 Press HOME MENU to exit the menu.
Using CTI
1 | Press HOME MENU. |
|
| |
2 | Select “Picture“ ( |
| then ENTER). |
|
3 | Select “Pro Adjust“ ( | then ENTER). | ||
4 | Select “Color Detail“ ( | then ENTER). | ||
5 | Select “CTI“ ( | then ENTER). |
| |
6 | Select the desired parameter ( | then ENTER). | ||
CTI
Provides images with clearer color contours. CTI stands for Color Transient Improvement.
Selections | Off | Deactivates CTI. |
|
|
|
| On | Activates CTI. |
|
|
|
7 Press HOME MENU to exit the menu.
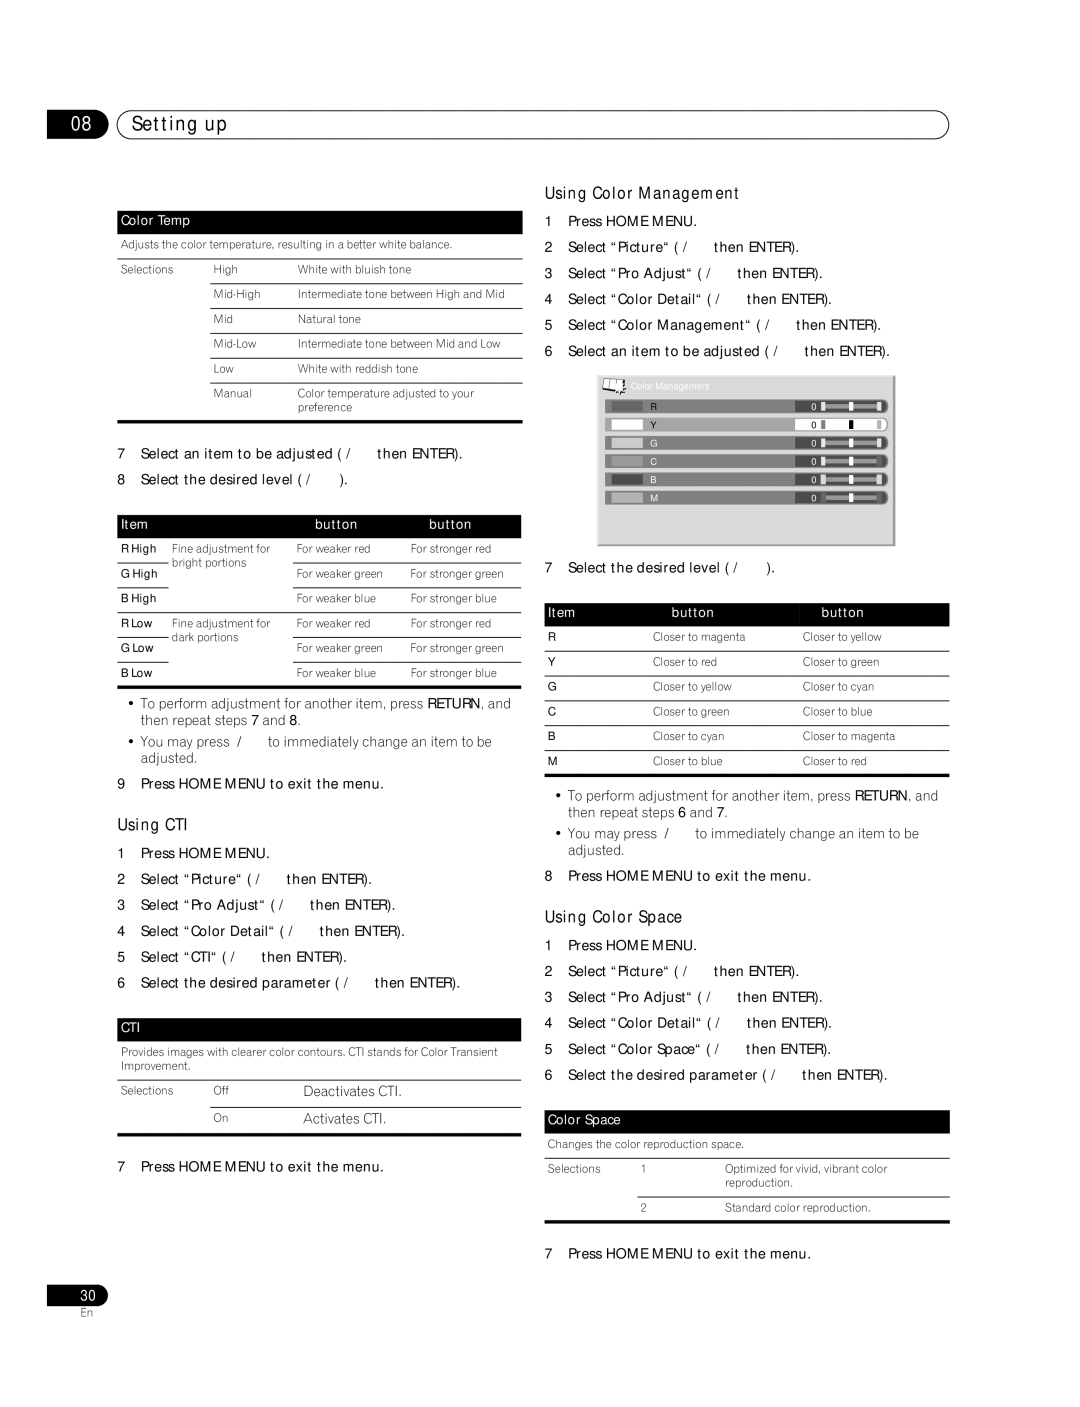
Using Color Management
1 | Press HOME MENU. |
|
|
|
|
|
|
|
|
| ||
2 | Select “Picture“ ( | then ENTER). | ||||||||||
3 | Select “Pro Adjust“ ( |
| then ENTER). | |||||||||
4 | Select “Color Detail“ ( |
| then ENTER). | |||||||||
5 | Select “Color Management“ ( | then ENTER). | ||||||||||
6 | Select an item to be adjusted ( | then ENTER). | ||||||||||
|
|
|
|
|
|
|
|
|
|
|
| |
|
|
|
|
|
|
|
|
|
|
|
| |
|
|
| Color Management |
|
|
|
|
|
|
|
| |
|
|
| R |
|
| 0 |
|
|
|
|
|
|
|
|
|
|
|
|
|
|
|
|
| ||
|
|
| Y |
|
| 0 |
|
|
|
|
|
|
|
|
| G |
|
| 0 |
|
|
|
|
|
|
|
|
|
|
|
|
|
|
|
|
| ||
|
|
| C |
|
| 0 |
|
|
|
|
|
|
|
|
|
|
|
|
|
|
|
|
| ||
|
|
| B |
|
| 0 |
|
|
|
|
|
|
|
|
|
|
|
|
|
|
|
|
| ||
|
|
| M |
|
| 0 |
|
|
|
|
|
|
|
|
|
|
|
|
|
|
|
|
| ||
|
|
|
|
|
|
|
|
|
|
|
|
|
7 | Select the desired level ( | ). |
|
|
|
|
|
|
| |||
|
|
|
|
|
|
|
|
|
|
| ||
Item |
| button |
| button | ||||||||
|
|
|
|
|
|
|
|
|
|
| ||
R |
|
| Closer to magenta | Closer to yellow | ||||||||
|
|
|
|
|
|
|
|
|
|
|
| |
Y |
|
| Closer to red |
| Closer to green | |||||||
|
|
|
|
|
|
|
|
|
|
|
| |
G |
|
| Closer to yellow |
| Closer to cyan | |||||||
|
|
|
|
|
|
|
|
|
|
|
| |
C |
|
| Closer to green |
| Closer to blue | |||||||
|
|
|
|
|
|
|
|
|
|
|
| |
B |
|
| Closer to cyan |
| Closer to magenta | |||||||
|
|
|
|
|
|
|
|
|
|
|
| |
M |
|
| Closer to blue |
| Closer to red | |||||||
|
|
|
|
|
|
|
|
|
|
|
|
|
•To perform adjustment for another item, press RETURN, and then repeat steps 6 and 7.
• You may press | to immediately change an item to be |
adjusted. |
|
8 Press HOME MENU to exit the menu.
Using Color Space
1 | Press HOME MENU. |
|
|
2 | Select “Picture“ ( | then ENTER). |
|
3 | Select “Pro Adjust“ ( | then ENTER). | |
4 | Select “Color Detail“ ( | then ENTER). | |
5 | Select “Color Space“ ( | then ENTER). | |
6 | Select the desired parameter ( | then ENTER). | |
Color Space
Changes the color reproduction space.
Selections | 1 | Optimized for vivid, vibrant color |
|
| reproduction. |
|
|
|
| 2 | Standard color reproduction. |
|
|
|
7 Press HOME MENU to exit the menu.
30
En