09Useful adjustment settings
6 Press HOME MENU to exit the menu.
Note |
|
• To restore the factory defaults for all the items, press | to |
select "Reset" in step 4, and then press ENTER. A confirmation
screen appears. Press | to select "Yes", and then press |
ENTER. |
|
Color system setting
If an image does not appear clearly, select another color system (e.g., PAL, NTSC).
1 | Press HOME MENU. |
|
|
|
2 | Select “Option“ ( | then ENTER). | ||
3 | Select “Color System“ ( | then ENTER). | ||
4 | Select a video signal system ( | then ENTER). | ||
![]() Color System
Color System
![]()
![]() Auto
Auto
PAL SECAM NTSC 4.43NTSC
•You can select "Auto", "PAL", "SECAM", "NTSC", "4.43NTSC",
•With "Auto" selected, input signals are automatically identified.
5 Press HOME MENU to exit the menu.
![]() Note
Note
•The factory default is "Auto".
•You need to perform color system setting for each of INPUT 1, 2, 3 and 5.
•For the color system setting, see steps 11 and 12 under Setting up TV channels manually on page 25.
Selecting a screen size manually
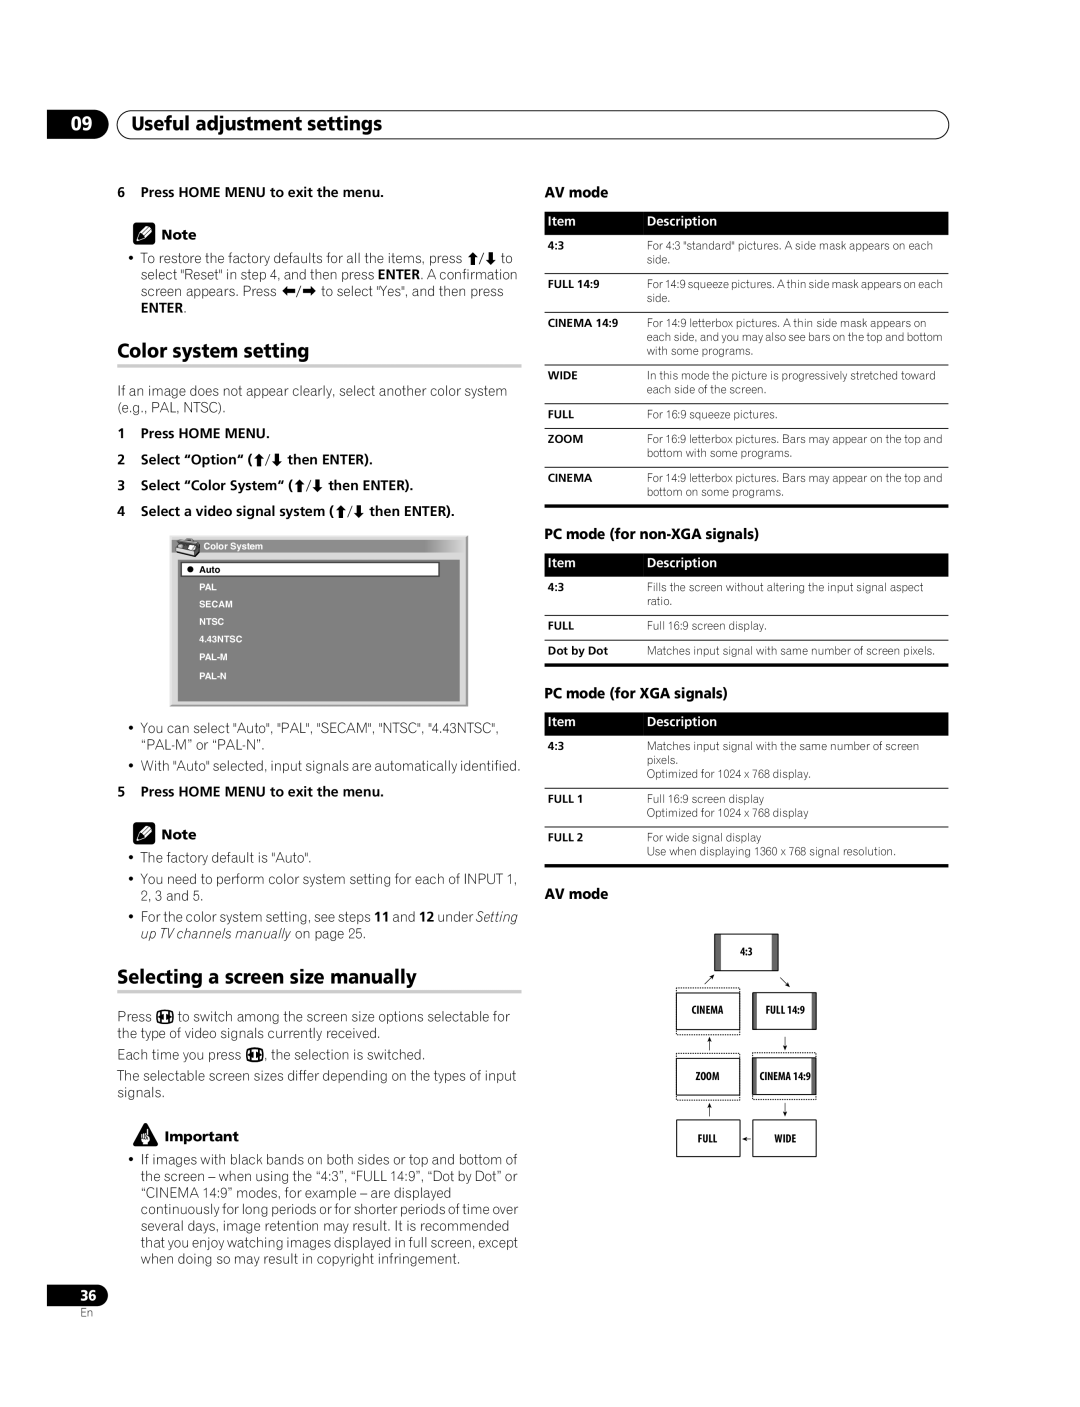
Press f to switch among the screen size options selectable for the type of video signals currently received.
Each time you press f, the selection is switched.
The selectable screen sizes differ depending on the types of input signals.
![]() Important
Important
•If images with black bands on both sides or top and bottom of the screen – when using the “4:3”, “FULL 14:9”, “Dot by Dot” or “CINEMA 14:9” modes, for example – are displayed continuously for long periods or for shorter periods of time over several days, image retention may result. It is recommended that you enjoy watching images displayed in full screen, except when doing so may result in copyright infringement.
36
AV mode
Item | Description |
4:3 | For 4:3 "standard" pictures. A side mask appears on each |
| side. |
|
|
FULL 14:9 | For 14:9 squeeze pictures. A thin side mask appears on each |
| side. |
|
|
CINEMA 14:9 | For 14:9 letterbox pictures. A thin side mask appears on |
| each side, and you may also see bars on the top and bottom |
| with some programs. |
|
|
WIDE | In this mode the picture is progressively stretched toward |
| each side of the screen. |
|
|
FULL | For 16:9 squeeze pictures. |
|
|
ZOOM | For 16:9 letterbox pictures. Bars may appear on the top and |
| bottom with some programs. |
|
|
CINEMA | For 14:9 letterbox pictures. Bars may appear on the top and |
| bottom on some programs. |
|
|
PC mode (for non-XGA signals)
Item | Description |
4:3 | Fills the screen without altering the input signal aspect |
| ratio. |
|
|
FULL | Full 16:9 screen display. |
|
|
Dot by Dot | Matches input signal with same number of screen pixels. |
|
|
PC mode (for XGA signals)
Item | Description |
|
| |
4:3 | Matches input signal with the same number of screen | |||
| pixels. |
|
| |
| Optimized for 1024 x 768 display. | |||
|
|
|
| |
FULL 1 | Full 16:9 screen display | |||
| Optimized for 1024 x 768 display | |||
|
|
|
| |
FULL 2 | For wide signal display | |||
| Use when displaying 1360 x 768 signal resolution. | |||
|
|
|
|
|
AV mode |
|
|
|
|
|
|
| 4:3 |
|
| CINEMA | FULL 14:9 | ||
|
|
|
| |
|
|
|
|
|
| ZOOM | CINEMA 14:9 | ||
FULL ![]() WIDE
WIDE
En