Setting up
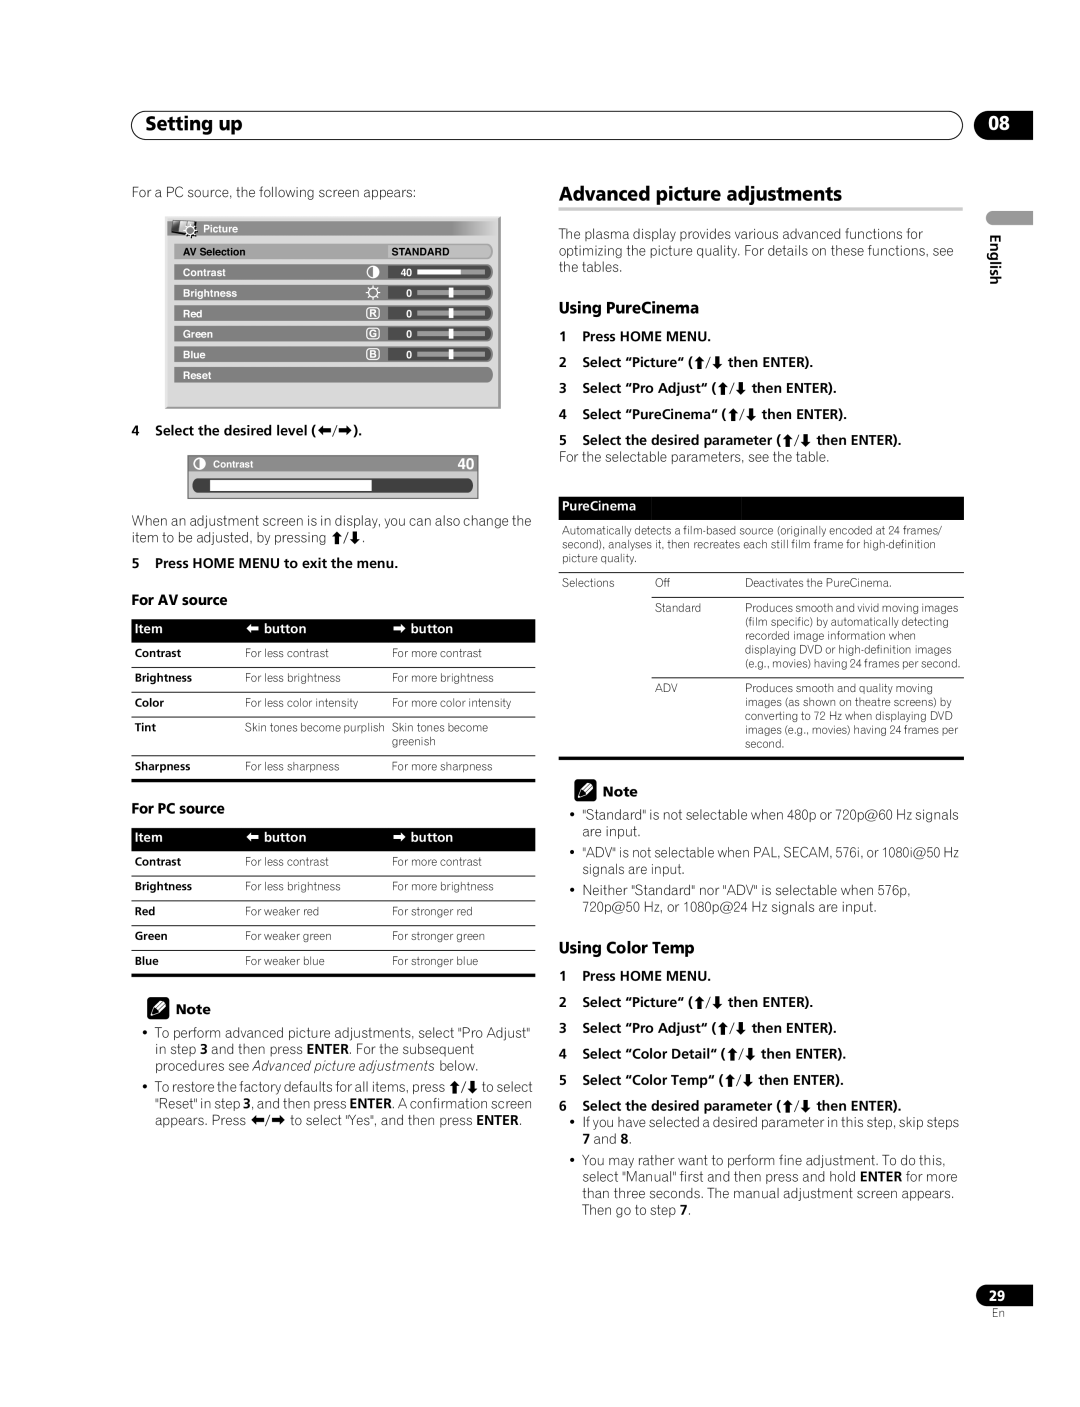
For a PC source, the following screen appears:
Picture |
|
AV Selection | STANDARD |
Contrast | 40 |
Brightness | 0 |
Red | 0 |
Green | 0 |
Blue | 0 |
Reset
4 Select the desired level ( | ). | |
|
|
|
| Contrast | 40 |
|
|
|
When an adjustment screen is in display, you can also change the
item to be adjusted, by pressing | . |
5 Press HOME MENU to exit the menu.
For AV source
Item | button | button |
Contrast | For less contrast | For more contrast |
|
|
|
Brightness | For less brightness | For more brightness |
|
|
|
Color | For less color intensity | For more color intensity |
|
|
|
Tint | Skin tones become purplish | Skin tones become |
|
| greenish |
|
|
|
Sharpness | For less sharpness | For more sharpness |
|
|
|
For PC source
Item | button | button |
Contrast | For less contrast | For more contrast |
|
|
|
Brightness | For less brightness | For more brightness |
|
|
|
Red | For weaker red | For stronger red |
|
|
|
Green | For weaker green | For stronger green |
|
|
|
Blue | For weaker blue | For stronger blue |
|
|
|
![]() Note
Note
•To perform advanced picture adjustments, select "Pro Adjust" in step 3 and then press ENTER. For the subsequent procedures see Advanced picture adjustments below.
• To restore the factory defaults for all items, press to select "Reset" in step 3, and then press ENTER. A confirmation screen
appears. Press | to select "Yes", and then press ENTER. |
Advanced picture adjustments
The plasma display provides various advanced functions for optimizing the picture quality. For details on these functions, see the tables.
Using PureCinema
1 | Press HOME MENU. |
|
|
2 | Select “Picture“ ( | then ENTER). |
|
3 | Select “Pro Adjust“ ( | then ENTER). | |
4 | Select “PureCinema“ ( | then ENTER). | |
5 | Select the desired parameter ( | then ENTER). | |
For the selectable parameters, see the table.
PureCinema
Automatically detects a
Selections | Off | Deactivates the PureCinema. |
|
|
|
| Standard | Produces smooth and vivid moving images |
|
| (film specific) by automatically detecting |
|
| recorded image information when |
|
| displaying DVD or |
|
| (e.g., movies) having 24 frames per second. |
|
|
|
| ADV | Produces smooth and quality moving |
|
| images (as shown on theatre screens) by |
|
| converting to 72 Hz when displaying DVD |
|
| images (e.g., movies) having 24 frames per |
|
| second. |
|
|
|
![]() Note
Note
•"Standard" is not selectable when 480p or 720p@60 Hz signals are input.
•"ADV" is not selectable when PAL, SECAM, 576i, or 1080i@50 Hz signals are input.
•Neither "Standard" nor "ADV" is selectable when 576p, 720p@50 Hz, or 1080p@24 Hz signals are input.
Using Color Temp
1 | Press HOME MENU. |
|
|
2 | Select “Picture“ ( | then ENTER). |
|
3 | Select “Pro Adjust“ ( | then ENTER). | |
4 | Select “Color Detail“ ( | then ENTER). | |
5 | Select “Color Temp“ ( | then ENTER). | |
6 | Select the desired parameter ( | then ENTER). | |
•If you have selected a desired parameter in this step, skip steps 7 and 8.
•You may rather want to perform fine adjustment. To do this, select "Manual" first and then press and hold ENTER for more than three seconds. The manual adjustment screen appears. Then go to step 7.
08
English
29
En