Recording
Recording Menu — Date/Time Display
The date and time must be set before it can be displayed and recorded on your tapes. The clock cell must be installed as shown on the next page before the date can be set and recorded.
MENU
16X9 AE MODES
EIS
FADE
WIPE
AUTO | H |
| S |
| U |
BACKLIGHT | P |
CUS |
|
FO |
|
FRONTLIGHT | MANUAL |
PHOTO | |
DATE/ EFFECTS | |
TIME |
|
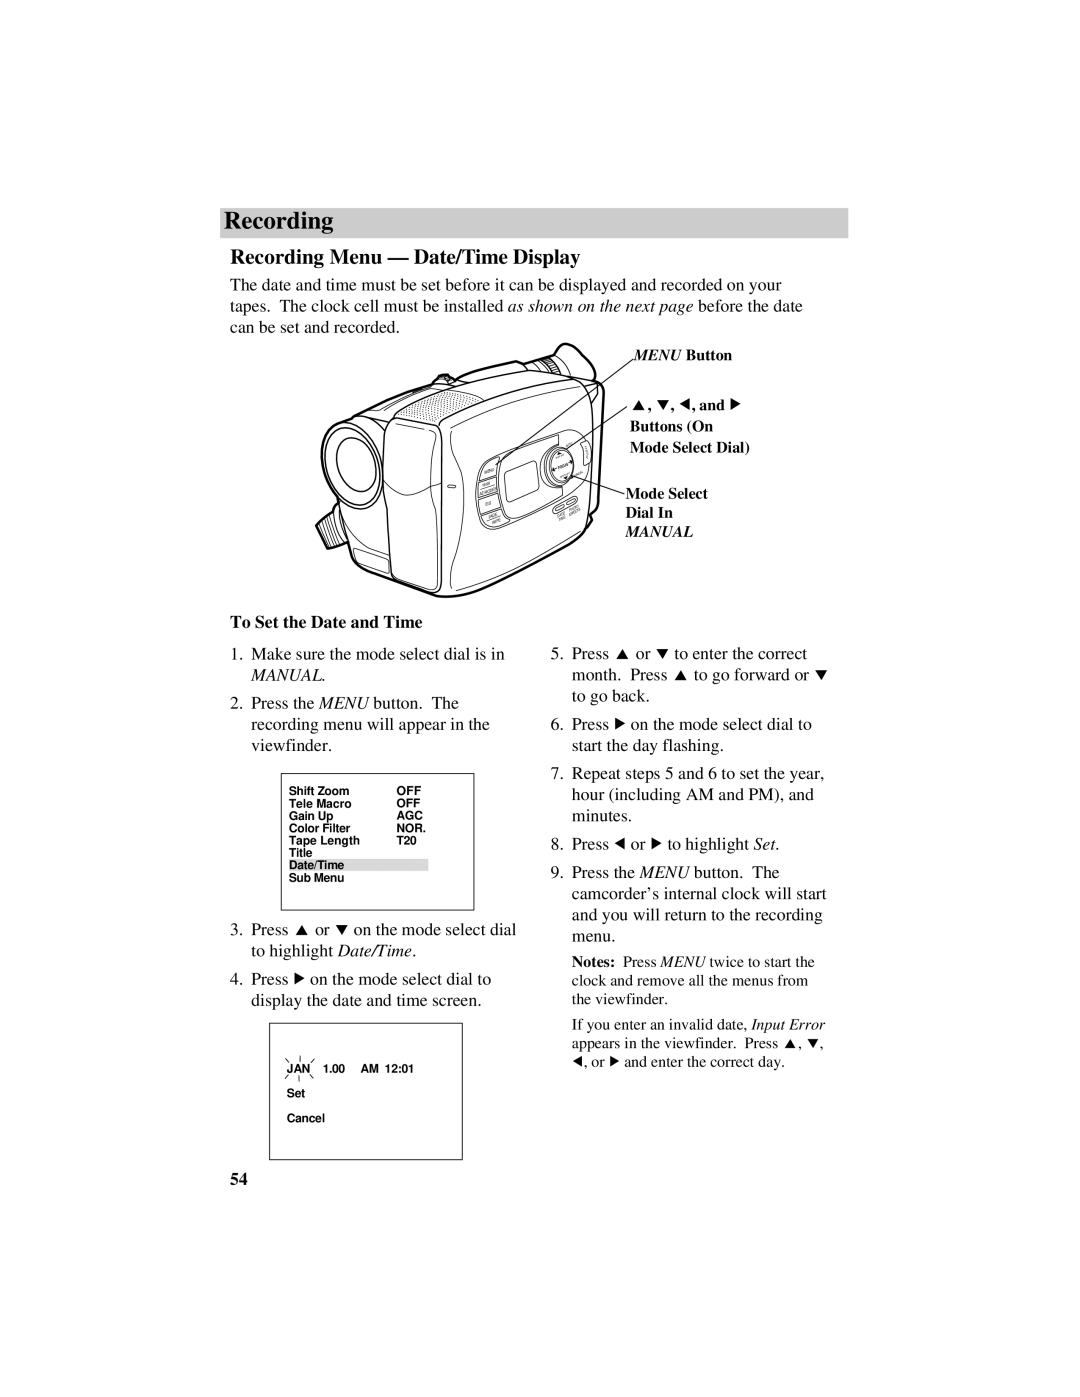
MENU Button
4, 3, 5, and 6
Buttons (On Mode Select Dial)
Mode Select
Dial In
MANUAL
To Set the Date and Time
1.Make sure the mode select dial is in
MANUAL.
2.Press the MENU button. The recording menu will appear in the viewfinder.
Shift Zoom | OFF |
Tele Macro | OFF |
Gain Up | AGC |
Color Filter | NOR. |
Tape Length | T20 |
Title |
|
Date/Time |
|
Sub Menu |
|
3.Press 4 or 3 on the mode select dial to highlight Date/Time.
4.Press 6 on the mode select dial to display the date and time screen.
JAN 1.00 AM 12:01
Set
Cancel
5.Press 4 or 3 to enter the correct month. Press 4 to go forward or 3 to go back.
6.Press 6 on the mode select dial to start the day flashing.
7.Repeat steps 5 and 6 to set the year, hour (including AM and PM), and minutes.
8.Press 5 or 6 to highlight Set.
9.Press the MENU button. The camcorder’s internal clock will start and you will return to the recording menu.
Notes: Press MENU twice to start the clock and remove all the menus from the viewfinder.
If you enter an invalid date, Input Error appears in the viewfinder. Press 4, 3, 5, or 6 and enter the correct day.
54