LED Pairing Indicators:
Speaker Indicator | Status |
|
| ||
Steady Red | Speaker is in Pairing Mode, either waiting or pairing in progress |
|
Slow red- green flash | Pairing failed or timed out |
|
Green flash | Pairing successful |
|
Microphone Indicator | Status |
|
Steady Red | Pairing Mode, either waiting or pairing in progress |
|
Slow red – green flash | Pairing failed or timed out |
|
Green flash | Pairing successful |
|
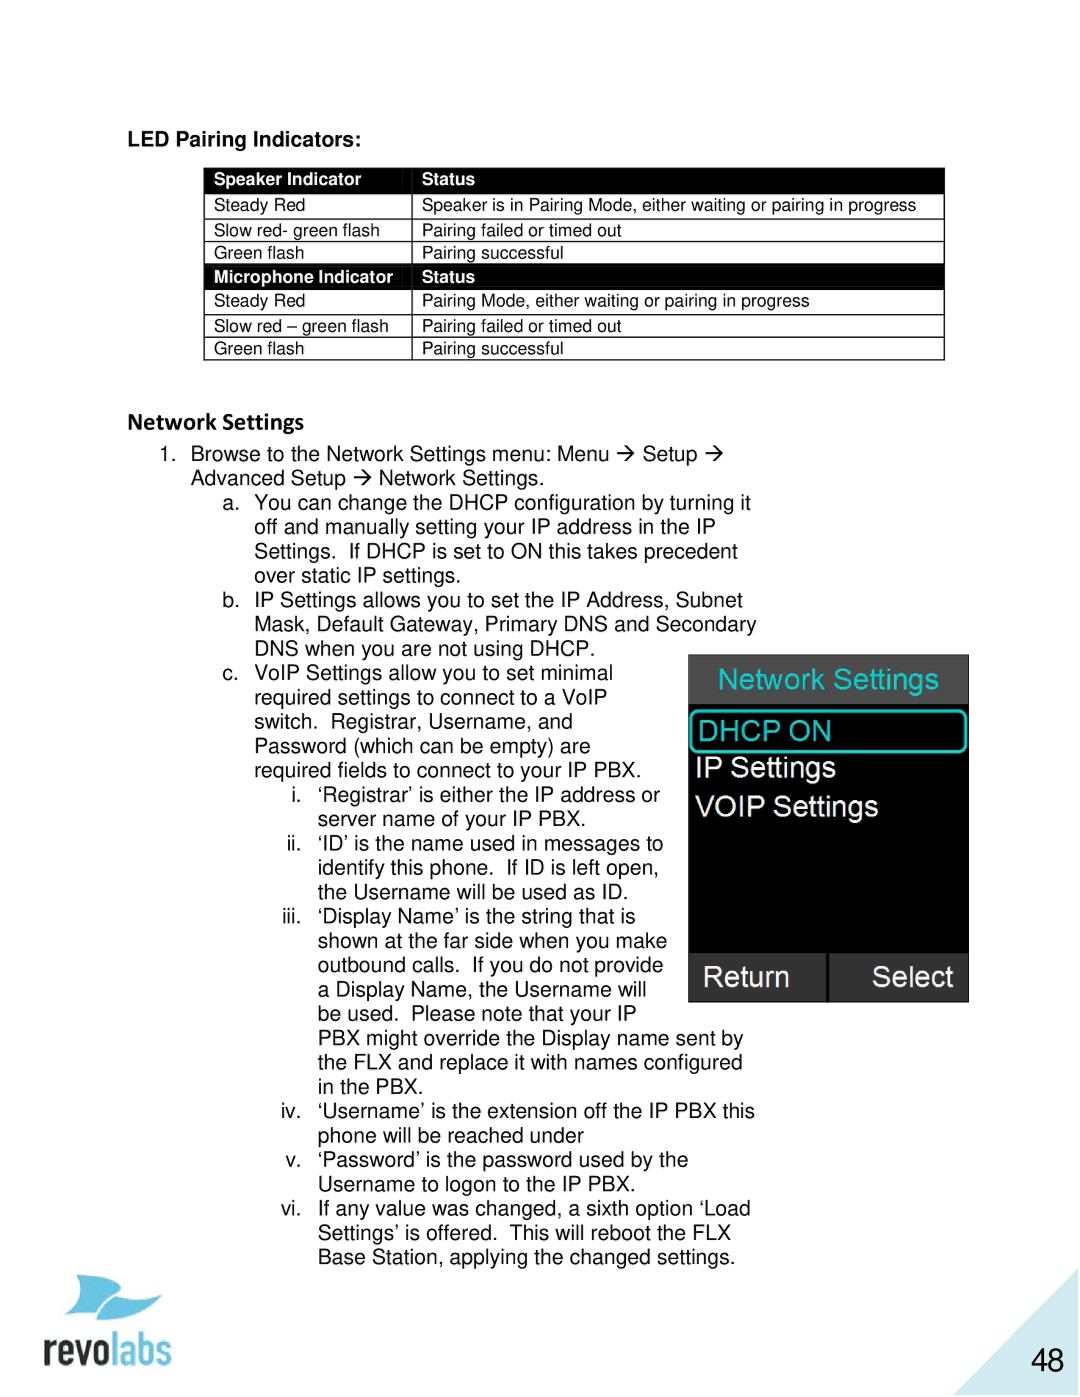
Network Settings
1.Browse to the Network Settings menu: Menu Setup Advanced Setup Network Settings.
a.You can change the DHCP configuration by turning it off and manually setting your IP address in the IP Settings. If DHCP is set to ON this takes precedent over static IP settings.
b.IP Settings allows you to set the IP Address, Subnet Mask, Default Gateway, Primary DNS and Secondary DNS when you are not using DHCP.
c.VoIP Settings allow you to set minimal required settings to connect to a VoIP switch. Registrar, Username, and Password (which can be empty) are required fields to connect to your IP PBX.
i.‘Registrar’ is either the IP address or server name of your IP PBX.
ii.‘ID’ is the name used in messages to identify this phone. If ID is left open, the Username will be used as ID.
iii.‘Display Name’ is the string that is shown at the far side when you make outbound calls. If you do not provide a Display Name, the Username will be used. Please note that your IP
PBX might override the Display name sent by the FLX and replace it with names configured in the PBX.
iv.‘Username’ is the extension off the IP PBX this phone will be reached under
v.‘Password’ is the password used by the Username to logon to the IP PBX.
vi.If any value was changed, a sixth option ‘Load Settings’ is offered. This will reboot the FLX Base Station, applying the changed settings.
48