5 |
Changing Camera Settings
Assigning Functions to the ADJ. Button (ADJ. BTN. SET.)
When functions are assigned to the ADJ. button, you can display various shooting setting screens with fewer button operations and without displaying the shooting setting menu.
You can use [ADJ BTN. SET.1] to [ADJ BTN. SET.4] to assign camera functions that can be activated by pressing the ADJ. button.
Available Settings |
| Refer to |
OFF | *Default setting for [ADJ BTN. SET.4] | - |
EXPO.CMP | *Default setting for [ADJ BTN. SET.1] | P.86 |
WHT.BAL. | *Default setting for [ADJ BTN. SET.2] | P.87 |
ISO | *Default setting for [ADJ BTN. SET.3] | P.90 |
QUALITY (PIC QUALITY/SIZE) | P.66 | |
FOCUS |
| P.68 |
SHARPNESS |
| P.72 |
AE METERING |
| P.71 |
CONT. MODE |
| P.73 |
AUTO BRACKET |
| P.78 |
WITH SND (IMAGE WITH SOUND) | P.84 | |
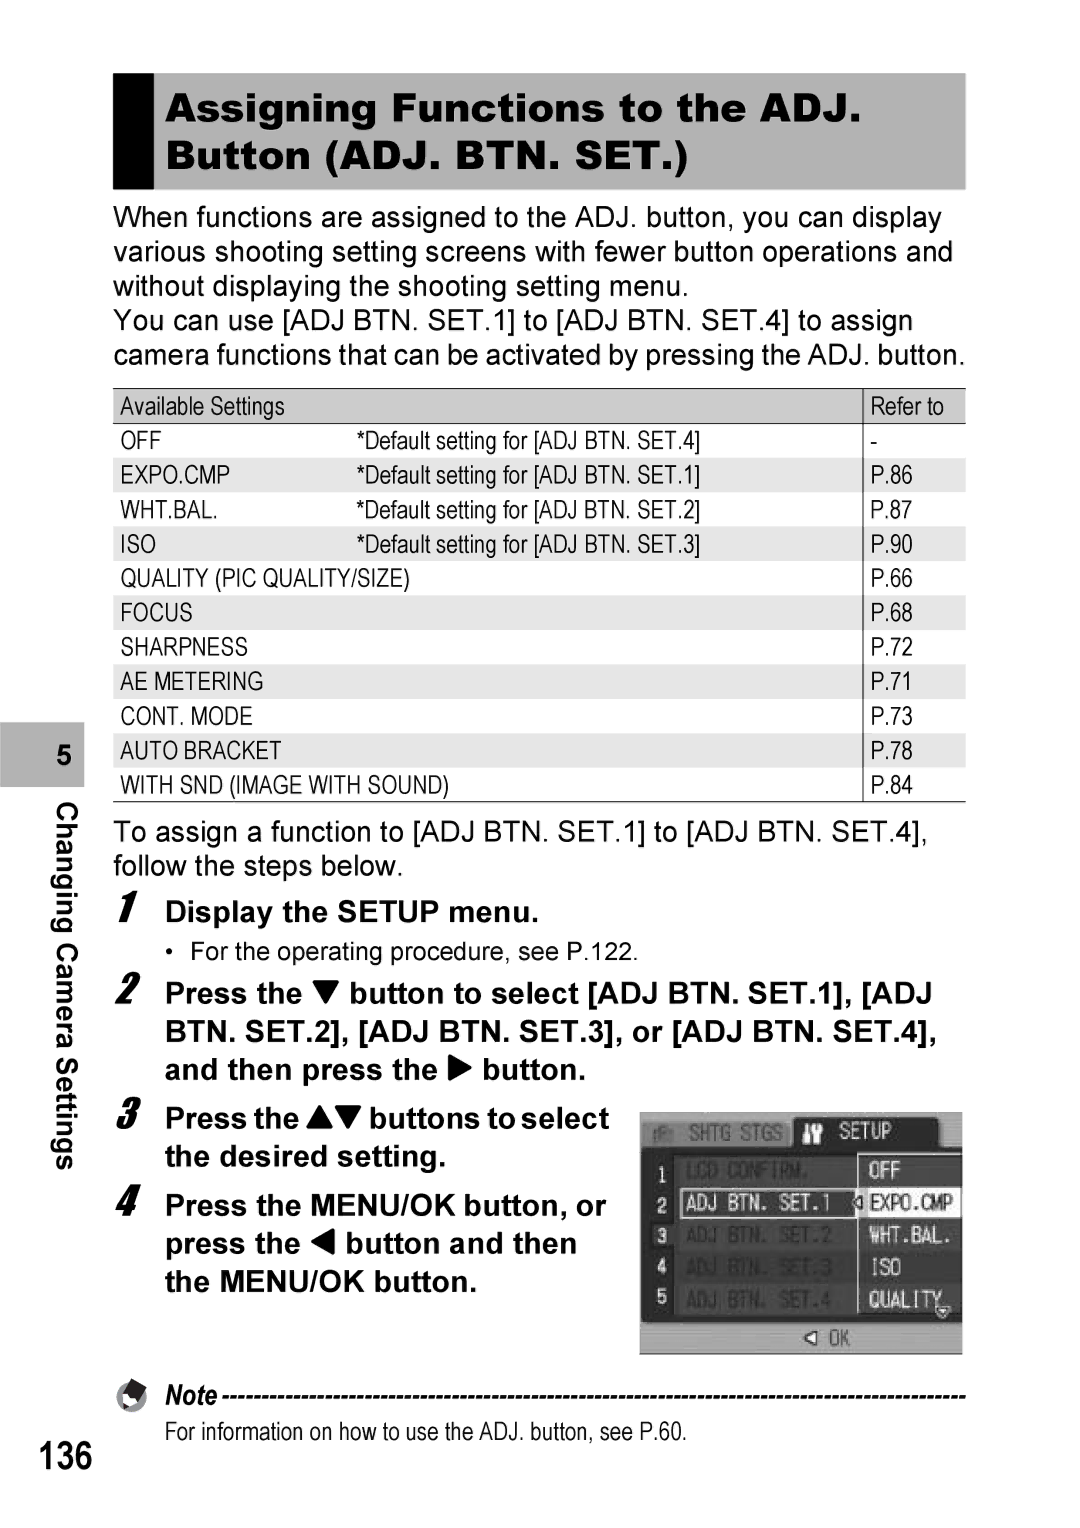
To assign a function to [ADJ BTN. SET.1] to [ADJ BTN. SET.4], follow the steps below.
1
2
3
4 Press the MENU/OK button, or press the # button and then the MENU/OK button.
Note
136
For information on how to use the ADJ. button, see P.60.
