Wireless RouterRNX-EasyN400User Manual
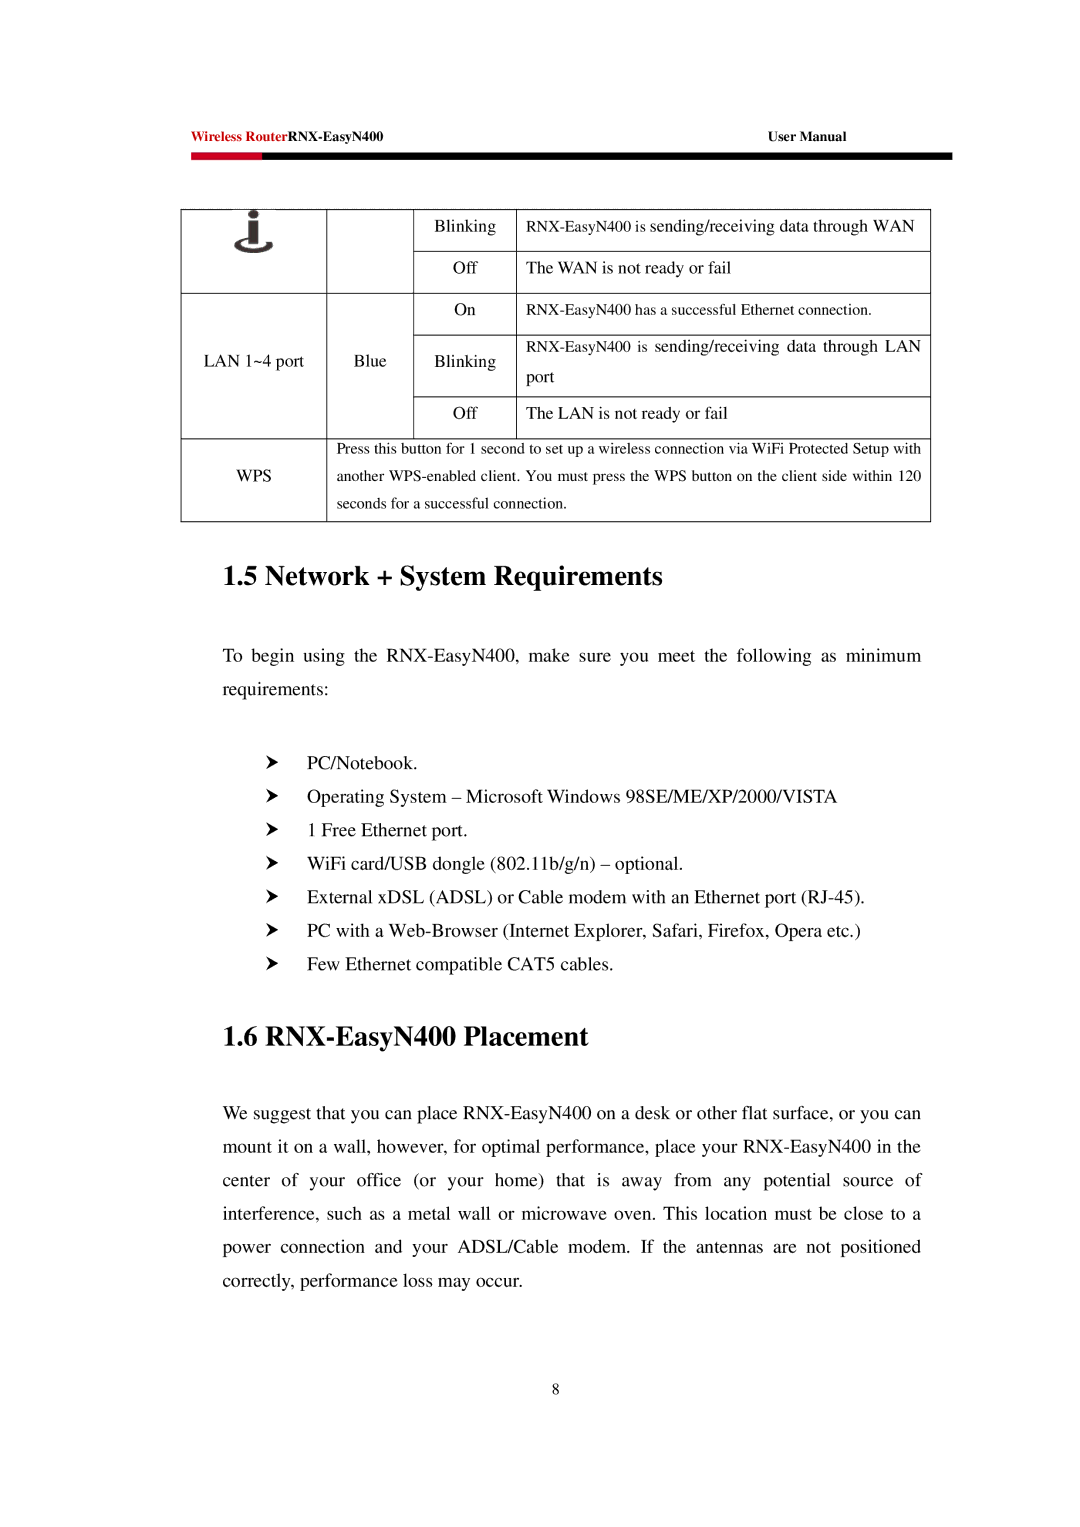
| | | Blinking | RNX-EasyN400 is sending/receiving data through WAN |
| | | | |
| | | Off | The WAN is not ready or fail |
| | | | |
| | | On | RNX-EasyN400 has a successful Ethernet connection. |
| | | | |
| LAN 1~4 port | Blue | Blinking | RNX-EasyN400 is sending/receiving data through LAN |
| port |
| | | |
| | | | |
| | | Off | The LAN is not ready or fail |
| | | | |
| | Press this button for 1 second to set up a wireless connection via WiFi Protected Setup with |
| WPS | another WPS-enabled client. You must press the WPS button on the client side within 120 |
| | seconds for a successful connection. |
| | | | |
1.5 Network + System Requirements
To begin using the RNX-EasyN400, make sure you meet the following as minimum requirements:
hPC/Notebook.
hOperating System – Microsoft Windows 98SE/ME/XP/2000/VISTA
h1 Free Ethernet port.
hWiFi card/USB dongle (802.11b/g/n) – optional.
hExternal xDSL (ADSL) or Cable modem with an Ethernet port (RJ-45).
hPC with a Web-Browser (Internet Explorer, Safari, Firefox, Opera etc.)
hFew Ethernet compatible CAT5 cables.
1.6RNX-EasyN400 Placement
We suggest that you can place RNX-EasyN400 on a desk or other flat surface, or you can mount it on a wall, however, for optimal performance, place your RNX-EasyN400 in the center of your office (or your home) that is away from any potential source of interference, such as a metal wall or microwave oven. This location must be close to a power connection and your ADSL/Cable modem. If the antennas are not positioned correctly, performance loss may occur.