Installation
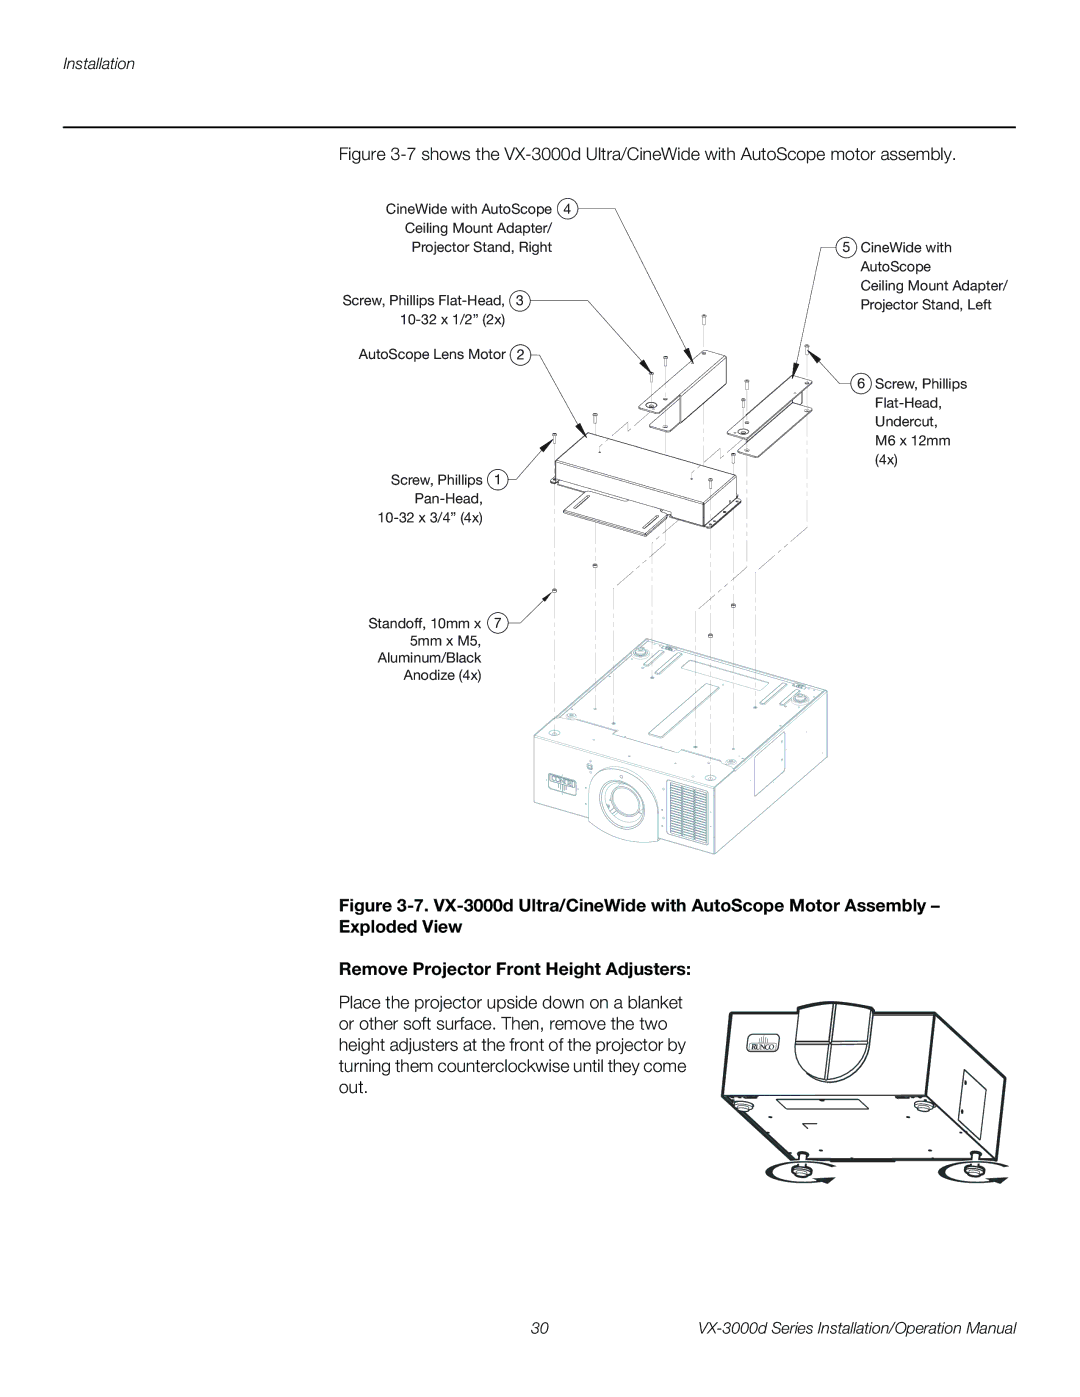
Figure 3-7 shows the VX-3000d Ultra/CineWide with AutoScope motor assembly.
CineWide with AutoScope | 4 | |
Ceiling Mount Adapter/ |
| |
Projector Stand, Right | 5 CineWide with | |
|
| AutoScope |
Screw, Phillips | 3 | Ceiling Mount Adapter/ |
Projector Stand, Left | ||
|
| |
AutoScope Lens Motor | 2 |
|
6 Screw, Phillips
M6 x 12mm (4x)
Screw, Phillips 1
Standoff, 10mm x 7 ![]()
5mm x M5,
Aluminum/Black
Anodize (4x)
Figure 3-7. VX-3000d Ultra/CineWide with AutoScope Motor Assembly –
Exploded View
Remove Projector Front Height Adjusters:
Place the projector upside down on a blanket or other soft surface. Then, remove the two height adjusters at the front of the projector by turning them counterclockwise until they come out.
30 |