Runco VX-3000D Connections to the VX-3000d and DHD Controller, Connector Panel Access

Models: VX-3000D

1 124
Download 124 pages 51.92 Kb
Page 55
Image 55

Installation

For a floor (non-AutoScope) installation, turn the four adjustable feet on the bottom of the projector to adjust the projector height and/or projection angle.

If you do tilt the projector, you may need to apply keystone correction or vertically shift the image using the on-screen display (OSD) controls, to compensate. For detailed instructions, refer to Using the On-Screen Menus on page 61.

Proceed as follows to connect the DHD Controller to the VX-3000d, your video sources, external controller(s) – if present – and AC power.

When connecting your equipment:

Turn off all equipment before making any connections.

Use the correct signal cables for each source.

Ensure that the cables are securely connected. Tighten the thumbscrews on connectors that have them.

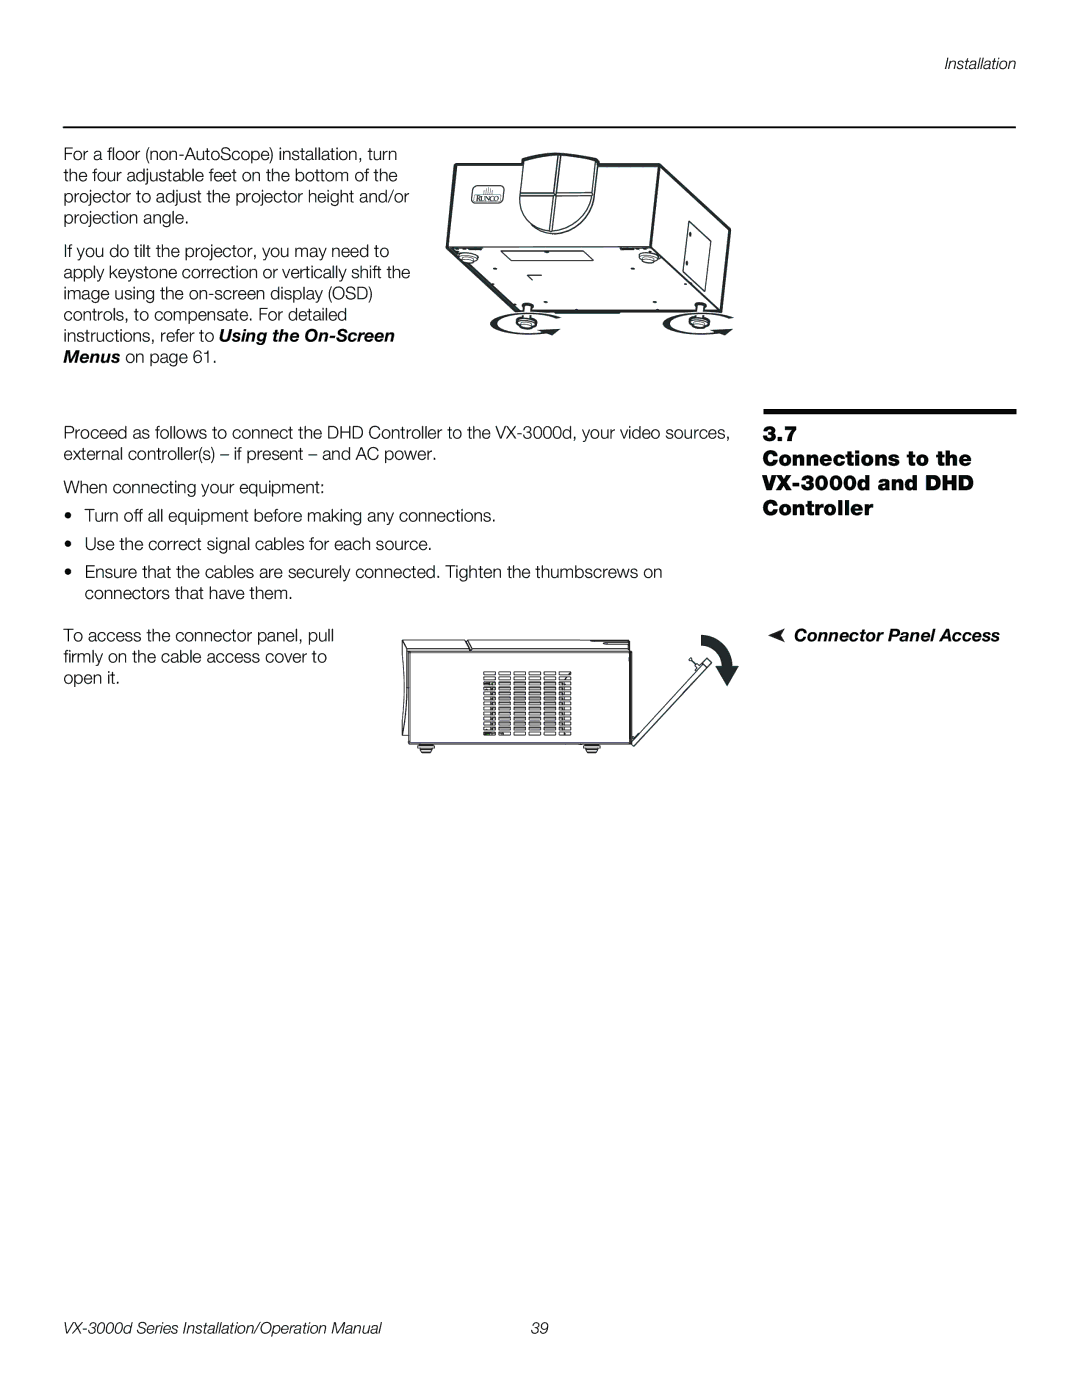
To access the connector panel, pull firmly on the cable access cover to open it.

3.7

Connections to the VX-3000d and DHD Controller

Connector Panel Access

VX-3000d Series Installation/Operation Manual

39

Page 55
Image 55
Runco VX-3000D operation manual Connections to the VX-3000d and DHD Controller, Connector Panel Access