Operation
Service ➤
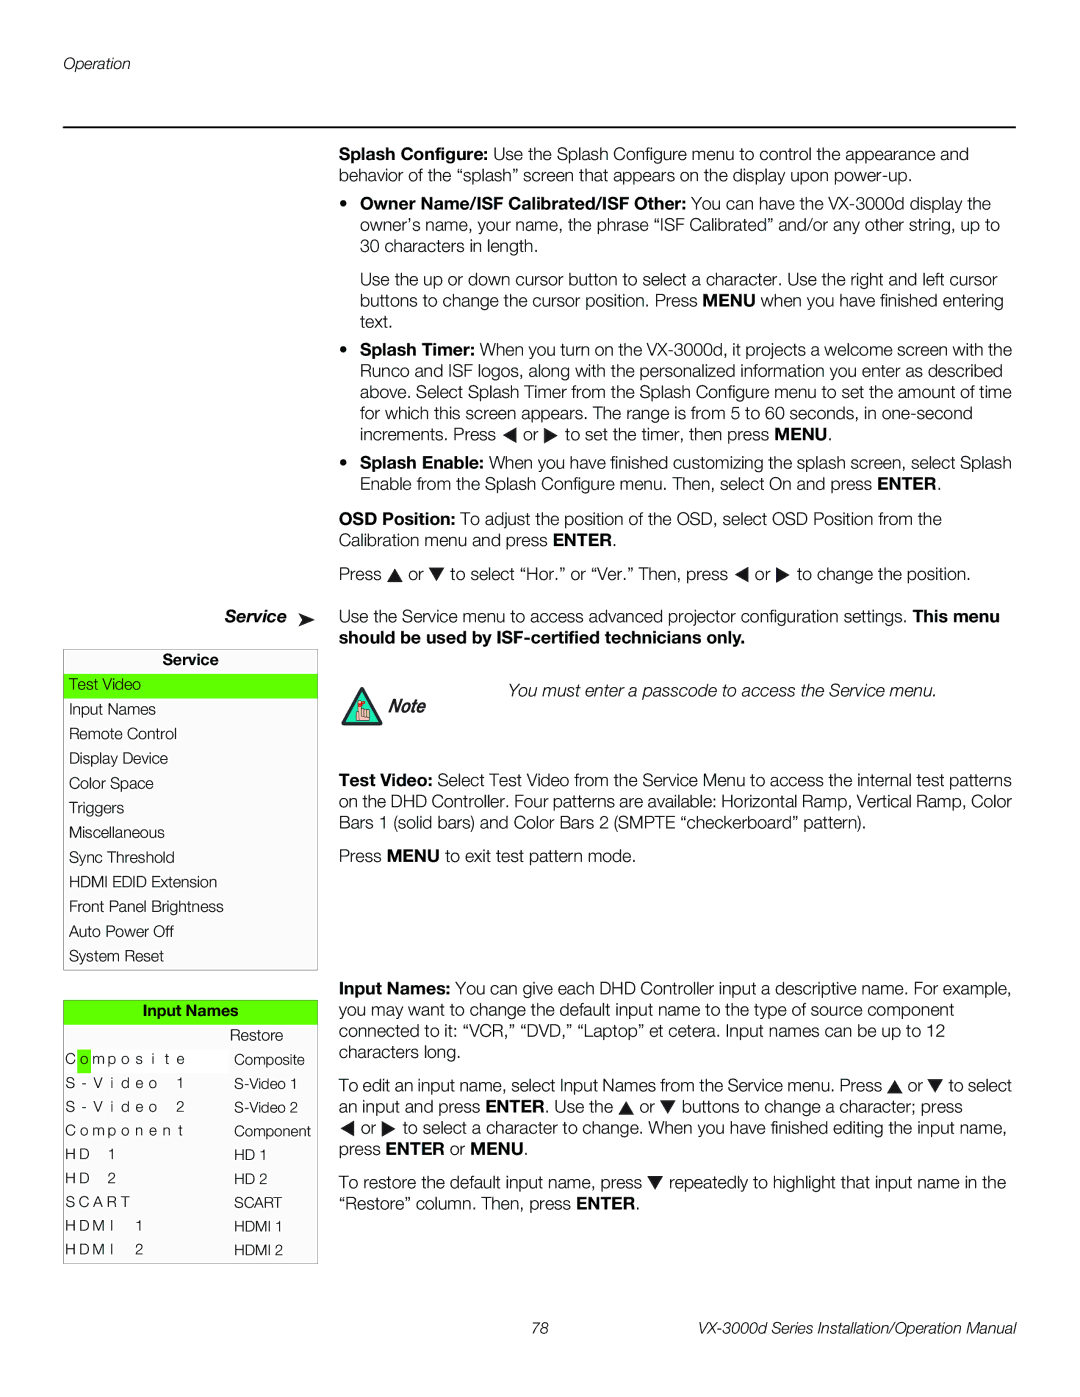
Service
Test Video
Input Names
Remote Control
Display Device
Color Space
Triggers
Miscellaneous
Sync Threshold
HDMI EDID Extension
Front Panel Brightness
Auto Power Off
System Reset
Splash Configure: Use the Splash Configure menu to control the appearance and behavior of the “splash” screen that appears on the display upon
•Owner Name/ISF Calibrated/ISF Other: You can have the
Use the up or down cursor button to select a character. Use the right and left cursor buttons to change the cursor position. Press MENU when you have finished entering text.
•Splash Timer: When you turn on the ![]() or
or ![]() to set the timer, then press MENU.
to set the timer, then press MENU.
•Splash Enable: When you have finished customizing the splash screen, select Splash Enable from the Splash Configure menu. Then, select On and press ENTER.
OSD Position: To adjust the position of the OSD, select OSD Position from the Calibration menu and press ENTER.
Press ![]() or
or ![]() to select “Hor.” or “Ver.” Then, press
to select “Hor.” or “Ver.” Then, press ![]() or
or ![]() to change the position.
to change the position.
Use the Service menu to access advanced projector configuration settings. This menu
should be used by ISF-certified technicians only.
You must enter a passcode to access the Service menu.
Note
Test Video: Select Test Video from the Service Menu to access the internal test patterns
on the DHD Controller. Four patterns are available: Horizontal Ramp, Vertical Ramp, Color Bars 1 (solid bars) and Color Bars 2 (SMPTE “checkerboard” pattern).
Press MENU to exit test pattern mode.
Input Names
|
|
|
|
|
|
| Restore |
C | o | m p o s i | t e | Composite | |||
|
|
|
|
|
|
| |
S | - V i d e o | 1 | |||||
S | - | V i d e o | 2 | ||||
C | o | m p | o n e n t | Component | |||
H | D | 1 |
|
|
| HD 1 | |
H | D | 2 |
|
|
| HD 2 | |
S | C | A | R | T |
|
| SCART |
H | D | M | I |
| 1 |
| HDMI 1 |
H | D | M | I |
| 2 |
| HDMI 2 |
|
|
|
|
|
|
|
|
Input Names: You can give each DHD Controller input a descriptive name. For example, you may want to change the default input name to the type of source component connected to it: “VCR,” “DVD,” “Laptop” et cetera. Input names can be up to 12 characters long.
To edit an input name, select Input Names from the Service menu. Press ![]() or
or ![]() to select an input and press ENTER. Use the
to select an input and press ENTER. Use the ![]() or
or ![]() buttons to change a character; press
buttons to change a character; press
![]() or
or ![]() to select a character to change. When you have finished editing the input name, press ENTER or MENU.
to select a character to change. When you have finished editing the input name, press ENTER or MENU.
To restore the default input name, press ![]() repeatedly to highlight that input name in the “Restore” column. Then, press ENTER.
repeatedly to highlight that input name in the “Restore” column. Then, press ENTER.
78 |