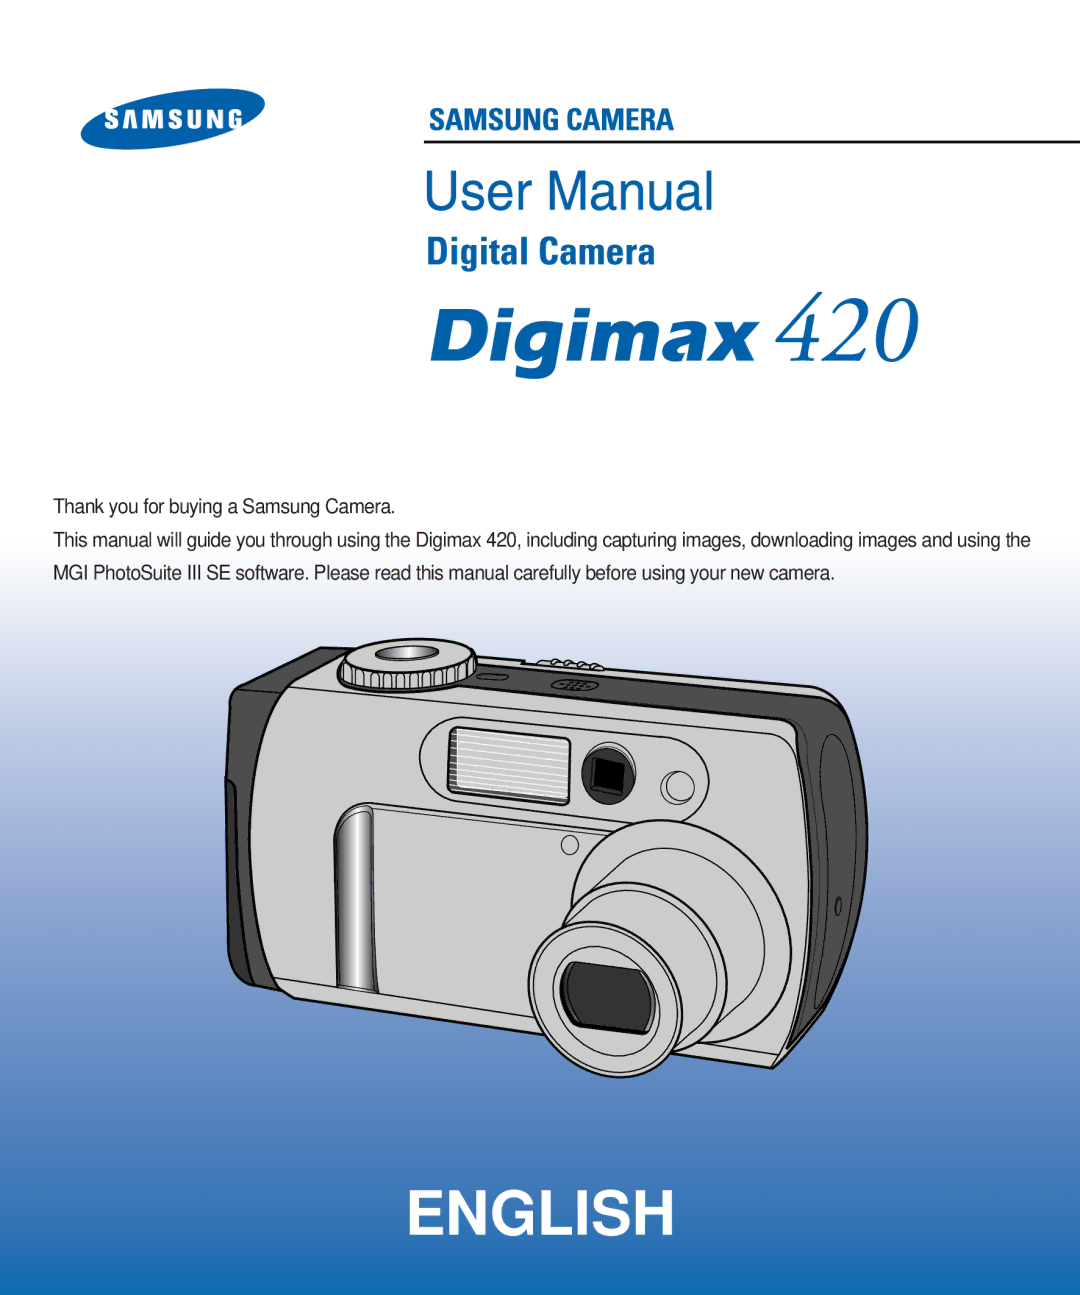
Thank you for buying a Samsung Camera
ENGLISH
Set up the camera driver Take a picture Insert the USB cable
Instructions
Check the camera power Check Removable Disk
READY
Contents
RECORDING
PLAY
SOFTWARE
SETUP
Contents
Connecting to an external monitor
READY
Getting to know your camera
About the icons
DANGER
Danger
There is a possibility of injury from the camera’s moving parts
READY
Use batteries with the correct specification for the camera
This digital camera has the following features
Special features
An FCC warning
READY
Viewing images on TV refer to page
This digital camera can be used for
refer to page
Down loading image files from camera to computer refer to page
READY
This digital camera can be used for
Creation of a digital photo album
Inserting images directly into any electronic document
marked contents are optional
Manufacturers contents
Front & Top
Identification of features
Back & Bottom
READY
5-function button
Side
Identification of features
Memory Card cover
Self-timer
Camera status lamp
READY
MOVIE CLIP
Mode dial
STILL IMAGE
This digital camera has 4 working modes. These are listed below
Important information about battery usage
Connecting to a Power Source
READY
Using the Digimax battery pack Optional SBP-3603
Using the batteries
Connecting to a Power Source
3. To close the battery chamber cover, push it until it clicks
Attaching the strap
Using the AC power adapter 3.3V 2.0A
Connecting to a Power Source
READY
Instructions on how to use the memory card
READY
Instructions on how to use the memory card
Removing the memory card
Inserting the memory card
RECORDING
LCD monitor indicator
Description
LCD monitor indicator
Recording a Movie clip
Starting recording mode
INFORMATION
RECORDING
Starting recording mode
Recording a still image
INFORMATION
RECORDING
Starting recording mode
POWER switch
Using the camera button to adjust the camera
SHUTTER button
MOVIE CLIP mode
button
STILL IMAGE mode
RECORDING
INFORMATION
MENU button
RECORDING
MACRO button
TELE Zoom
WIDE / TELE button
INFORMATION
WIDE / TELE button
WIDE Zoom
RECORDING
INFORMATION
Voice memo / Up button
This button can be used to obtain the right exposure
Metering / Down button
INFORMATION
RECORDING
If the subject or background is dark, the camera flash will operate
Flash/ left button
The flash will operate in conjunction with a slow shutter speed in
INFORMATION
Flash / left button
RECORDING
OK button
Self-timer / Right button
INFORMATION
INFORMATION
Using the LCD monitor to adjust the camera
RECORDING
Size, Quality, Effect, Shooting, Exposure compensation
You can select the image size you require
Size
INFORMATION
INFORMATION
Quality
RECORDING
Digimax
Converts the image to a sepia tone
Effect
INFORMATION
Shooting
RECORDING
In this mode, you can take a 3-image
Shooting
Exposure
INFORMATION
STILL IMAGE 2/2
INFORMATION
Exposure
RECORDING
In the STILL IMAGE mode, you can select the ISO value
RECORDING
White balance
INFORMATION
Scene
NORMAL select this mode in a normal shooting condition
PLAY
Starting the play mode
Playing back a movie clip
Starting the play mode
Playing back a still image
INFORMATION
LCD monitor indicator
The LCD monitor displays information about the shooting conditions
Battery
DPOF indicator & the number of prints
The shooting information will be displayed on the LCD monitor
Menu button
button
This deletes an image stored on the internal memory or memory card
Delete button
PLAY
INFORMATION
You can view up to 9 images at a time and enlarge the selected image
Thumbnail / Enlargement button
Thumbnail button
Enlargement button
Left / Right / OK button
Thumbnail / Enlargement button
Left/ Right/ OK button activates the following
PLAY
INFORMATION
Voice memo / Up button
PLAY
Play & Pause / Down button
Setting up the play back function using the LCD monitor
PLAY mode functions can be changed by using the LCD monitor
Images can be displayed continuously at pre-set intervals
Slide show
PLAY
INFORMATION
Cancels the protect function
Protect
Delete all
This enables you to clear all unprotected images from the memory
PLAY
INFORMATION
Copy to card
DPOF
DPOF Standard
This function is not available for Movie clips and WAV files
The DPOF file is only stored on the memory card
# OF PRINTS
DPOF Standard
PLAYDPOF 2/2
PLAYDPOF 2/2
1. Rotate the mode dial to the PLAY mode and press the MENU button
2. Select the PLAYDPOF 2/2 menu by pressing the RIGHT button
Setup menu
Format
SETUP
This is used for formatting the memory card
Format
Connecting the camera to the PC with the USB cable. Refer to p.82
Formatting on a PC
1. Select Removable Disk in the Windows Explorer
File name
This enables you to name files
SETUP
INFORMATION
unnecessary battery drainage
Power off
Time for power off
INFORMATION
SETUP 1/3
SETUP 1/3
SETUP
INFORMATION
You can change the imprinted date
Date setup
INFORMATION
SETUP
Imprint
INFORMATION
User set
Date type
SETUP
List of camera function
INDEX
List of camera function
VOICEMEMOSTILLIMAGE
STANDARD
List of camera function
SETUP
Menus are subject to change without prior notice
Sound
You may adjust the LCD brightness
LCD brightness
SETUP
Video out
INFORMATION
INFORMATION
Connecting to an external monitor
SETUP
Quick view
INFORMATION
INFORMATION
Starting PC mode
SETUP
Downloading stored images
Starting PC mode
7. An image file is transferred from camera to your PC
Starting PC mode
SETUP
Important notes
There is insufficient memory card
Warning indicator
SETUP
Before contacting a service center
Please check the following
Use Fixed focus when you can’t
Before contacting a service center
The autofocus was not activated
Install Windows 98, 98SE
Before contacting a service center
Insert new batteries or check the
batteries are exhausted or the AC
Scene Modes
Specifications
SETUP
Specifications
Specifications are subject to change without prior notice
These figures are measured by Internal memory based
About the software
Software Notes
SOFTWARE
About the software
INFORMATION
INFORMATION
Setting up the application software
INFORMATION
Setting up the application software
SOFTWARE
Click 5. Select a destination folder and click Next Click
INFORMATION
Setting up the application software
SOFTWARE
Setting up the application software
INFORMATION
Setting up the application software
16. To use the REMOVABLE DISK, you have to restart your computer. Click the OK button and the computer will restart
INFORMATION
Setting up the application software
SOFTWARE
win 98/98SE
1. Trace Start Settings and click Control Panel
Removing the USB Driver for Windows 98SE
To remove the USB driver, refer to the process shown below
2. Double-click Add/Remove programs
SOFTWARE
Removing the USB Driver for Windows 98SE
Click
Removable Disk
SOFTWARE
Removing the removable disk
Click
Removing the removable disk
5. A Safe to Remove Hardware window will open. Click the OK button
Click
Using the USB Driver for MAC
Setting up the USB Driver for MAC
SOFTWARE
INFORMATION
Digimax Viewer
SOFTWARE
MGI PhotoSuite III SE
Compose
Prepare
Organize
Share
SOFTWARE
MGI PhotoSuite III SE
Introduction to navigation bar
To obtain images from the computer
MGI PhotoSuite III SE
When you obtain images from the digital camera
SOFTWARE
Computer and Album Only
MGI PhotoSuite III SE
SOFTWARE
MGI PhotoSuite III SE
Acquiring images from an Album
PREPARE
MGI PhotoSuite III SE
Menu for PREPARE steps Rotate & Crop
Touchup
SOFTWARE
MGI PhotoSuite III SE
COMPOSE
Menu of COMPOSE steps
ORGANIZE
MGI PhotoSuite III SE
Menu of ORGANIZE steps
SOFTWARE
MGI PhotoSuite III SE
Creating an Album
Add images to the album
MGI PhotoSuite III SE
SOFTWARE
MGI PhotoSuite III SE
4. Adding images is complete
SHARE
MGI PhotoSuite III SE
Menu of SHARE steps Save
Save As
INFORMATION
MGI PhotoSuite III SE
SOFTWARE
PRINT
Please check the following if the USB connection malfunctions
Hardware Device Manager
SOFTWARE
SAMSUNG OPTO-ELECTRONICS AMERICA, INC. HEADQUARTERS
6806-1561
SAMSUNG OPTO-ELECTRONICS UK LIMITED SAMSUNG HOUSE
SAMSUNG FRANCE S.A.S