English
Thank you for buying a Samsung Camera
Instructions
Contents
Setting up the application software
Setting up the play back function
Before contacting a service center
Setting up the USB Driver for MAC
Thank you for buying a Samsung Digital Camera
Getting to know your camera
About the icons
Page
Ready
Page
An FCC warning
Special features
This digital camera has the following features
This digital camera can be used for
Viewing images on TV Refer to
Recording a movie clip refer to
Manufacturers contents
Back & Bottom
Identification of features
Front & Top
MACRO/ Delete
Side
Function button
Camera status lamp
Image size
Mode dial
Movie clip mode
Connecting to a Power Source
Important information about battery usage
To close the battery chamber cover, push it until it clicks
Using the batteries
Using the Digimax battery pack Optional SBP-3603
Prepare new batteries
Using the AC power adapter 3.3V 2.0A
Attaching the strap
Instructions on how to use the memory card
Large
You can use an SD memory card only
Recorded image size Super fine Fine Normal
Photo 1120X840 Medium 544X408 Small
Inserting the memory card
Removing the memory card
LCD monitor indicator
Recording
Time
ISO
Starting recording mode
Recording a still image
Starting recording mode
Shutter button
Power switch
Used for turning the camera power on / off
LCD Button
Movie Clip mode
Still Image mode
Menu button
Macro button
Recording
Wide / Tele button
Tele Zoom
Wide Zoom
Wide Digital zoom
Voice memo / Up button
Metering / Down button
Automatically
Flash mode indicator Indicator Definition
Flash / left button
Reduction function
Wide
ISO Auto
100 200 400
Tele
Pressing the self-timer button, the setting is completed
Self-timer / Right button
Rotate the mode dial to the Still IMAGE/ Movie Clip Mode
Canceled
Movie clip mode White balance, Effect
ISO, White balance, Scene
Size
You can select the image size you require
Quality
Quality Size Super fine
No effect is added to the image
Effect
Normal
Sepia
AEB
Shooting
Subjects continuously
Scene
Button
Exposure
Quality Size Super fine Fine Normal
Select the Exposure menu by pressing the UP/DOWN
Exposure
Value or subject brightness
Still Image mode, you can select the ISO value
Changed by variables such as lighting
ISO value is, the faster the shutter
White balance
Scene
Starting the play mode
Playing back a movie clip
Playing back a still image
Date
Size
Flash OFF
Menu button
Shooting information will be displayed on the LCD monitor
Delete button
Enlargement button
Press the thumbnail button in the normal display mode
Thumbnail / Enlargement button
Icons are displayed to indicate the type of file selected
Left / Right / OK button
Left/ Right/ OK button activates the following
Voice memo / Up button
Play & Pause / Down button
Index Print
Main menu Sub menu Secondary menu
Protect
Slide show
Again
Unlock
Protect
Lock
Delete all
Copy to card
Dpof Standard
Dpof
Dpof Standard
# of Prints
Index YES Back Setok
Setup menu
Format
This is used for formatting the memory card
Format
File name
This enables you to name files
Reset
Power off
Time for power off
You can select 8 languages. Those are listed below
Language
Hour / Minute
Date setup
You can change the imprinted date
Imprint function is applied only to a still image
Imprint
Image file
Selecting YES
Date type
User set
Fine
Still Image Play Setup Size
List of camera function
Scene Normal
Language English
LCD brightness
You may adjust the LCD brightness
Sound
Selecting LOW
Video out
PAL
Connecting to an external monitor
Quick view
Quick view function doesn t apply to the movie clip
Starting PC mode
Cut
Downloading stored images
Select an image and press the right mouse button
Starting PC mode
Extremes in temperature may cause problems
Important notes
File Error
Before contacting a service center
Please check the following
Adopted the default settings
Use auto focus mode
Flash OFF mode has been Disengage Flash OFF mode
Switch camera on
Adapter connection Adapter is not connected
Exposure is excessive Reset exposure compensation
Check the connection cables Connected properly with
Operating system is not
Specifications
Battery/ AC adapter
Software Notes
About the software
About the software
Digimax Viewer
Setting up the application software
Click Installation is complete
Setting up the application software
Setting up the application software
Click Installation is complete. Click the Finish button
Setting up the application software
Win ME/XP
\WINDOWS\INF
Removing the USB Driver for Windows 98SE
100
101
Removable Disk
102
Removing the removable disk
103
104
105
Setting up the USB Driver for MAC
Using the USB Driver for MAC
This software is only compatible with Windows
Digimax Viewer
106
MGI PhotoSuite III SE
107
Get images
Save your results to show to others
108
Organize your photos and other media files into albums
109
110
GET
When you obtain images from the digital camera
111
112
Computer and Album Only
113
Acquiring images from an Album
114
Number of special effects can be applied
115
116
Choose a photo album to view or edit
117
Master Album window will open. Click the OK button
118
Click Computer in Add Photos menu
119
Adding images is complete
To assign a new name or path to the file
120
Saving or sharing images
Mailing images
Printing images
121
You can print images
FAQ
122
123
75755, Paris Cedex 15, France Hotline Photo Numérique

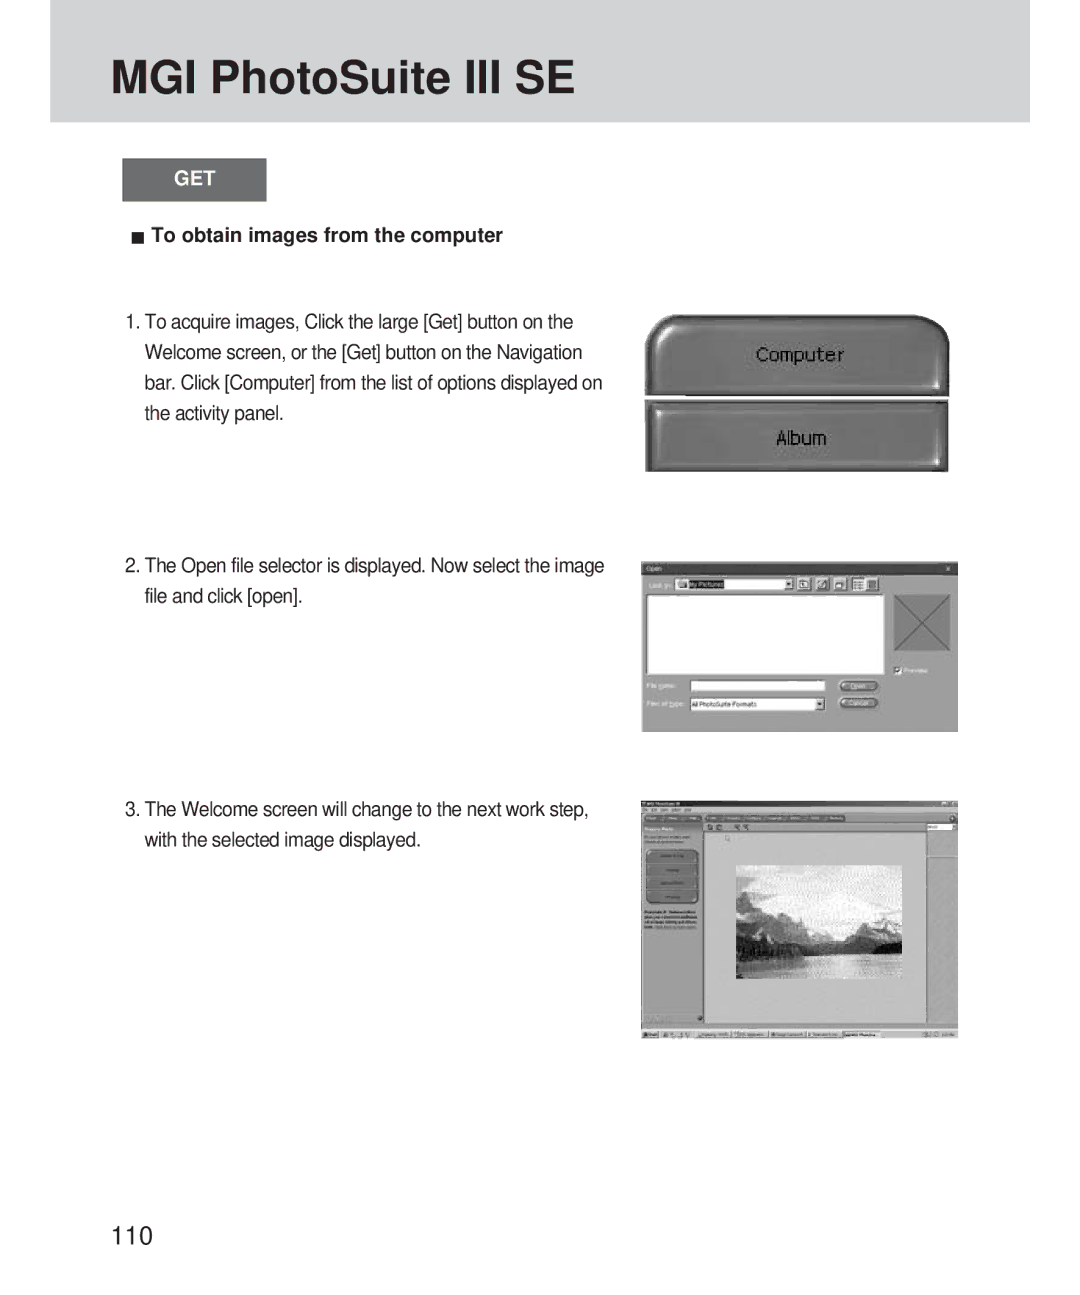
 To obtain images from the computer