Date setup
 You can change the imprinted date.
1.Rotate the mode dial to SETUP mode and the [SETUP 1/3] menu will display.
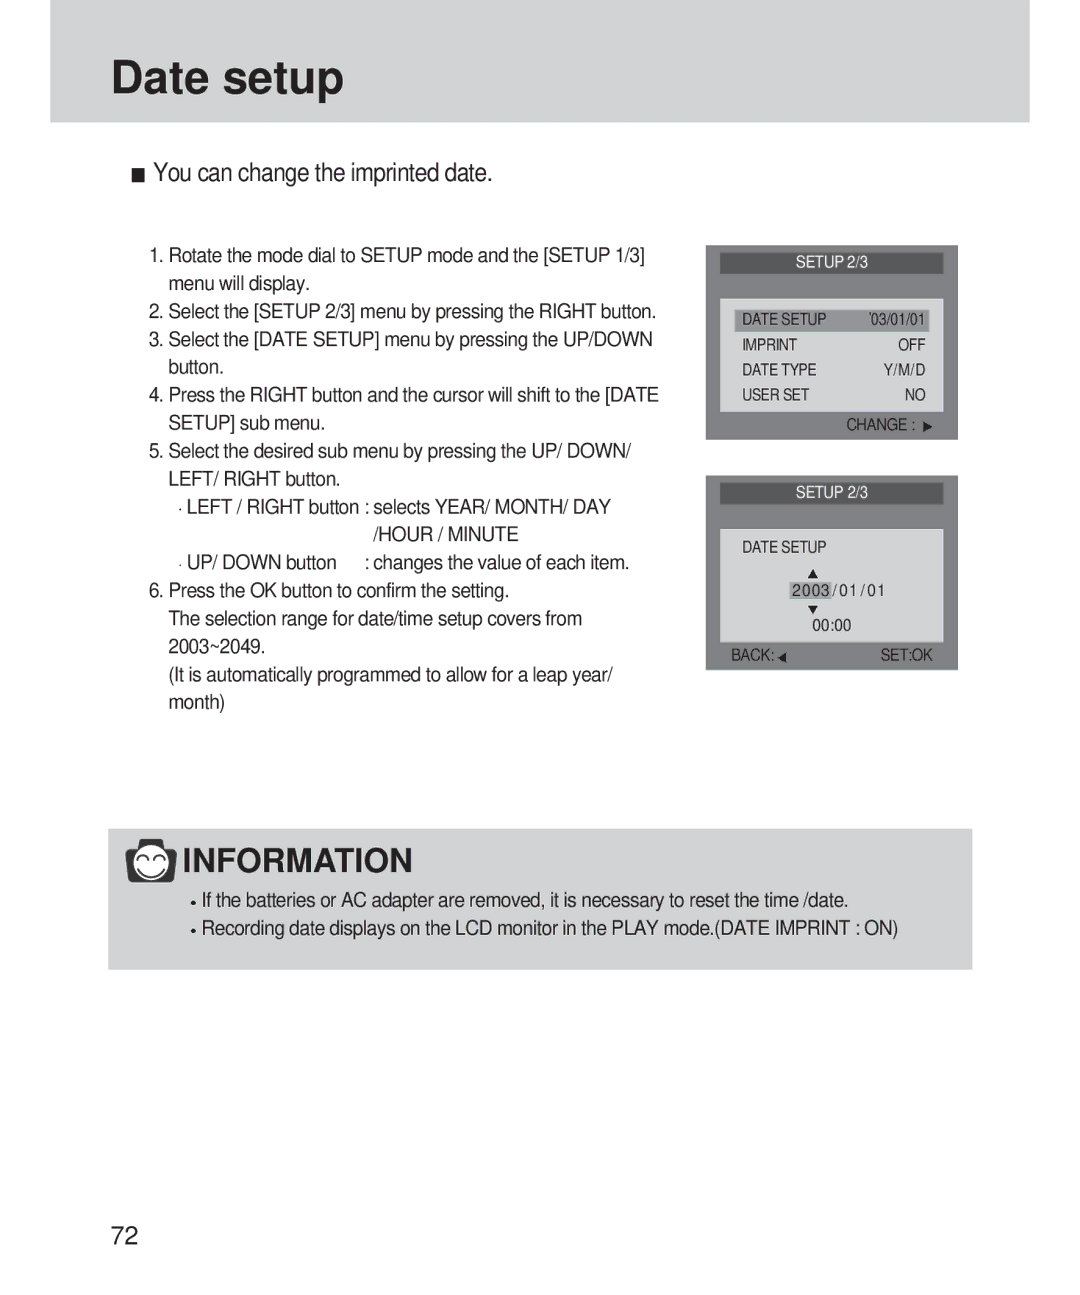
2.Select the [SETUP 2/3] menu by pressing the RIGHT button.
3.Select the [DATE SETUP] menu by pressing the UP/DOWN button.
4.Press the RIGHT button and the cursor will shift to the [DATE SETUP] sub menu.
5.Select the desired sub menu by pressing the UP/ DOWN/ LEFT/ RIGHT button.
![]() LEFT / RIGHT button : selects YEAR/ MONTH/ DAY
LEFT / RIGHT button : selects YEAR/ MONTH/ DAY
/HOUR / MINUTE
UP/ DOWN button : changes the value of each item.
6.Press the OK button to confirm the setting.
The selection range for date/time setup covers from 2003~2049.
(It is automatically programmed to allow for a leap year/ month)
SETUP 2/3
|
|
|
|
| DATE SETUP | 03/01/01 |
|
| IMPRINT | OFF | |
| DATE TYPE | Y/M/D | |
| USER SET | NO | |
|
|
|
|
|
| CHANGE : | |
SETUP 2/3
DATE SETUP
2003 / 01 / 01
00:00
BACK:![]() SET:OK
SET:OK
 INFORMATION
![]() If the batteries or AC adapter are removed, it is necessary to reset the time /date.
If the batteries or AC adapter are removed, it is necessary to reset the time /date. ![]() Recording date displays on the LCD monitor in the PLAY mode.(DATE IMPRINT : ON)
Recording date displays on the LCD monitor in the PLAY mode.(DATE IMPRINT : ON)
72