MGI PhotoSuite III SE
 Acquiring images from an Album.
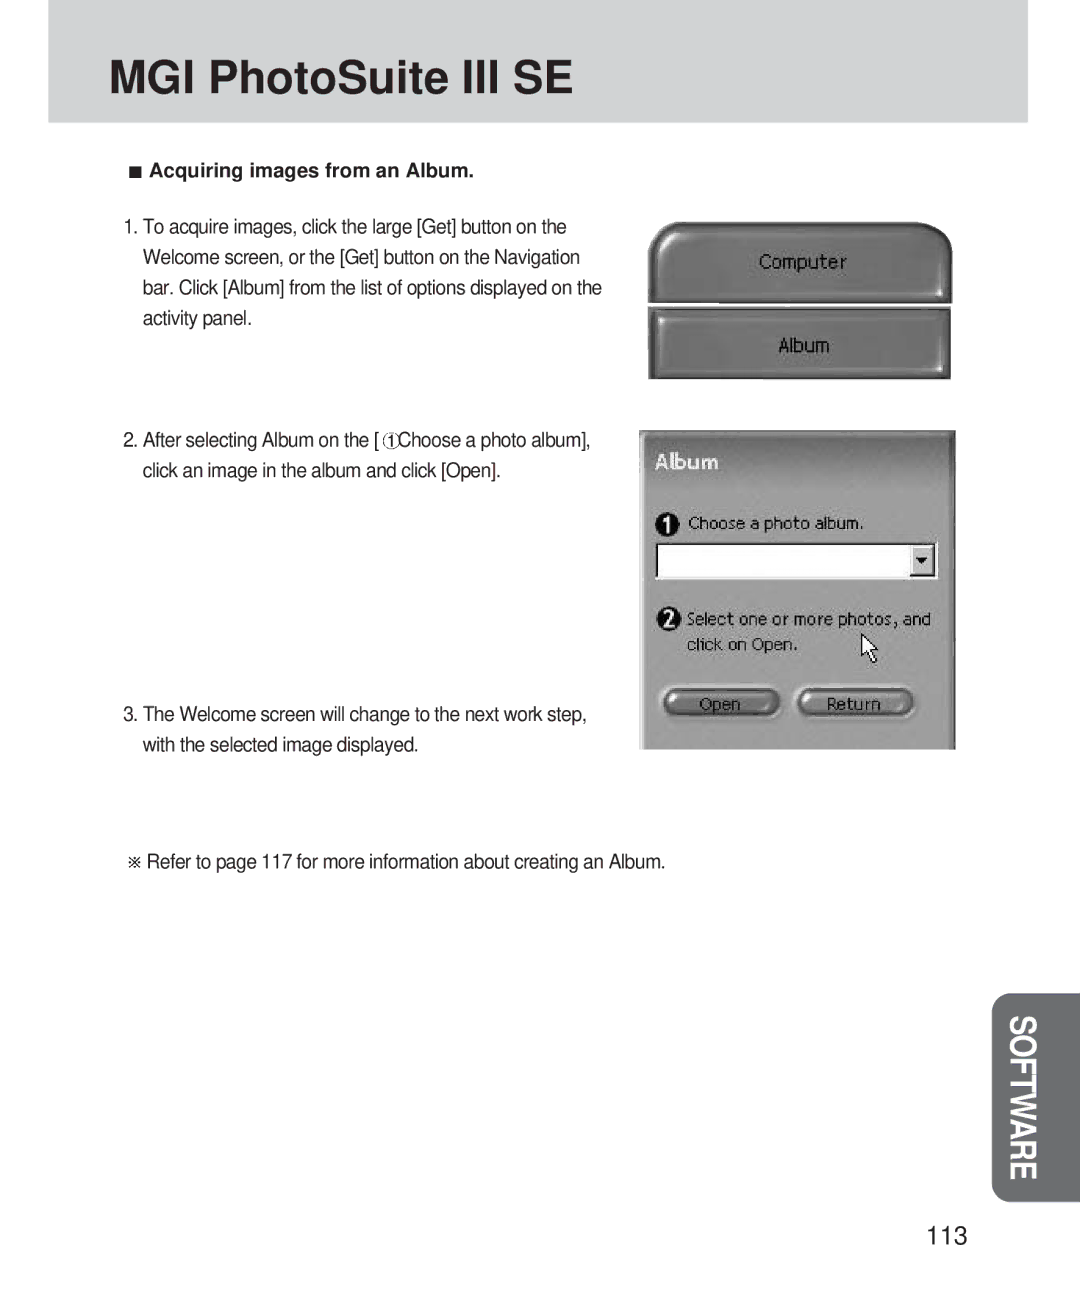
1.To acquire images, click the large [Get] button on the Welcome screen, or the [Get] button on the Navigation bar. Click [Album] from the list of options displayed on the activity panel.
2. After selecting Album on the [ Choose a photo album], click an image in the album and click [Open].
3.The Welcome screen will change to the next work step, with the selected image displayed.
![]() Refer to page 117 for more information about creating an Album.
Refer to page 117 for more information about creating an Album.
SOFTWARE