Instructions on how to use the memory card
![]() NOTICE
NOTICE
![]() If you open the memory card cover when the camera power is turned on, the power will turn off automatically.
If you open the memory card cover when the camera power is turned on, the power will turn off automatically.
![]() Don t remove the memory card when the Autofocus indicator lamp(Green) is blinking as this may cause damage to data in the memory card.
Don t remove the memory card when the Autofocus indicator lamp(Green) is blinking as this may cause damage to data in the memory card.
READY
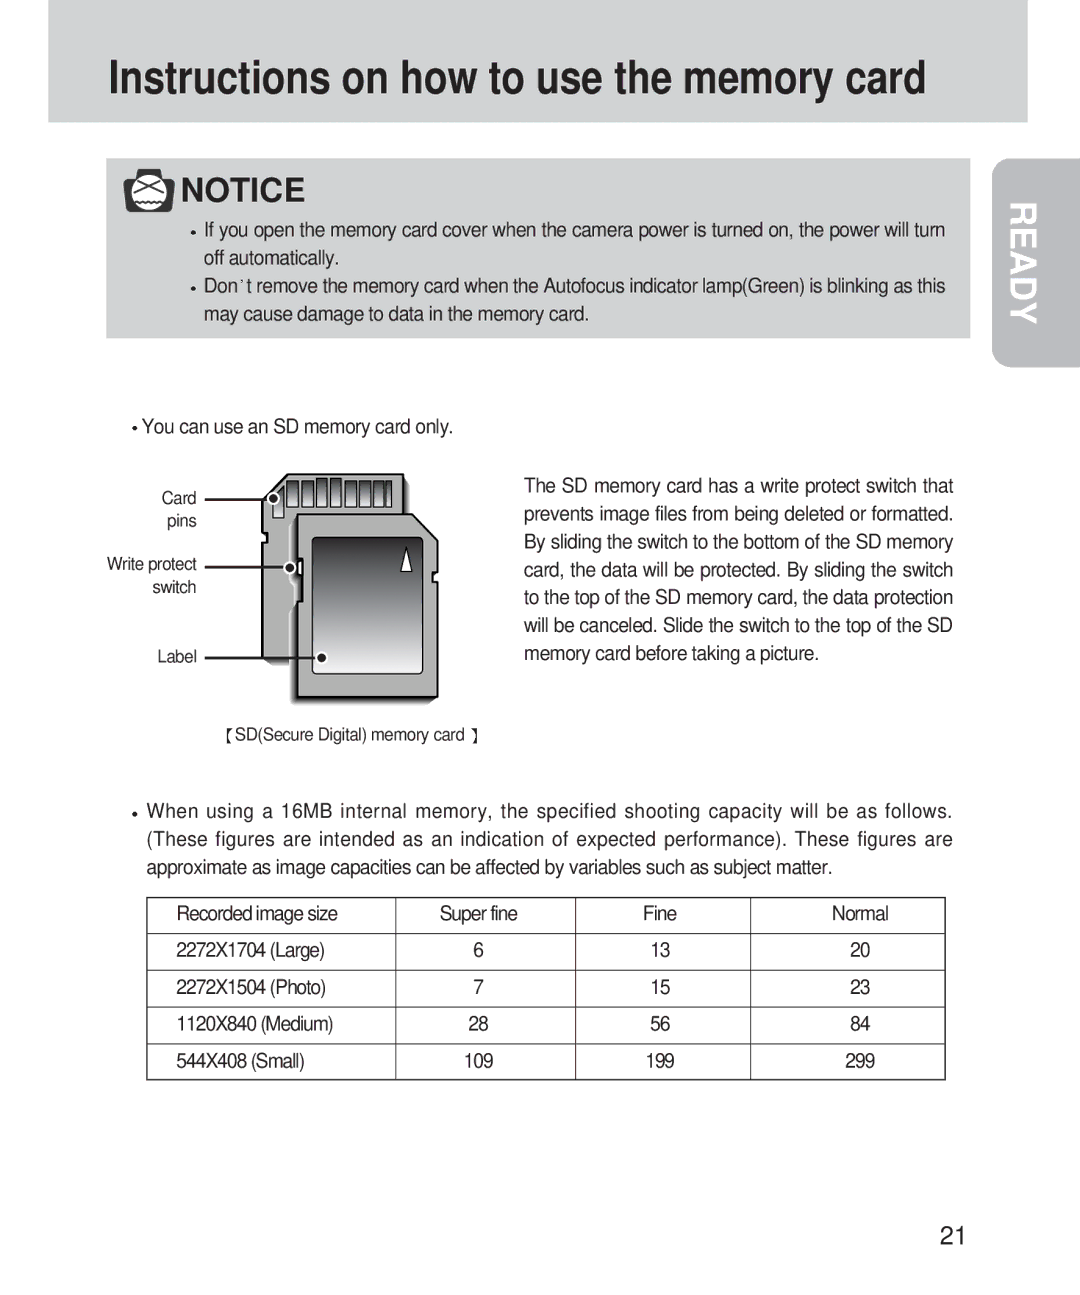
 You can use an SD memory card only.
Card pins
Write protect switch
Label
![]() SD(Secure Digital) memory card
SD(Secure Digital) memory card ![]()
The SD memory card has a write protect switch that prevents image files from being deleted or formatted. By sliding the switch to the bottom of the SD memory card, the data will be protected. By sliding the switch to the top of the SD memory card, the data protection will be canceled. Slide the switch to the top of the SD memory card before taking a picture.
![]() When using a 16MB internal memory, the specified shooting capacity will be as follows. (These figures are intended as an indication of expected performance). These figures are approximate as image capacities can be affected by variables such as subject matter.
When using a 16MB internal memory, the specified shooting capacity will be as follows. (These figures are intended as an indication of expected performance). These figures are approximate as image capacities can be affected by variables such as subject matter.
Recorded image size | Super fine | Fine | Normal | |
|
|
|
|
|
2272X1704 | (Large) | 6 | 13 | 20 |
|
|
|
|
|
2272X1504 | (Photo) | 7 | 15 | 23 |
|
|
|
| |
1120X840 (Medium) | 28 | 56 | 84 | |
|
|
|
| |
544X408 (Small) | 109 | 199 | 299 | |
|
|
|
|
|
21