Setting network scan timeout

If the Network Scan program on your computer does not send a refresh request and does not scan a job within a specified timeout period, your machine cancels the scan job. You can change this timeout setting as needed.

1Press Menu until System Setup appears on the bottom line of the display and press OK.

2Press OK when Machine Setup appears.

3Press the Scroll buttons until NetScanTimeout appears and press OK.

4Enter the desired timeout value and press OK.

The change will be broadcast over the network and will apply to all clients connected to the network.

5Press Stop/Clear to return to Standby mode.

Scanning to Email

You can scan and send an image as an email attachment. You first need to set up your email account in SyncThru™ Web Service. See page 8.2.

Before scanning, you can set the scan options for your scan job. See page 8.5.

1Make sure that your machine is connected to a network.

2Load originals face up into the ADF, or place a single original face down on the scanner glass.

For details about loading an original, see page 5.1.

3Press Scan/Email.

4Press the Scroll buttons until Scan to Email appears on the bottom line of the display and press OK.

5Enter the recipient’s email address and press OK.

If you have set up Address Book, you can use a speed button or a speed email or group email number to retrieve an address from memory. See page 8.5.

6To enter additional addresses, press OK when Yes appears and repeat step 5.

To continue to the next step, press the Scroll buttons to select No and press OK.

7If the display asks if you want to send the email to your account, press the Scroll buttons to select Yes or No and press OK.

Note

This prompt does not appear if you have activated the

Send To Self option in the email account setup.

8Enter an email subject and press OK.

9Press the Scroll buttons until the file format you want appears and press OK or Start.

The machine begins scanning and then sends the email.

10If the machine asks if you want to log off your account, press the Scroll buttons to select Yes or No and press OK.

11Press Stop/Clear to return to Standby mode.

Scanning to an FTP server

You can scan an image and then upload it to an FTP server. You need to set up parameters for access to FTP servers from SyncThru™ Web Service. See page 8.2.

Before scanning, you can set the scan options for your scan job. See page 8.5.

1Make sure that your machine is connected to a network.

2Load originals face up into the ADF or place a single original on the scanner glass.

For details about loading an original, see page 5.1.

3Press Scan/Email.

4Press the Scroll buttons until Scan to FTP appears on the bottom line of the display and press OK.

5Enter the user ID and press OK.

6Enter the password and press OK.

7Press the Scroll buttons until the FTP server you want appears and press OK or Start.

8Press the Scroll buttons until the file type you want appears and press OK or Start.

The machine begins scanning and then sends the file to the specified server.

8.4 <Scanning>

Page 44
Image 44
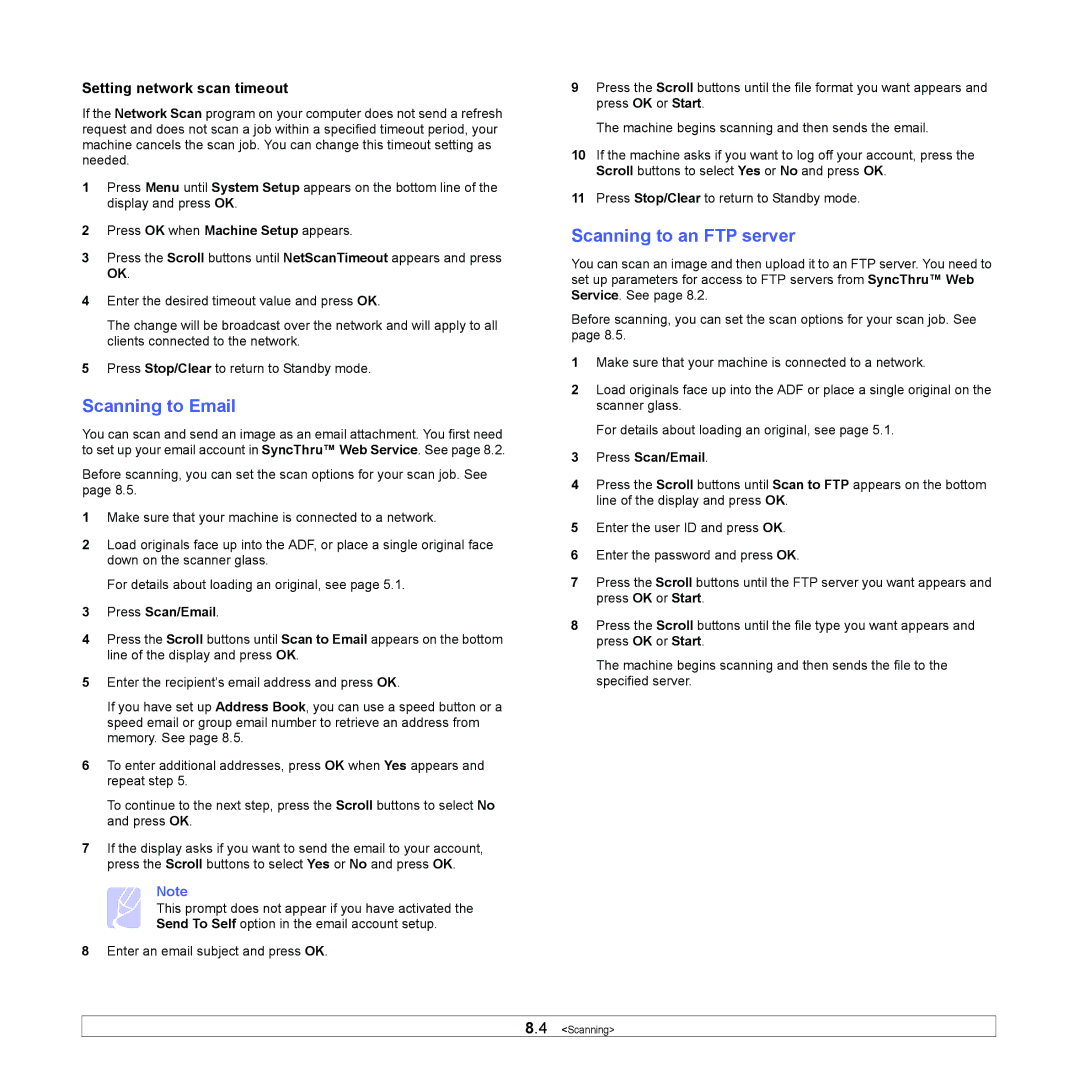
Samsung SCX-5x30 manual Scanning to Email, Scanning to an FTP server, Setting network scan timeout

SCX-5x30 specifications

The Samsung SCX-5x30 series is a versatile line of multifunction printers designed to meet the diverse printing, scanning, copying, and faxing needs of both home and office environments. Known for their reliability and quality, these devices cater to small to medium-sized businesses with their robust features and cost-effective performance.

One of the principal characteristics of the Samsung SCX-5x30 series is its impressive print resolution. With a maximum output of 1200 x 1200 dpi, the printers deliver sharp text and vibrant graphics. This level of clarity is particularly beneficial for businesses needing professional-quality documents, reports, and presentations.

A crucial element of the SCX-5x30 series is its multifunction capabilities. These devices not only excel at printing but also offer high-speed copying and scanning functions. The inclusion of a flatbed scanner and automatic document feeder enhances productivity by allowing users to handle multi-page documents with ease, ensuring quick turnaround times for important tasks.

Furthermore, the series boasts a range of connectivity options. Users can connect via USB, network, or even wirelessly, enabling seamless integration within any office setup. Mobile printing capabilities are also a highlight, with support for technologies like Apple AirPrint and Google Cloud Print, allowing users to send documents from their smartphones or tablets effortlessly.

In terms of usability, the SCX-5x30 series features an intuitive control panel equipped with a digital display, simplifying the operation process. Samsung's Easy Eco Driver software is another notable feature, enabling users to reduce ink consumption and save resources by identifying and removing unnecessary elements from documents before printing. This environmentally friendly option helps businesses lower their operational costs while promoting sustainability.

Durability and performance are also defining aspects of the SCX-5x30 printers. With a monthly duty cycle that supports heavy use, these devices can handle significant print volumes, making them reliable for busy office environments. Samsung's commitment to innovation ensures that these printers utilize advanced technologies that optimize output and reduce maintenance requirements.

Overall, the Samsung SCX-5x30 series stands out for its combination of high-quality print output, multifunction capabilities, versatile connectivity options, and resource-saving features, making it an ideal choice for modern businesses looking to enhance their document management and workflow efficiency.