Chapter 2: Setting up and connecting
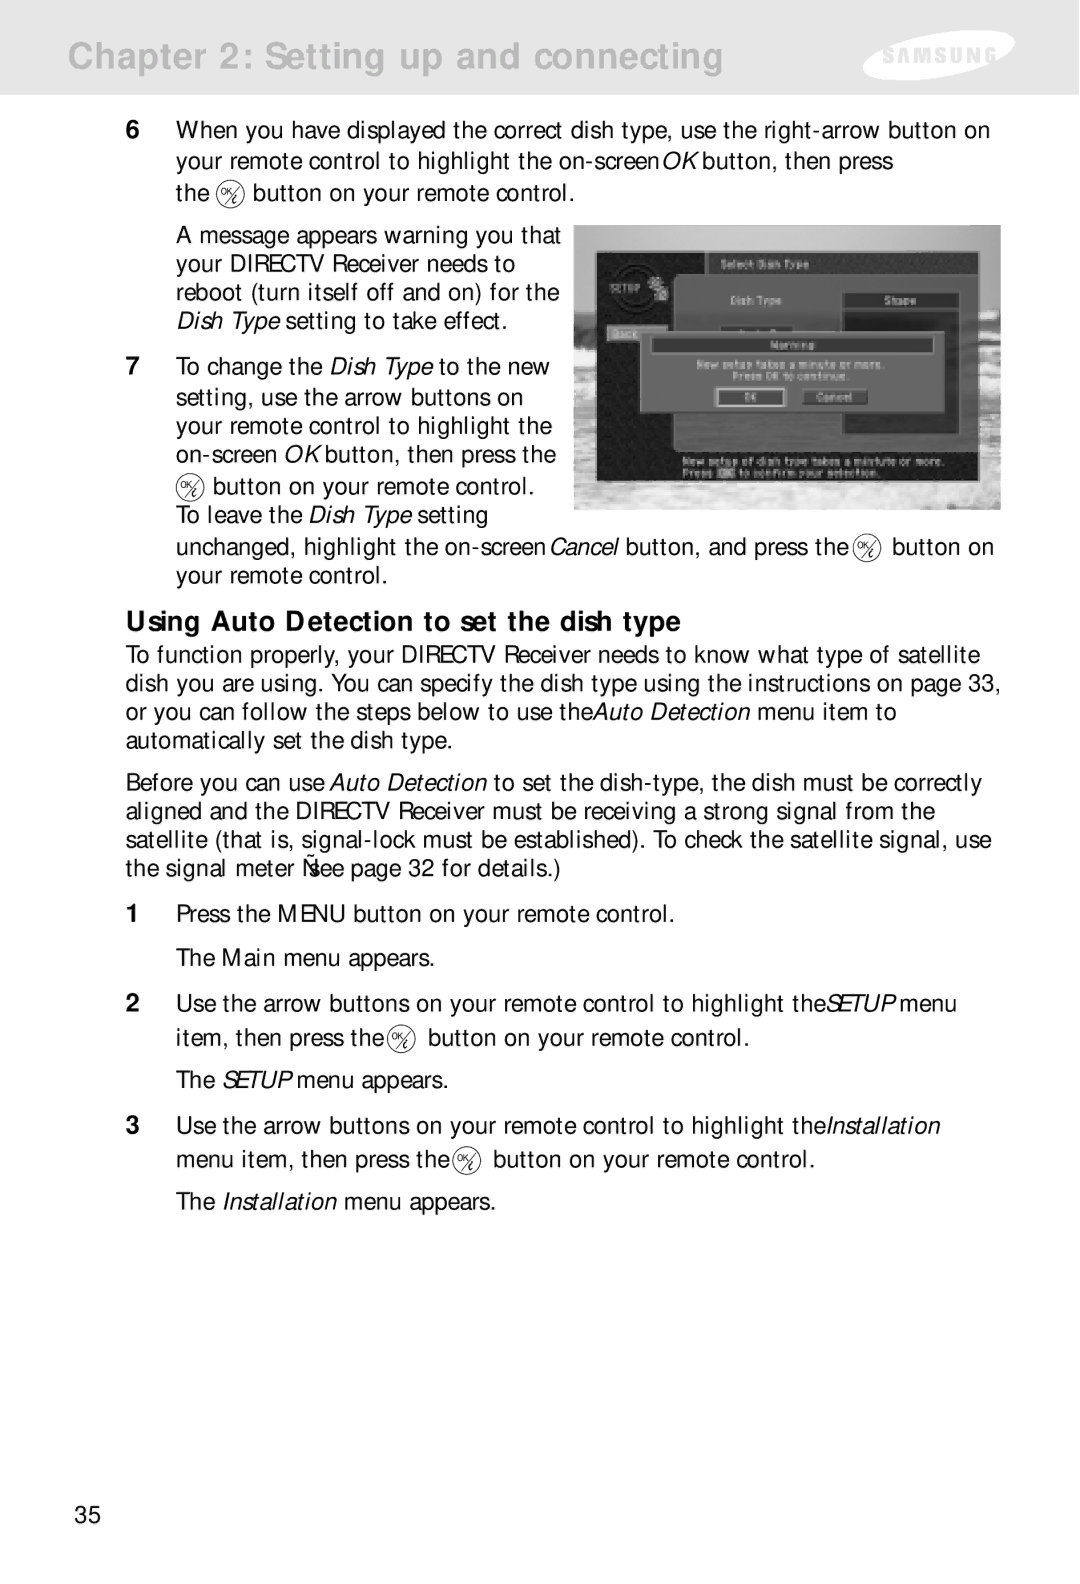
6When you have displayed the correct dish type, use the
the ![]() button on your remote control.
button on your remote control.
A message appears warning you that your DIRECTV Receiver needs to reboot (turn itself off and on) for the Dish Type setting to take effect.
7To change the Dish Type to the new setting, use the arrow buttons on your remote control to highlight the
![]() button on your remote control. To leave the Dish Type setting
button on your remote control. To leave the Dish Type setting
unchanged, highlight the ![]() button on your remote control.
button on your remote control.
Using Auto Detection to set the dish type
To function properly, your DIRECTV Receiver needs to know what type of satellite dish you are using. You can specify the dish type using the instructions on page 33, or you can follow the steps below to use the Auto Detection menu item to automatically set the dish type.
Before you can use Auto Detection to set the
1Press the MENU button on your remote control. The Main menu appears.
2Use the arrow buttons on your remote control to highlight the SETUP menu item, then press the ![]() button on your remote control.
button on your remote control.
The SETUP menu appears.
3Use the arrow buttons on your remote control to highlight the Installation menu item, then press the ![]() button on your remote control.
button on your remote control.
The Installation menu appears.
35