Chapter 2: Setting up and connecting
1Press the MENU button on your remote control. The Main menu appears.
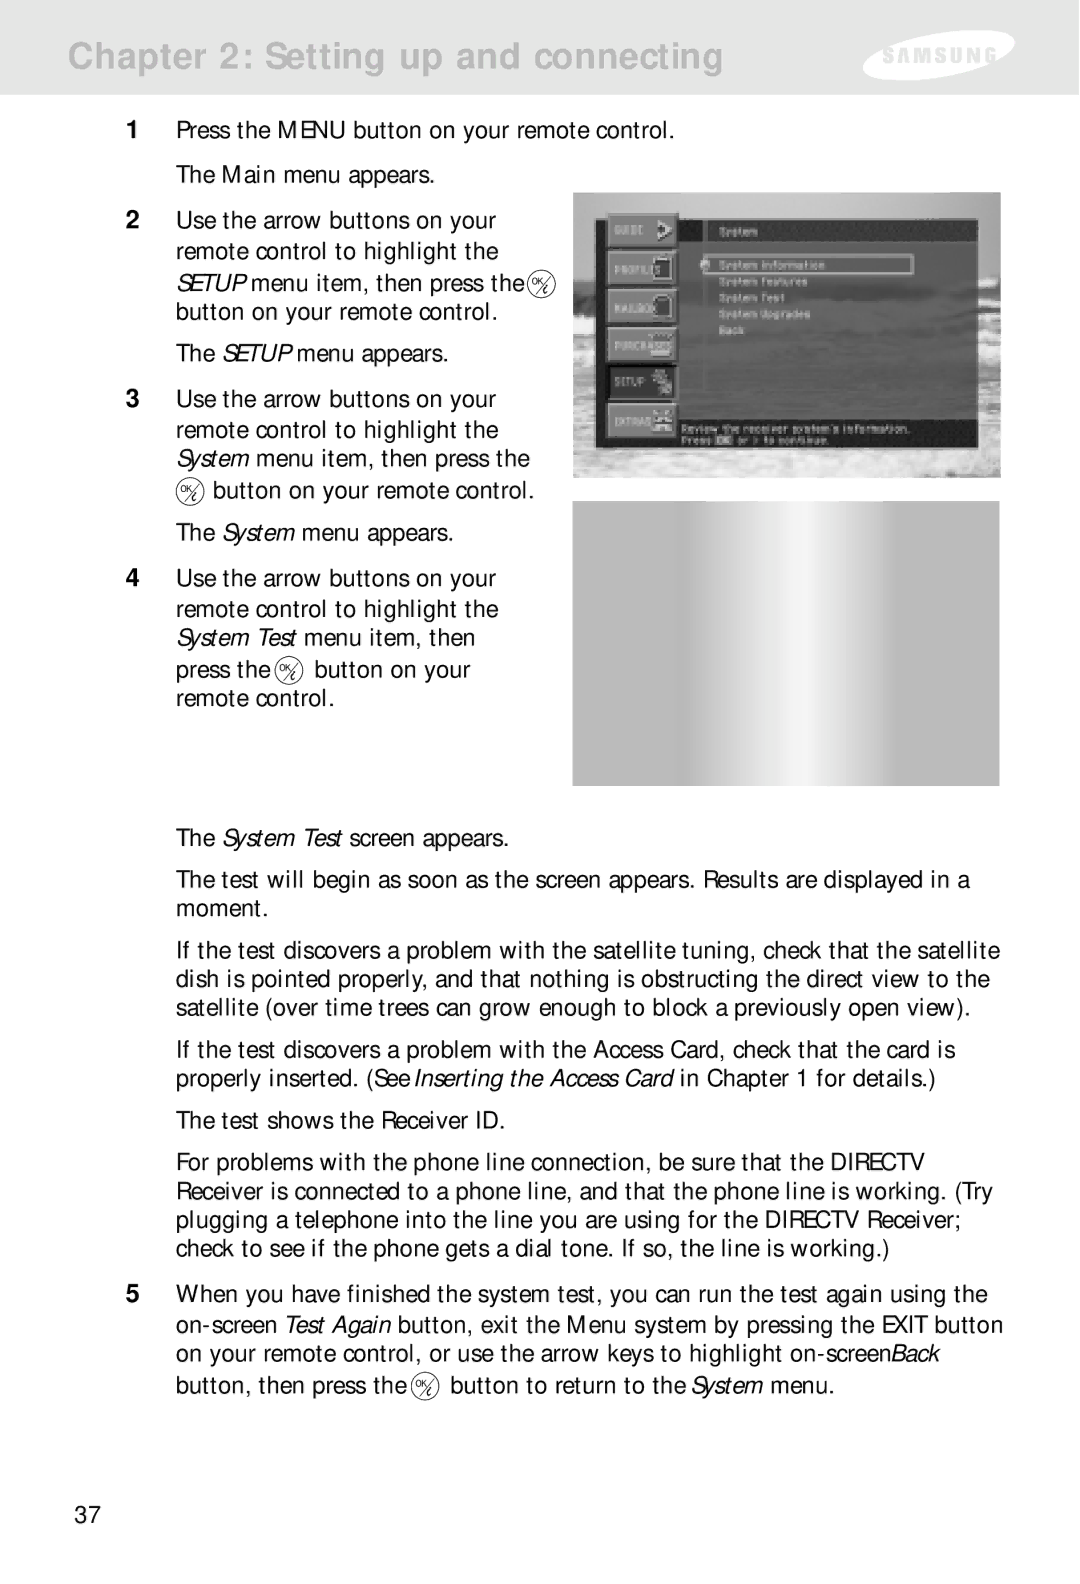
2Use the arrow buttons on your remote control to highlight the
SETUP menu item, then press the ![]() button on your remote control.
button on your remote control.
The SETUP menu appears.
3Use the arrow buttons on your remote control to highlight the System menu item, then press the ![]() button on your remote control. The System menu appears.
button on your remote control. The System menu appears.
4Use the arrow buttons on your remote control to highlight the System Test menu item, then
press the ![]() button on your remote control.
button on your remote control.
The System Test screen appears.
The test will begin as soon as the screen appears. Results are displayed in a moment.
If the test discovers a problem with the satellite tuning, check that the satellite dish is pointed properly, and that nothing is obstructing the direct view to the satellite (over time trees can grow enough to block a previously open view).
If the test discovers a problem with the Access Card, check that the card is properly inserted. (See Inserting the Access Card in Chapter 1 for details.)
The test shows the Receiver ID.
For problems with the phone line connection, be sure that the DIRECTV Receiver is connected to a phone line, and that the phone line is working. (Try plugging a telephone into the line you are using for the DIRECTV Receiver; check to see if the phone gets a dial tone. If so, the line is working.)
5When you have finished the system test, you can run the test again using the
button, then press the ![]() button to return to the System menu.
button to return to the System menu.
37