Chapter 3: Setting up and connecting
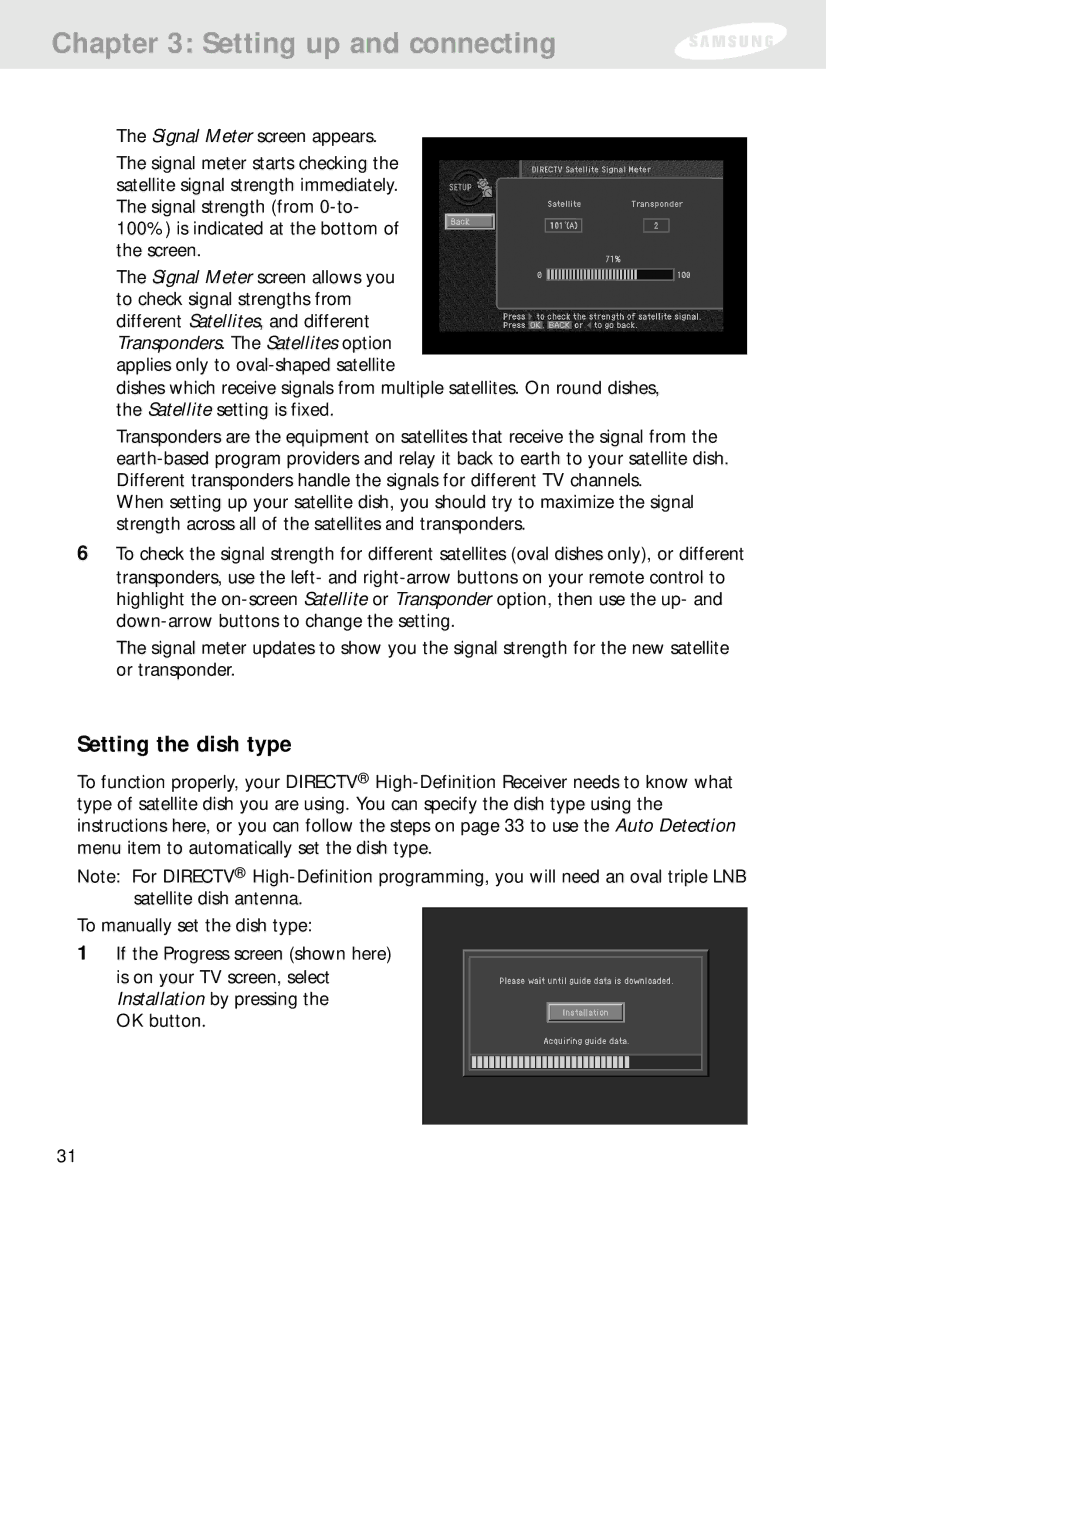
The Signal Meter screen appears.
The signal meter starts checking the satellite signal strength immediately. The signal strength (from
100%) is indicated at the bottom of the screen.
The Signal Meter screen allows you to check signal strengths from different Satellites, and different Transponders. The Satellites option applies only to
dishes which receive signals from multiple satellites. On round dishes, the Satellite setting is fixed.
Transponders are the equipment on satellites that receive the signal from the
When setting up your satellite dish, you should try to maximize the signal strength across all of the satellites and transponders.
6To check the signal strength for different satellites (oval dishes only), or different transponders, use the left- and
The signal meter updates to show you the signal strength for the new satellite or transponder.
Setting the dish type
To function properly, your DIRECTV®
Note: For DIRECTV®
To manually set the dish type:
1If the Progress screen (shown here) is on your TV screen, select Installation by pressing the
OK button.
31